
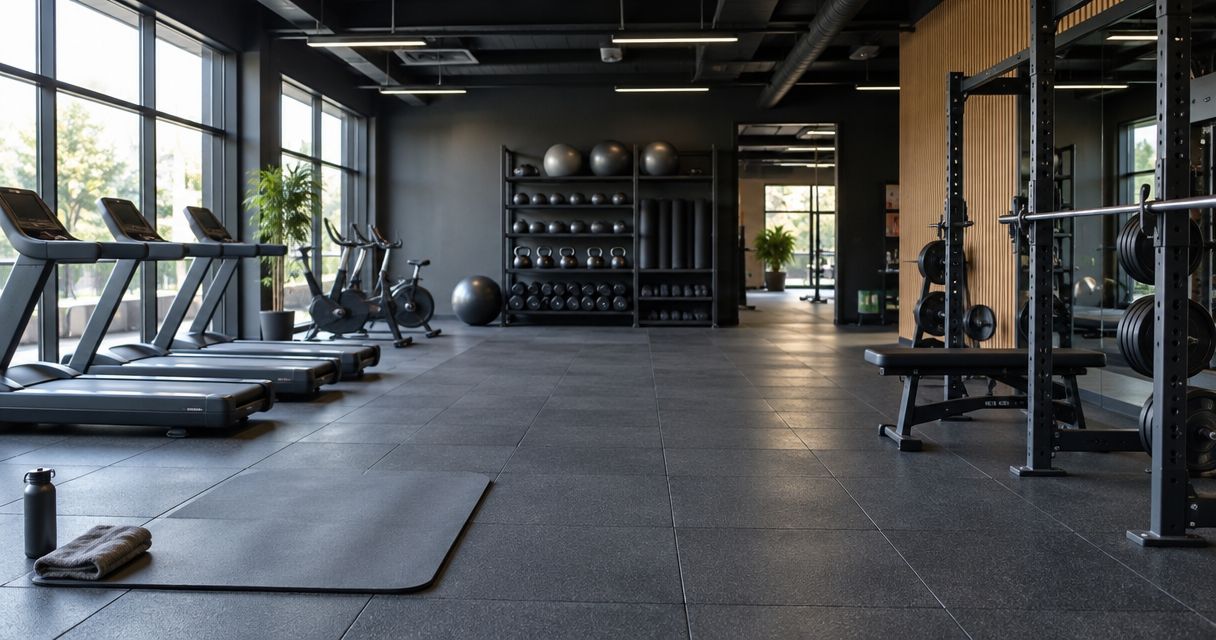
Gym and fitness studio commercial tiling is the installation of wall and floor tiles to support safe movement, practical cleaning and durable shared facilities. This 2026 guide explains commercial tiling for gyms and fitness studios, where wet changing rooms, busy entrances and impact-heavy training areas need different finishes.
- Melbourne Tiling Group handles commercial wall and floor tiling; separate tiled amenities from impact-heavy training zones.
- Commercial tiling for gyms and fitness studios starts with drainage, slip resistance and cleaning requirements—not tile colour.
- Porcelain suits busy circulation areas when specified correctly; shower floors also need suitable falls and waterproofing.
- Keep dropped-weight areas separate from tiled floors, and agree on reopening requirements before installation.
Why commercial tiling matters for gyms and fitness studios
A gym floor does not face one consistent set of conditions. Members bring rainwater through reception, walk barefoot through showers and move equipment between training spaces. A finish that works on a dry wall does not automatically belong on a wet floor.
Melbourne Tiling Group is best suited to Melbourne gym operators seeking commercial wall and floor tiling installation. The business provides residential and commercial tiling across Melbourne; your project brief should identify the gym-specific requirements before materials are selected. Start with Melbourne Tiling Group when discussing the installation scope.
For a 2026 refurbishment, plan around how the building operates, not just how the finished room looks. An occupied studio needs controlled access, a workable cleaning routine and a clear handover between trades. An empty fit-out still needs drainage, equipment locations and floor transitions settled before tiles are laid.
Plan your gym tiling from layout to handover
1. Map each area by use
Start with a printed floor plan or a simple sketch. Mark 4 working zones: entrance and circulation, changing facilities, showers, and training areas. This is a planning checklist, not a requirement to use four different finishes.
Record how each zone gets wet and what crosses it. A doorway exposed to rain needs different attention from an internal corridor. A shower needs a complete wet-area assembly, while a weights area needs flooring selected for impact rather than appearance.
For a south-east Melbourne studio, include the route from the street or car park to reception. Water and grit do not stop at the entry mat.
- Mark barefoot routes between lockers and showers.
- Identify rain-exposed entries and drinking stations.
- Show equipment delivery and movement routes.
- Separate dropped-weight zones from proposed tiled areas.
- Mark accessible paths and door clearances for design review.
2. Check the base before choosing tiles
Inspect the existing floor before committing to a tile format. Note cracks, loose finishes, uneven patches and signs of moisture. Photographs help explain the condition, but they do not replace an assessment of the base beneath the finish.
Your tiler should establish what needs removal, repair or levelling. New tiles cannot correct a moving or unsuitable base simply because a stronger adhesive is used. Existing movement joints also need attention in the installation design.
For your 2026 scope, separate preparation from tile installation in the written proposal. This makes proposals easier to compare without confusing a smaller scope with better value.
- Photograph cracks and damaged floor edges.
- Confirm which existing finishes will be removed.
- Identify levelling and screed work separately.
- Ask how existing joints will be treated.
- Record any further moisture or structural assessment required.
3. Specify wet areas as a complete system
Write down where water will land, how it reaches the waste and where it must not escape. Tiles and grout are not a substitute for waterproofing. Shower performance depends on the base, falls, membrane, junction details and compatible installation materials working together.
Once you have a basic layout, Melbourne Tiling Group can discuss the commercial tiling scope with you. Confirm who is responsible for waterproofing and drainage rather than assuming every task sits within the tiling proposal.
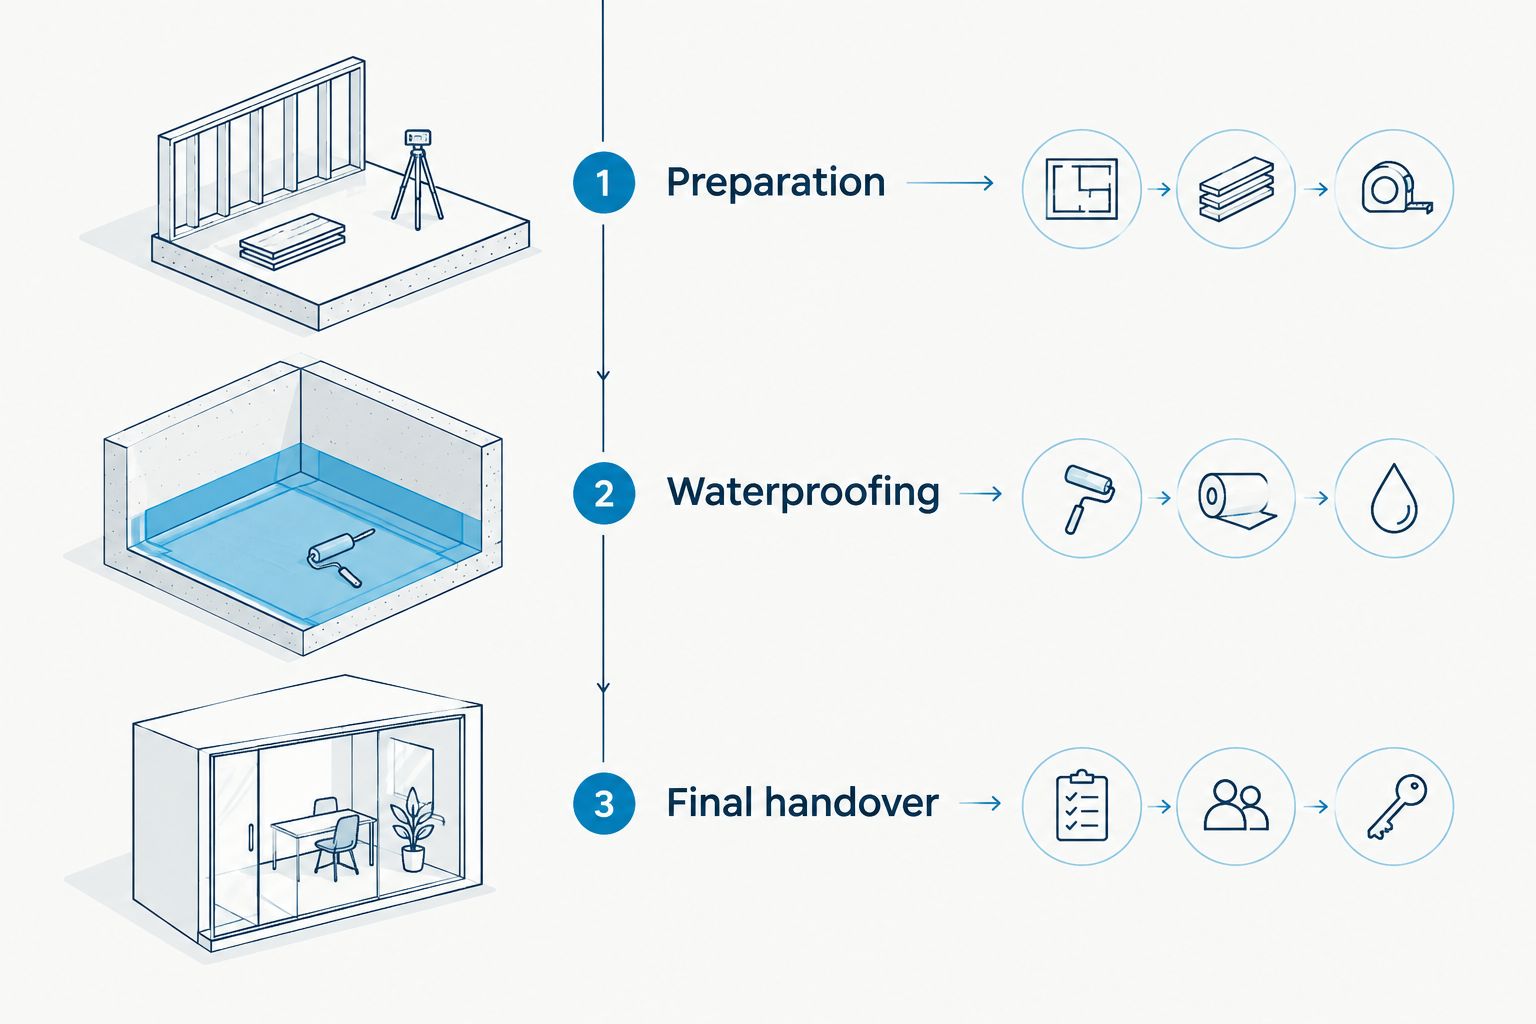
Set 3 hold points in your project plan: after preparation, after waterproofing and before final handover. Agree who checks each stage and what records you receive. Do not cover work before the agreed checks are complete.
- Confirm waste positions before setting the tile layout.
- Resolve floor falls and doorway transitions together.
- Specify treatment around penetrations and wall junctions.
- Request compatibility checks for the membrane and adhesive.
- Record inspection and installation documentation requirements.
4. Match the surface to traffic and cleaning
Start by taking physical samples into the room. Check them under the actual lighting and with the cleaning method proposed for that area. A showroom sample does not show how texture, grout colour and soap residue will behave together.
Specify slip resistance for the actual use, not from the word non-slip. Request relevant test information and have the designer or supplier confirm suitability for wet footwear or barefoot conditions as applicable. No surface removes the need to manage spills and cleaning.
Compare 2 sample finishes side by side before approving the floor. For your 2026 selection, use the same cleaning products and tools the facility intends to use, following the material manufacturer's instructions.
- Request floor-use and slip-test documentation.
- Check suitability for wet barefoot areas separately.
- Compare texture against cleaning effort.
- Confirm compatibility with the proposed cleaning chemicals.
- Assess grout colour alongside the tile sample.
5. Resolve layouts, edges and flooring transitions
Sketch the tile layout before installation. Place cuts, floor wastes and thresholds on the same drawing so awkward details become visible early. Large tiles need particular attention around shower falls; tile size must suit the drainage geometry.
Where tiles meet rubber or another resilient finish, agree on finished levels and edge protection. A neat-looking transition can still create a problem if it leaves a raised edge or restricts a door. Equipment routes deserve the same attention as member walkways.
Review the commercial floor tile guide when narrowing material choices, then check the selected tile against your actual layout and operating conditions.
- Mark visible cuts at reception and doorways.
- Align tile choices with shower falls and wastes.
- Confirm finished levels at adjoining floors.
- Detail exposed edges and threshold protection.
- Keep required movement joints in the layout.
6. Stage the work around safe access
Build a basic programme with the installer before announcing a reopening date. Separate removal, preparation, waterproofing, tiling, grouting and handover. Drying and curing requirements depend on the selected products and site conditions, not the date printed on your membership notice.
An occupied gym also needs boundaries between members and construction work. Confirm whether toilets, showers or reception will be unavailable, and arrange an alternative route where the site allows it. Avoid reopening a section simply because the grout looks dry.
For a 2026 staged refurbishment, Melbourne Tiling Group's installation scope should sit within an agreed programme alongside plumbing, waterproofing and other trades. Confirm responsibilities and access arrangements in writing.
- Identify facilities affected by each work stage.
- Agree on barriers and member access routes.
- Reserve clear routes for materials and waste removal.
- Follow product-specific curing and protection instructions.
- Set reopening conditions before works begin.
7. Inspect the finish and document maintenance
Walk the completed areas with the installer before accepting handover. Compare the work with the agreed scope, including transitions, edges, joints and drainage details. Record defects clearly rather than relying on a verbal list.
Ask for maintenance instructions that match the installed materials. Natural stone, porcelain, grout and flexible sealants do not all need the same treatment. Give the cleaning team the actual product information rather than a general instruction to mop more often.
Keep spare tiles from the installed batch if you arrange them as part of the project. Record the tile and grout details so later repairs start with identifiable materials.
- Check thresholds, trims and exposed corners.
- Review drainage and wet-area handover checks.
- Record defects and agreed rectification responsibilities.
- Collect cleaning and maintenance instructions.
- Save material details and installation records.
Compare finishes by gym area
Choose the finish by the job it must do. Porcelain, ceramic, natural stone and rubber are not interchangeable, even when their colours match.
The table compares material categories, not specific products. Confirm each selected product's intended use and technical information before approval.
| Option | Best for | Main advantage | Key limitation |
|---|---|---|---|
| Porcelain floor tiles | Reception, corridors and suitable changing-room floors | A hard-wearing surface when correctly specified and installed | Hard underfoot; unsuitable as the impact surface for dropped weights |
| Ceramic wall tiles | Shower walls and splash-prone wall areas | A practical, cleanable wall finish | A wall tile is not automatically suitable for floors |
| Small-format floor tiles | Shower floors with detailed falls | More joints can help accommodate changes in floor slope | More grout joints create more cleaning detail |
| Natural stone tiles | Selected feature areas with a material-specific maintenance plan | Natural variation in appearance | Care and sealing requirements depend on the stone and finish |
| Purpose-designed rubber flooring | Free-weight and impact-focused training zones | Provides cushioning that rigid tiles do not | Suitability for wet areas and cleaning chemicals depends on the product |
A mixed-material plan is often the sensible design response: tiled amenities and circulation areas, with a suitable training surface where impact occurs. The limitation is coordination. Finished heights, edges and cleaning boundaries need to be resolved before either floor goes down.
For Melbourne Tiling Group, the relevant role is commercial wall and floor tiling installation. Do not treat that as confirmation of sports-flooring supply, acoustic design or specialist waterproofing responsibilities; include those requirements explicitly in the project scope.
Common mistakes gym operators make
Choosing one tile for every room
A single finish simplifies selection but ignores different conditions. Check reception, showers and changing rooms separately. Matching colour does not require identical surface texture or tile size throughout the facility.
Treating grout as the waterproof layer
Fresh grout can make a shower look complete while hiding unresolved work below. Confirm the waterproofing scope before tiling starts. Keep records of the concealed installation rather than relying only on photographs of the finished room.
Specifying texture without testing cleaning
A strongly textured sample can appear reassuring in isolation. Test the proposed cleaning method too, because residue left on a floor affects both appearance and maintenance. Select the finish with the people who will actually clean it.
Running tiles into dropped-weight areas
Tiles provide a rigid finish, not a lifting platform. Define the training area and its impact requirements before selecting flooring. Address vibration and noise with the appropriate project specialist rather than expecting a tile change to solve them.
Comparing proposals on the final figure alone
Check preparation, waterproofing responsibilities, waste removal, trims and handover requirements line by line. A proposal that excludes necessary work is not the same scope. Keep affordability tied to a complete, suitable installation rather than an omitted task.
FAQ
What's the best tile for a gym reception floor?
Porcelain is a practical option for gym reception when the selected product suits foot traffic, tracked-in water and the cleaning routine. Confirm slip-test information, base preparation and transitions before approving it.
Can I use tiles in a gym free-weights area?
Do not use tiles as the impact surface where members drop weights. Specify purpose-designed training flooring and resolve its junction with adjoining tiled areas.
Do gym showers need waterproofing beneath the tiles?
Gym showers need a properly designed waterproofing system; tiles and grout do not replace it. Confirm the membrane, drainage details, penetrations and required checks before tiling begins.
Are large tiles suitable for gym shower floors?
Large tiles are suitable only where the layout accommodates the required falls and drainage details. Smaller tiles can make changes in slope easier to form, but introduce more grout joints to clean.
How do I choose a slip-resistant gym floor?
Choose a floor using relevant slip-test information and the conditions in that particular area. Wet barefoot showers and entrances used with footwear need separate consideration, alongside cleaning and spill management.
Can my fitness studio stay open during tiling?
Your fitness studio can remain open only where the work plan provides safe separation and suitable access to operating areas. Agree on closures, barriers and product-specific reopening conditions with the project team.
What should a commercial gym tiling proposal include?
A commercial gym tiling proposal should define preparation, materials, installation details, exclusions and handover requirements. Clarify waterproofing responsibilities, drainage work, waste removal and adjoining floor transitions before accepting it.
One last thing
Before approving your 2026 gym fit-out, walk the route from the entrance to the shower with the proposed finishes marked on a plan. Check every doorway and material change. The joint between two good flooring choices deserves as much planning as either floor.


