
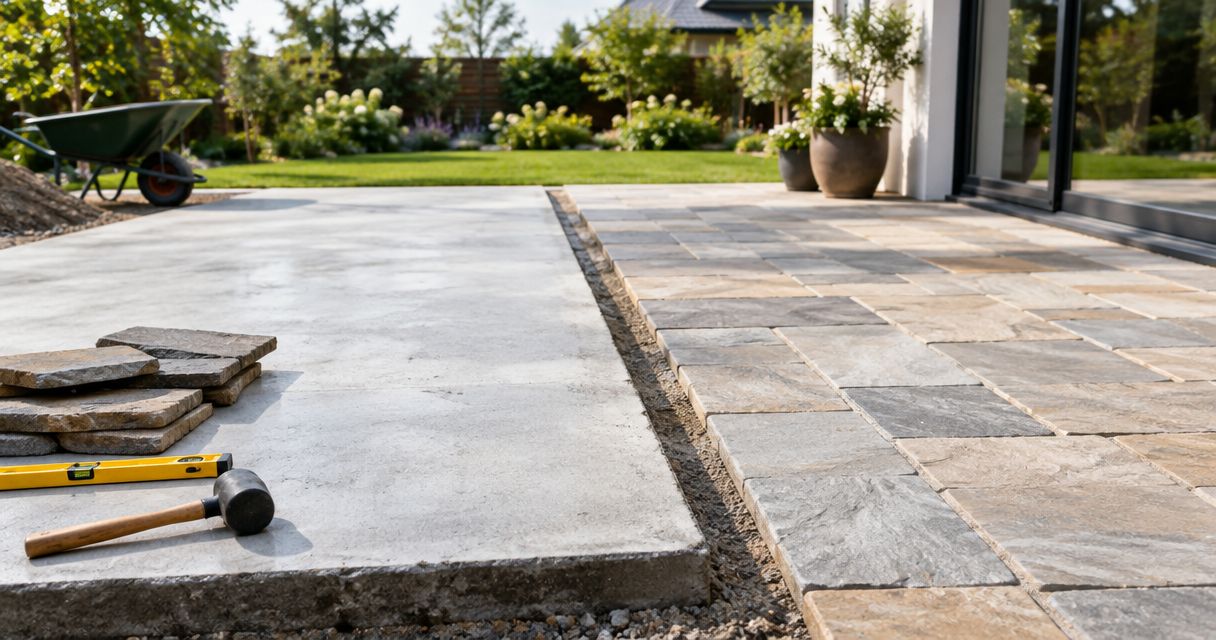
Instead of repeatedly patching loose outdoor pavers, plan your concrete slab to paving installation around the base: assess the concrete, confirm drainage, prepare the surface, then lay suitable natural stone. This 2026 workflow explains where to stop, what to check with your installer and how to avoid covering a problem slab.
- Concrete slab to paving installation starts with sound concrete and drainage, not adhesive selection.
- Melbourne Tiling Group suits Melbourne homeowners seeking wall and floor tiling installation.
- Natural stone paving needs compatible bedding, supported edges and movement joints.
- Stop before laying if cracks, finished heights or water outlets remain unresolved.
Why this matters
Natural stone does not fix concrete underneath it. A cracked, contaminated or poorly drained slab needs assessment before paving starts. Covering it hides the problem without removing the cause.
The finished height also changes how your outdoor area meets doors, drains and adjoining paths. For homeowners planning connected indoor and outdoor work, Melbourne Tiling Group provides residential and commercial wall and floor tiling installation across Melbourne.
Treat your 2026 paving project as a sequence of checks, not a race to start laying. Decide how water leaves the area before choosing the final paving layout.
Before you start
- Prepare the project materials. Gather a site sketch, photographs, stone samples and the installation instructions for the proposed bedding, grout and any waterproofing system. Identify pedestrian areas separately from vehicle access.
- Arrange access and assessment. Your installer needs access to the slab, drains, door thresholds and exposed edges. Have unexplained cracking, settlement or structural concerns assessed before specifying the paving build-up.
- Check the hidden height problem. Stone and bedding raise the surface. Confirm that the finished paving will not obstruct door operation, drainage openings, weepholes or termite inspection provisions.
For material selection, compare natural stone for outdoor paving in Melbourne before committing to a finish. Appearance alone does not establish wet slip resistance, outdoor suitability or compatibility with a particular bedding system.
Slab assessment and finished levels
Inspect the existing concrete
- Mark defects. Record cracks, broken edges, loose patches and areas where water collects. Photograph them before preparation changes the surface.
- Check surface contamination. Identify paint, curing compounds, sealers, grease and previous adhesive. A surface that looks clean is not necessarily ready to bond.
- Investigate movement. Separate superficial defects from cracking associated with movement or settlement. Do not bridge an unexplained crack with stone and hope it stays closed.
- Locate existing joints. Mark construction and movement joints on the site sketch. Have the installer explain how each joint will be treated through the paving assembly.
Expected result: you have an agreed repair and preparation scope, with unresolved defects clearly identified. If the slab needs structural assessment, installation stops here.
Establish drainage and clearance
- Mark the finished surface. Work backwards from door thresholds, drains and adjoining surfaces. Include every layer in the proposed assembly.
- Check the drainage route. Establish where surface water will discharge. Confirm that edges, garden beds or adjoining paving will not trap it.
- Measure the available build-up. Record the clearance rather than estimating it from a photograph.
- Confirm required falls. Ask the installer to specify the falls appropriate to the site, surface and applicable requirements. Check that the proposed preparation can achieve them.
For a height check only, imagine 20 mm stone plus a 5 mm bedding layer: the total build-up is 25 mm. Those are illustrative measurements, not a stone specification or an adhesive recommendation. Actual thicknesses must come from the selected materials and installation design.
Expected result: your 2026 site sketch shows finished levels, drainage direction and the proposed build-up. No doorway or outlet depends on an unverified assumption.
Bedding system and surface preparation
Choose the installation route
The main choice is whether the slab can receive a compatible direct-bonded assembly or needs a designed screed or mortar-bed assembly first. Do not use ordinary tile adhesive as an improvised levelling layer. Its permitted thickness comes from its technical instructions.
| Installation route | Best for | Advantage | Limitation |
|---|---|---|---|
| Direct-bonded stone | A suitable slab with established falls and compatible stone | Avoids an additional screed where none is needed | Cannot compensate for unsuitable falls or unresolved slab defects |
| Designed screed or mortar-bed assembly | A project requiring an appropriate intermediate bedding or falls-forming layer | Allows the build-up to address the site's level requirements | Adds height and requires its own preparation, curing and compatibility checks |
Neither route is automatically right for every patio. The slab, exposure, stone thickness and available height determine the specification.
- Confirm the stone application. Check that the selected stone and finish suit the intended outdoor use. Driveways require a separate load-based assessment; pedestrian paving advice is not a driveway specification.
- Confirm material compatibility. Obtain guidance covering the stone, substrate, bedding, grout and any membrane. Moisture-sensitive or stain-prone stone needs particular attention.
- Check curing requirements. Establish when each layer can receive the next layer and when the finished paving can take traffic.
- Record the agreed system. Keep the relevant technical instructions with the project brief rather than relying on a verbal description.
Expected result: one compatible installation assembly is specified, with no gaps between the concrete and the finished stone.
Prepare the bonding surface
- Remove incompatible coatings. Use preparation methods appropriate to the slab and specified installation system. Do not assume primer makes every existing coating suitable.
- Repair approved defects. Complete the assessed repairs and allow the repair materials to meet their installation requirements.
- Clean the prepared surface. Remove dust and debris before applying the next layer. Follow the system's requirements for substrate condition and moisture.
- Check waterproofing needs. Treat waterproofing as a designed assembly where required, especially over occupied space or moisture-sensitive construction.
Outdoor stone and grout are not substitutes for waterproofing. For elevated areas, the guide to waterproofing products for balconies and terraces provides related planning context; the actual assembly still needs a site-specific specification.
Expected result: the substrate is sound, prepared and accepted for the next layer—not simply swept and covered.
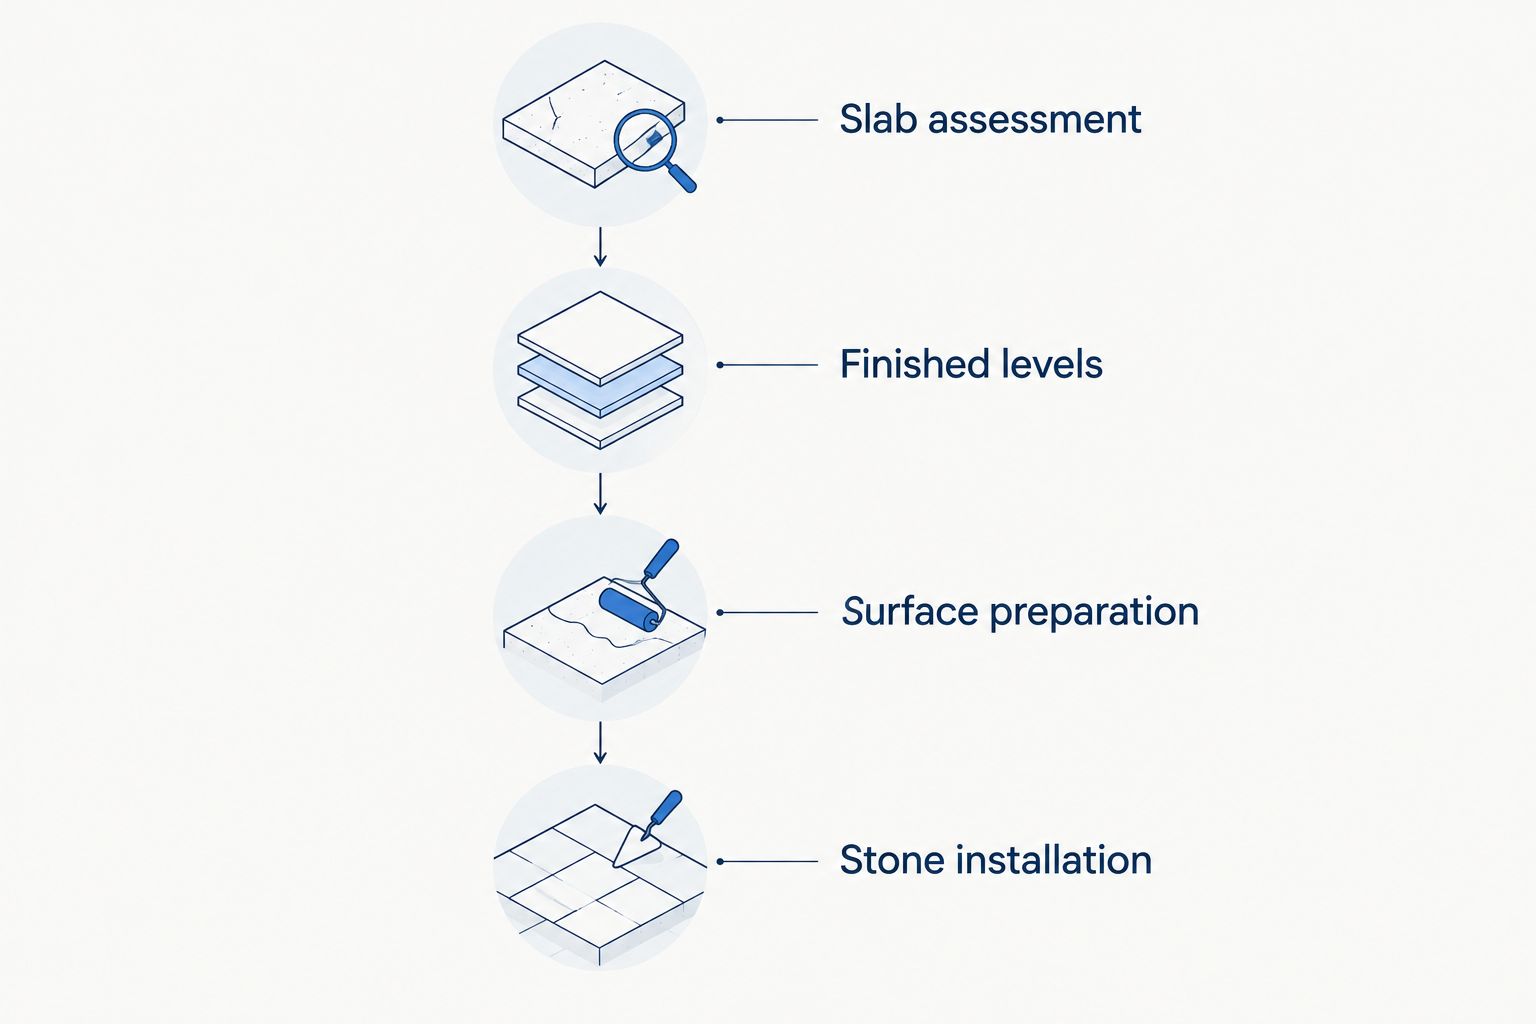
Stone installation and joint layout
Set out the paving
- Dry-lay a representative area. Check colour variation, surface texture and the appearance of joints before fixing begins. Natural stone varies; use the supplied material to judge the result.
- Plan cuts and edges. Position the layout around doors, drains and boundaries. Avoid leaving edge details for the final day.
- Mark movement joints. Agree perimeter and intermediate joint positions, including the treatment of existing slab joints. Do not fill a specified movement joint with rigid grout.
- Check the drainage details again. Ensure the layout does not cover outlets or create raised edges across the intended water path.
Expected result: the layout shows where full pieces, cuts, joints and drainage details belong. The installer can explain the finish before permanent fixing starts.
Fix and finish the stone
- Mix materials as instructed. Follow the specified water ratio, mixing procedure and working time. Do not revive material that has passed its usable condition.
- Apply the specified bedding. Use the tools and application method required for the stone and assembly. Check coverage during installation by lifting pieces, rather than judging from the finished face.
- Maintain support. Pay attention to edges and corners. Avoid isolated blobs that leave unsupported voids beneath the stone.
- Keep joints clear. Remove excess bedding before it hardens in spaces intended for grout or movement-joint material.
- Protect the work. Keep traffic, rain and other trades off the installation for the period required by the selected system.
- Complete the joints. Use compatible grout and the specified flexible joint materials. Test cleaning methods on an inconspicuous sample before treating the finished area.
Expected result: the stone is supported, the joints match the design and the paving remains protected while the assembly cures.
Alternative workflow: when the slab needs new falls
A slab with unsuitable falls needs more than a different laying pattern. Correct the water path before laying stone.
For a 2026 renovation, use this alternative sequence when assessment establishes that a designed screed or another corrective assembly is appropriate:
- Confirm that the slab and available clearances can accept the proposed correction.
- Specify the falls-forming layer, including its permitted thickness, bond or separation arrangement and curing requirements.
- Resolve waterproofing and drainage connections as part of the assembly—not as an addition after screeding.
- Check the completed levels before proceeding with stone installation.
The advantage is a planned correction rather than hidden patches. The limitation is extra build-up and another stage that must be completed correctly. Where clearances do not permit a suitable assembly, have the design reassessed instead of forcing the paving into the space.
Troubleshooting
Water pools after installation
Check the finished surface and outlet levels to identify whether the cause is a local low spot, an obstructed drain or unsuitable overall falls. Do not drill drainage holes through an assembly without assessing what lies underneath, particularly where waterproofing is present.
Stone lifts or sounds hollow
Investigate bonding and support before replacing individual pieces. Contamination, inadequate coverage and incompatible materials are possible causes; sound alone does not identify which one applies. Repeating the original fixing method without finding the cause risks repeating the failure.
Cracks follow a line through several pieces
Compare the crack with the slab-joint and defect records. Have the installer assess substrate movement and joint treatment. Regrouting a moving joint does not address the movement beneath it.
Stone develops marks or pale deposits
Identify whether the issue is grout residue, moisture-related staining or mineral deposits before selecting a cleaner. Acid can damage some natural stones. Use stone-compatible advice and test a concealed area first.
Doors or drains lose clearance
Stop installation when the build-up conflicts with a threshold or outlet. Recheck the assembly and finished levels. Do not solve the problem by thinning bedding below its permitted application or obstructing drainage details.
Customise your workflow
Use one written brief to coordinate the paving with adjoining work. For a Melbourne south-east renovation, include patio edges, garden drainage, kitchen access and any nearby bathroom or laundry work that affects the same thresholds.
Melbourne Tiling Group is best suited to Melbourne homeowners seeking wall and floor tiling installation. For a project involving natural stone paving, confirm the particular outdoor scope, substrate preparation and waterproofing responsibilities before booking.
Ask for a scope that separates preparation, installation, jointing and finishing. That makes proposals easier to compare without assuming that a shorter description includes the same work. Keep your 2026 selections and technical instructions together for handover.
Discuss your tiling scope
Explain your slab condition, finished levels and adjoining tiling work before agreeing on installation.
FAQ
Can natural stone paving be laid over an existing concrete slab?
Yes, if the concrete and proposed installation assembly are suitable. Assess slab condition, drainage, finished height and material compatibility before laying stone.
What is the first step in concrete slab to paving installation?
Assess the slab and establish finished levels before selecting the bedding system. Cracks, contamination and drainage problems need decisions before installation starts.
Can I use tile adhesive to correct an uneven outdoor slab?
Only use adhesive within its stated application and thickness limits. A slab requiring substantial correction needs a specified preparation or bedding solution, not improvised adhesive build-up.
Does outdoor natural stone paving need waterproofing?
Waterproofing depends on the construction and exposure, not simply the stone finish. Elevated terraces and areas over occupied space need particular assessment; stone and grout do not replace a waterproofing assembly.
Can I lay stone across concrete movement joints?
Do not rigidly bridge movement joints without an appropriate specified detail. Have the installer document how existing joints are treated through the paving assembly.
When can I walk on newly installed stone paving?
Follow the traffic and curing instructions for the complete installation system. Bedding, grout, weather and any intermediate layers affect when the paving can be used.
What should I ask Melbourne Tiling Group before outdoor work?
Ask Melbourne Tiling Group to confirm the outdoor installation scope and responsibility for preparation, falls, waterproofing and joints. Supply slab photographs, stone details and threshold measurements so the discussion covers the whole assembly.
One last thing
Photograph the prepared slab and joint locations before the stone covers them. Keep those photographs with the material instructions and finished-level sketch. They give a future repairer something more useful than a picture of the completed patio.


