
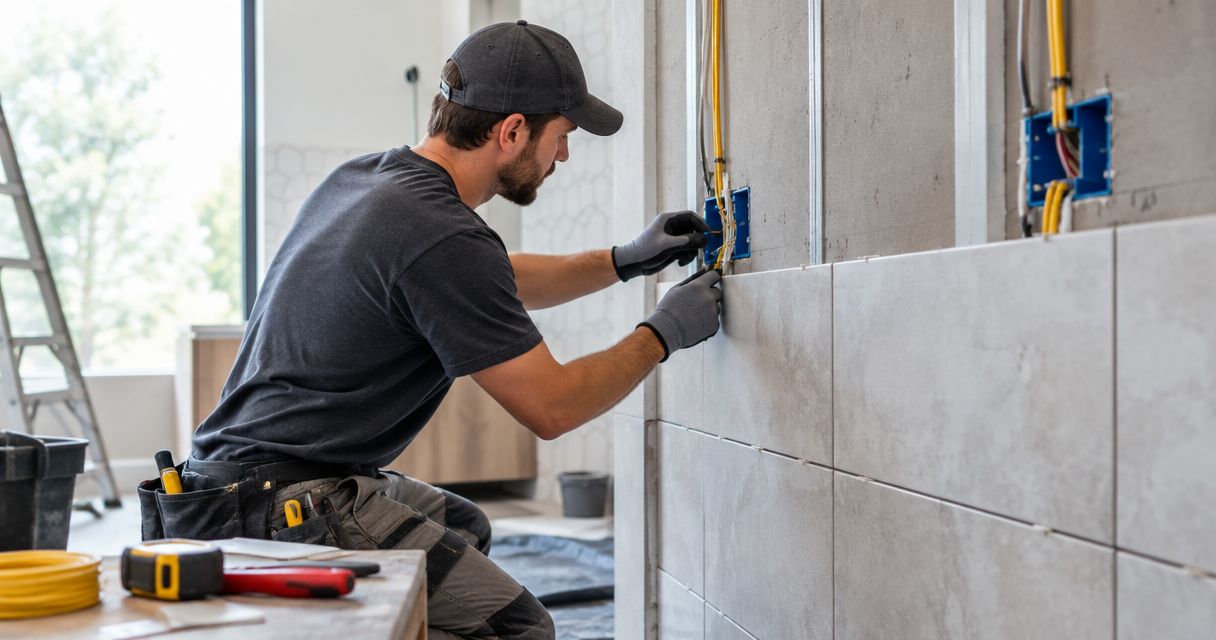
Instead of moving power points after a feature wall is tiled, complete electrical rough-in before tiling and confirm the finished wall layout with your electrician and tiler. For a 2026 renovation, the order is layout approval, licensed electrical rough-in, wall preparation and waterproofing where required, tiling, then electrical fit-off.
- Complete electrical rough-in before tiling; leave electrical fit-off until the tiled surface is ready.
- Melbourne Tiling Group suits homeowners coordinating wall and floor tiling with separate licensed electrical work.
- Confirm power points, tile layout and finished wall thickness together before closing the wall.
- Protect bathroom waterproofing: agree on penetrations before the membrane and tiles go on.
Why this matters
Electrical rough-in places concealed wiring and prepares connection locations before the wall is finished. Electrical fit-off installs the visible switches, outlets and fittings after the finish is ready. Both stages belong to a licensed electrician, not a tiler or homeowner.
A cable in the right general area is not enough. The outlet must also work with the tile cuts, cabinetry, mirror and final wall thickness. Finding a conflict after installation means disturbing finished work.
Melbourne Tiling Group is best for homeowners coordinating residential wall and floor tiling with separate licensed electrical work. Discuss the tiling scope with Melbourne Tiling Group while the electrical layout is still changeable. A tiling service does not replace electrical design, installation or certification.
Before you start
- Gather the layout materials. Bring the room plan, tile samples, proposed laying pattern, cabinetry dimensions and specifications for mirrors, lights and electrical accessories. Include mounting instructions for wall-mounted items.
- Confirm trade access and responsibility. Arrange a licensed electrician, the tiler and whoever prepares or waterproofs the wall. Nominate who approves changes and who confirms the wall is ready for the next trade.
- Resolve the hidden gotcha: finished wall thickness. Tile, adhesive, wall lining and preparation affect the final surface position. The electrician needs the proposed build-up before setting mounting provisions; bathroom electrical locations also need assessment against wet-area requirements.
Keep electrical covers, wiring and energisation with the electrician. Do not remove an outlet to measure behind it or move a cable yourself.
Layout approval
Use one marked-up drawing for your 2026 project. Separate sketches invite conflicting measurements, especially when a cabinet supplier changes a dimension after the electrical position has been marked.
- Mark the finished features. Show the vanity, mirror, splashback edges, benchtop, cabinets and feature-wall boundaries. Identify what is fixed and what remains undecided.
- Record electrical locations. Ask the electrician to mark proposed outlet, switch and connection positions. Measure from an agreed reference, such as the finished floor level and a nominated wall corner, rather than an unfinished surface that will change.
- Overlay the tile layout. Ask the tiler to show the proposed grout lines and tile edges around each fitting. Check whether a fitting creates a narrow tile strip or an awkward cut near an edge.
- Approve the shared drawing. Record the chosen locations, reference points and drawing revision. Give the same version to each trade and keep it accessible on site.
Do not shift a bathroom power point simply to centre it on a tile. Electrical safety and permitted locations come before tile symmetry. The electrician confirms a compliant position; the tiler then adjusts the set-out around it.
Expected result: everyone can identify the same fitting locations and tile boundaries without relying on verbal instructions.
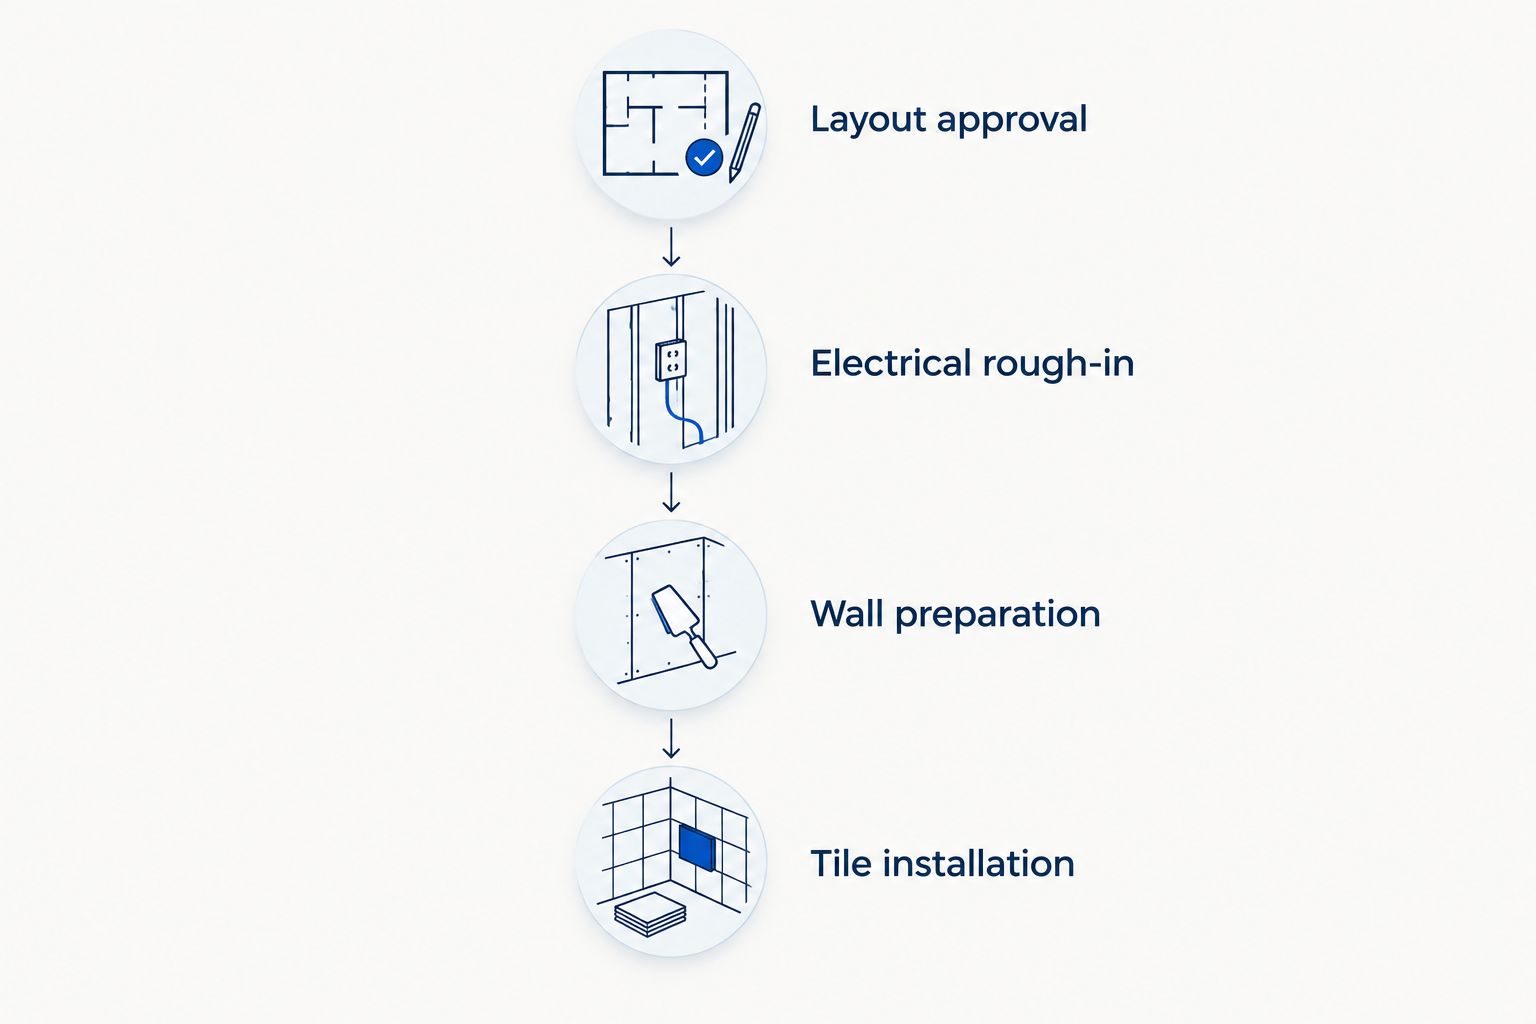
Electrical rough-in
Rough-in is the point to resolve concealed electrical work, not to install the final decorative plates. Your role is to confirm the brief and coordinate access; the licensed electrician decides how the electrical work is performed.
- Confirm the actual fittings. Give the electrician the selected mirror, light or accessory specifications. Do not assume that every fitting needs its connection in the same place.
- Arrange the electrical work. Have the electrician manage isolation, concealed wiring, mounting provisions and any necessary checks. Keep other trades clear of electrical work areas as directed.
- Check against the approved layout. Ask the electrician and tiler to confirm the positions together before wall closure. Resolve clashes with cabinetry, tile edges and planned fixing points now.
- Record concealed locations. With the electrician's agreement, photograph accessible wall cavities before closure. Include recognisable reference points and store the photographs with the project drawing.
Photographs are a coordination record, not permission to drill later. They do not establish that a wall is safe to penetrate, and they do not replace appropriate checks by the relevant trade.
Expected result: the electrician confirms that concealed work is ready for wall closure, with connection locations recorded and protected as instructed.
Wall preparation
A straight tile layout cannot correct an unsuitable wall or a damaged waterproofing layer. For a 2026 bathroom renovation, settle the wall preparation and waterproofing responsibilities before booking tile installation.
- Check the backing surface. Ask the tiler to assess whether the wall is sound, suitable and ready for the selected tile. Resolve loose lining, movement, moisture problems and uneven areas before proceeding.
- Confirm service penetrations. Have the electrician and waterproofing installer agree on the treatment of relevant penetrations. Avoid leaving an unresolved cable opening for someone to improvise around later.
- Complete waterproofing where required. Follow the applicable requirements and the selected system's installation instructions. Keep records of the work and required checks before tiles conceal the surface.
- Release the wall for tiling. Confirm that preparation materials and waterproofing have reached the stage required by their instructions. Do not treat a surface that looks dry as automatically ready.
Tiles and grout are not substitutes for a waterproofing system. Electrical work and waterproofing must be coordinated so that subsequent drilling or alterations do not compromise the finished assembly.
Expected result: the tiler receives an accepted substrate, with relevant penetrations resolved and required waterproofing ready to receive tiles.
Tile installation and electrical fit-off
The final tile surface determines how electrical plates meet the wall. Keep the electrician involved until fit-off rather than treating rough-in as the last electrical visit.
- Dry-check the critical cuts. Ask the tiler to check the tiles around outlets, switches and mirror connections before fixing them. Confirm the intended plate outline with the electrician without handling electrical components yourself.
- Install around the agreed locations. Keep access openings appropriate for the electrical installation. Do not use a cover plate as an excuse for a broken tile edge or an oversized opening.
- Complete the tile finish. Finish grout, movement joints and sealant in the appropriate sequence. Follow product instructions for curing and keep electrical mounting areas accessible.
- Arrange electrical fit-off. Have the electrician install and check the accessories once the tiled surface is ready. Ask for the required electrical documentation and resolve any plate or mounting problem through the electrician.
- Inspect the handover together. Check tile edges, joints, visible plates and adjoining finishes. Record defects by location so the correct trade can address them without unnecessary disturbance.
Expected result: the tiled wall is complete, electrical accessories are properly fitted, and required electrical checks and documentation are handled by the electrician.
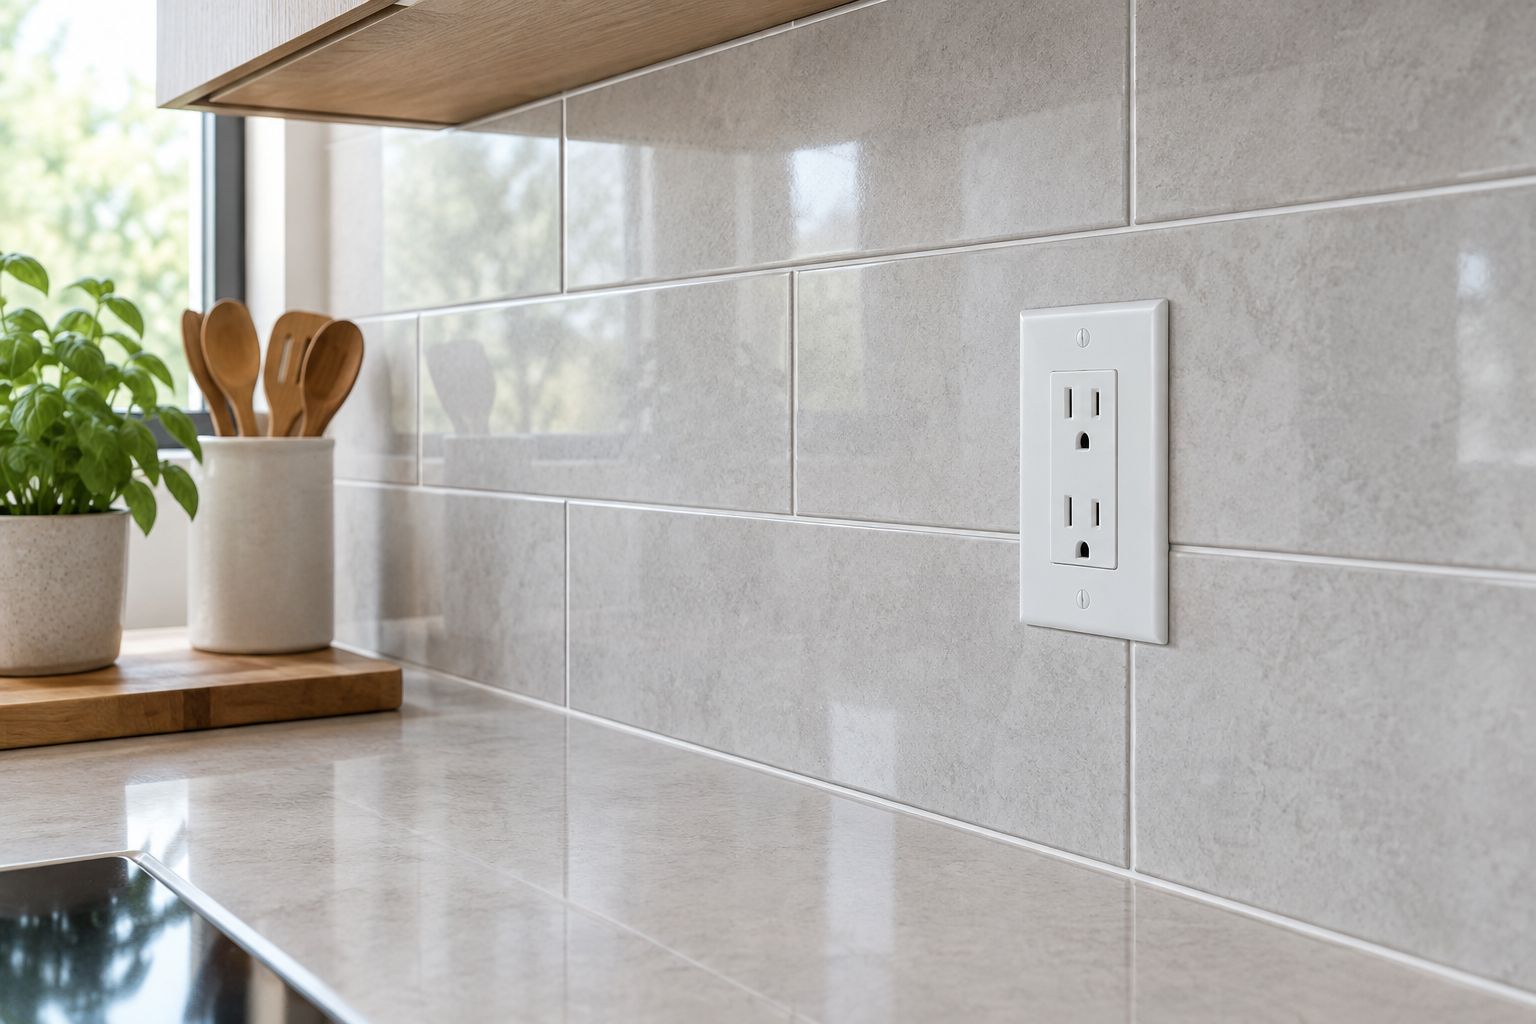
A neat cover plate is only the visible finish. Do not accept appearance as proof that the concealed work or waterproofing is correct; retain the relevant trade records with your renovation documents.
When you keep existing power points
You do not need to relocate every outlet when replacing a splashback. Existing positions still need review, especially if the new finish changes the wall thickness or tile removal disturbs the mounting area.
| Workflow | Best for | Practical advantage | Limitation |
|---|---|---|---|
| Retain existing positions | A replacement splashback with unchanged cabinetry and suitable outlet locations | Avoids unnecessary relocation work | Existing positions can restrict the tile layout; electrical condition and mounting still need checking |
| Relocate during rough-in | A changed kitchen or bathroom layout | Coordinates connections with the new room arrangement | Requires additional electrical coordination before wall finishes proceed |
For a retained-position workflow, ask the electrician to assess the existing installation before demolition. Have the electrician manage any necessary disconnection or protection, then let the tiler remove and replace the finish. Arrange electrical refitting after the new surface is ready.
Keep suitable existing positions; relocate only where the layout or electrical requirements justify it. Neither workflow removes the need for licensed electrical work when accessories or wiring are disturbed.
Troubleshooting
The outlet lands on a grout joint
A grout joint behind a plate is not automatically a defect. Ask the tiler and electrician to check the cut, support and plate fit before changing anything; adjust the tile set-out before installation where practical.
The plate does not sit against the tiles
Stop the fit-off and have the electrician assess the mounting arrangement and finished wall depth. Do not pack the accessory with improvised materials or tighten it against an unsupported tile edge.
A fitting changes after waterproofing
Pause the affected work. Have the electrician, tiler and waterproofing installer agree on the revised location and any required repair before making an opening; surface sealant is not a substitute for a properly resolved waterproofing detail.
Tile removal exposes damaged lining or moisture
Do not tile over the problem to keep the booking. Establish the cause, repair the substrate and confirm readiness with the relevant trades before restarting the finish.
An outlet clashes with a mirror or cabinet
Check the actual mounting instructions and the approved drawing. Resolve the clash before tiling, rather than cutting away a cabinet or moving an electrical fitting after the wall is finished.
Customise your workflow
For your 2026 plan, add a separate line to the scope for each trade handover. Record who approves the layout, who releases the wall after preparation, and who books electrical fit-off.
A kitchen splashback needs coordination with the benchtop and cabinetry. A bathroom feature wall adds waterproofing and wet-area electrical checks. Natural stone adds material-specific preparation and fixing considerations, so confirm the selected stone before approving the wall build-up.
For homeowners in Melbourne's south-east suburbs, keep the project brief location-specific: include site access, the rooms affected and whether the home remains occupied. Ask each contractor to confirm coverage and access arrangements rather than assuming them.
Melbourne Tiling Group provides residential wall and floor tiling. Ask for an itemised tiling scope that identifies preparation, installation and finishing responsibilities; compare like-for-like work rather than an unexplained total.
Discuss your wall tiling plan
Share your tile choice, electrical layout and preparation requirements before installation.
FAQ
Should electrical rough-in happen before tiling?
Yes. Complete concealed electrical work and confirm connection locations before wall closure and tiling. Leave electrical fit-off until the finished tile surface is ready.
Can my tiler move a power point?
Moving a power point requires a licensed electrician. The tiler can coordinate tile cuts and layout around the location approved by the electrician.
Do I need an electrician when replacing a kitchen splashback?
Arrange a licensed electrician whenever electrical accessories or wiring need disconnection, alteration or refitting. Have the existing arrangement assessed before demolition rather than leaving the decision until tiles are removed.
Does bathroom waterproofing happen before electrical rough-in?
Resolve concealed electrical work and relevant penetrations before applying waterproofing that those works would disturb. The electrician and waterproofing installer must agree on the sequence for the actual wall construction.
Can I tile around an existing power point?
Retaining an existing position is an option when the electrician confirms that the location and installation remain suitable. The tiler must also account for the new surface thickness and the cut around the accessory.
What if I want to move a switch after the wall is tiled?
Have a licensed electrician assess the change before disturbing the finish. Relocation can require tile removal, substrate repair and waterproofing repairs where the affected area is waterproofed.
What should I give my tiler before electrical rough-in?
Provide the room layout, tile selection, proposed pattern and the locations of cabinetry, mirrors and electrical fittings. Ask the tiler and electrician to agree on reference points and finished wall thickness before work proceeds.
One last thing
For a 2026 renovation, make the finished wall face—not the bare framing—the shared reference for electrical and tiling coordination. A correctly located cable can still produce an awkward finish if nobody accounts for the layers added later.
Approve the wall build-up and fitting locations together before closing the wall. That decision connects the hidden work to the finish you will see every day.


