
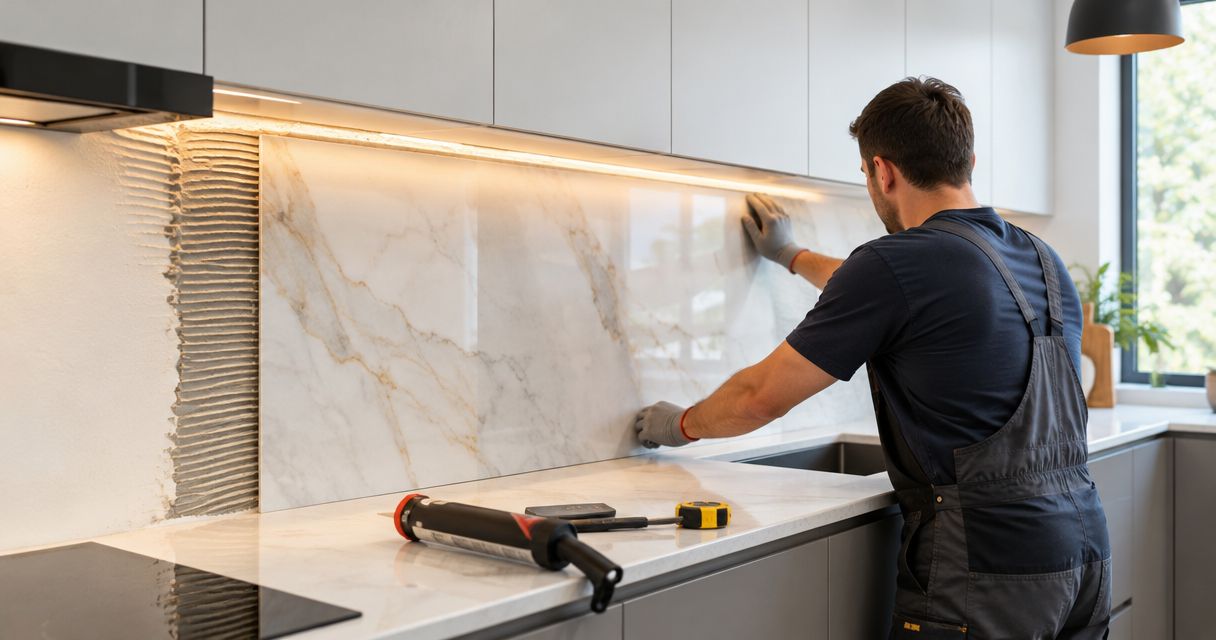
Kitchen splashback installation takes as long as wall preparation, tile fixing, adhesive curing, grouting and sealant curing require; the full job is not finished when the last tile goes up. For your 2026 renovation, get separate dates for installation completion and safe use of the sink and cooking area, because waiting time continues after the tiler leaves.
- How long does kitchen splashback installation take? Wall condition, layout and product curing instructions determine the schedule.
- Melbourne Tiling Group provides kitchen tiling installation for Melbourne homeowners.
- Separate tile fixing from adhesive, grout and sealant curing when planning kitchen access.
- Finalise cabinets, benchtops and electrical positions before confirming the splashback installation sequence.
How long does kitchen splashback installation take?
Plan around the complete installation sequence, not just the time spent laying tiles. A prepared wall removes work from the schedule. Removing an old splashback adds demolition, inspection and any necessary repairs before tiling can begin.
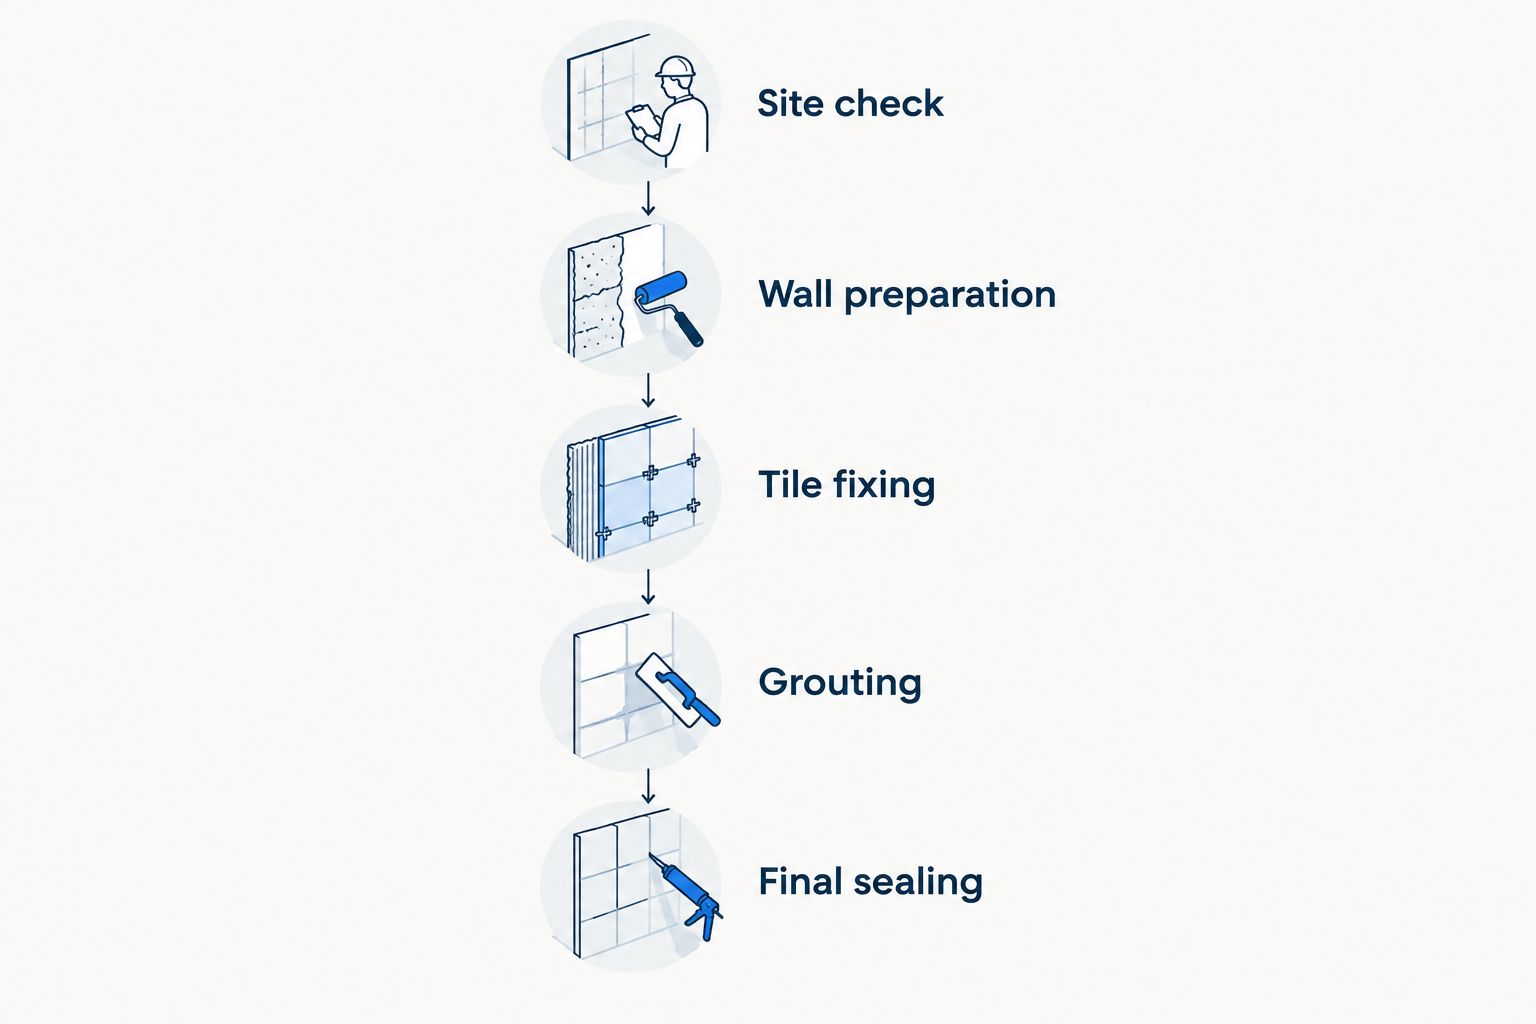
For a Melbourne kitchen renovation in 2026, ask for a written sequence covering these stages:
- Site check: Confirm measurements, wall condition, benchtop levels, tile selection and service locations.
- Wall preparation: Remove unsuitable finishes, repair damage and prepare the surface for the selected adhesive.
- Tile fixing: Set out the pattern, make cuts, fit edge trims and bond the tiles.
- Grouting: Wait until the adhesive permits grouting, then fill and clean the grout joints.
- Final sealing: Complete specified flexible joints and follow the sealant instructions before exposing them to water.
Discuss that sequence with Melbourne Tiling Group before booking other work against the splashback finish date. Ask which stages need access to your kitchen and which involve waiting without a tradesperson on site.
Why this matters
A splashback sits between work that must already be settled and activities you want to resume. Cabinets and benchtops establish its boundaries. Power points, taps, rangehoods and appliances affect its layout and finishing details.
If you book only around tile-laying time, you leave out the steps that protect the finished work. Fresh joints need the conditions and curing time specified for their products. Cleaning, cooking and splashing water must fit around those instructions.
Ask when you can use each part of the kitchen, not simply when the tiler finishes. That gives you a practical household plan without treating every kitchen activity as either fully permitted or completely off limits.
A prepared wall: fewer preparation tasks
Best for: a kitchen with sound, suitable walls and settled fittings. A prepared surface lets the tiler move into setting out and fixing once its suitability has been checked.
The advantage is a clearer scope. There is no old splashback to remove, and the tiler can inspect the surface before work begins. The limitation is that a wall which looks smooth still needs checking for adhesion, flatness and compatibility with the installation system.
Do not paint, prime or patch the splashback area without checking what the tiler requires. A well-meant finish can create extra preparation if it is unsuitable for the chosen adhesive. Confirm responsibility for wall preparation before another trade closes out its work.
Replacing an old splashback: removal comes first
Best for: an existing kitchen where the splashback needs replacing. Retiling starts with deciding how the old finish will be removed and how the wall behind it will be assessed.
The benefit is that you can change the splashback without necessarily changing the whole kitchen. The drawback is uncertainty behind the existing finish: removal can expose damaged plaster, loose material or an unsuitable surface.
Keep the preparation stage separate from the tile-fixing commitment. Ask how the tiler will explain any repair work after removal, and who must approve it. Protecting retained benchtops, cabinetry and appliances also belongs in the agreed scope.
Detailed layouts: allow for setting out and cuts
Best for: homeowners who prioritise a particular pattern or carefully aligned finish. A detailed layout needs decisions about where the pattern starts, how it ends and how it passes around fittings.
Its benefit is control over the finished appearance. Its trade-off is more setting out and cutting than a simple layout with fewer interruptions. Small tiles, patterned arrangements and multiple exposed edges create different tasks; tile size alone does not establish the duration.
Before installation, agree on the visible starting point and the treatment of corners, window reveals and power points. A quick layout review is more useful than changing direction after tiles have been fixed.
| Installation situation | Best for | Planning advantage | Main limitation |
|---|---|---|---|
| Prepared wall | A kitchen with suitable walls and settled fittings | Preparation can be assessed before fixing starts | Surface suitability still needs checking |
| Old splashback replacement | Updating a retained kitchen | Existing cabinets and benchtops can remain within the agreed scope | Hidden wall repairs are unclear until removal |
| Detailed tile layout | A specific pattern or carefully aligned finish | Edges, cuts and focal points can be planned together | More layout decisions and cutting tasks |
Why kitchen splashback installation time varies
The useful question is what work your particular kitchen requires. These factors explain why another homeowner's completion date is not a reliable schedule for yours:
- Wall condition: Loose surfaces, damage and unsuitable coatings need attention before tiles are fixed. Ask what preparation is included and what requires further approval.
- Removal work: Taking off an existing splashback adds a separate stage. The underlying wall must then be inspected rather than assumed ready.
- Layout and cuts: Patterns, returns, window reveals, socket openings and exposed edges add setting-out and finishing tasks.
- Product instructions: Adhesive, grout and sealant instructions govern when the next stage can begin and when the finished work can be exposed to water.
- Trade coordination: Unfinished benchtops, moving service positions and unresolved appliance details prevent the splashback layout from being finalised.
- Site conditions: Temperature, ventilation and the surface being tiled affect the conditions under which installation products cure. Follow the selected products rather than a generic timetable.
For a 2026 booking, have these points checked against your actual kitchen. A calendar slot alone does not confirm that the room is ready for tiling.
What should be finished before the tiler arrives?
Finalise the surfaces and fittings that determine the splashback boundaries. Confirm the cabinet and benchtop positions, the extent of tiling, service locations and how visible edges will finish.
Use this handover checklist:
- Confirm that the benchtop and cabinetry are in their agreed final positions.
- Have the actual tiles, trims and layout details confirmed before fixing begins.
- Identify sockets, switches, taps and appliance clearances that affect the tiling.
- Agree who removes the old splashback and who repairs the wall.
- Clear the working area and agree how retained finishes will be protected.
- Arrange a licensed electrician for electrical work rather than asking the tiler to alter fittings.
Photographs help explain the job before a visit, but they do not replace inspection of the surface. Include the whole wall, its ends and the areas around fittings when discussing the scope.
Melbourne Tiling Group suits Melbourne homeowners seeking kitchen wall tiling installation. Confirm the preparation scope, finishing details and handover instructions before agreeing on the installation sequence.
Plan your kitchen tiling
Discuss wall preparation, splashback layout and the installation sequence for your kitchen.
Can I use my kitchen while the splashback is being installed?
Kitchen access depends on the work area and the installation stage. Ask the tiler which areas must remain clear and when water, heat and cleaning can resume near the new splashback.
Do not assume that access to the room means permission to use every appliance. Cutting, fixing and finishing require a clear work zone, while fresh joints need protection after active work has stopped.
When can I clean a newly tiled splashback?
Clean a newly tiled splashback only as permitted by the grout, sealant and tile care instructions. Installation clean-up and normal household cleaning are different tasks, so ask what the tiler will complete and what you should do afterwards.
Get instructions for the actual tile finish. Natural stone and some decorative surfaces need different cleaning care from glazed tiles; do not choose a cleaner solely because it is labelled for kitchens.
How do I keep the installation on schedule?
Resolve choices before work starts, and protect the curing stages afterwards. That is more useful than asking the tiler to compress every stage into the shortest possible visit.
For your 2026 kitchen project, confirm the layout before tiles are bonded. Decide the grout colour, trim finish, tile direction and stopping points together. Changes after fixing can require removal and repeat work.
Keep one agreed record of the scope. It should identify who prepares the wall, who handles electrical work, what the tiler installs and what remains outside the job. That helps prevent a finished-looking kitchen from hiding an unfinished task.
Ask for a handover covering:
- Which installation stages are complete.
- Which areas still need protection.
- When water exposure and routine cleaning can resume.
- Whether another trade must return.
- Which product care instructions you need to keep.
Good planning also supports affordable work. Clear choices reduce avoidable changes, while proper preparation and curing protect the work you are paying for. Do not trade those steps for an earlier-looking finish date.
FAQ
How long does kitchen splashback installation take from start to finish?
Kitchen splashback installation lasts through preparation, tile fixing, adhesive curing, grouting and final joint curing. Ask for a schedule based on the inspected wall, selected layout and installation products, with a separate safe-use handover.
Can my kitchen splashback be tiled and grouted in the same visit?
Same-visit tiling and grouting depend on whether the selected adhesive permits it under the installation conditions. Do not treat that sequence as standard or shorten the manufacturer's required waiting time.
Does removing an old kitchen splashback add time?
Removing an old kitchen splashback adds removal and inspection before the new tiles can be installed. Any damaged or unsuitable wall surface then needs preparation before fixing starts.
Do my benchtops need to be installed before splashback tiling?
The benchtop position needs to be finalised before splashback tiling is set out against it. Confirm the installation sequence with the benchtop installer and tiler so the finished boundaries and joint details agree.
Can I cook immediately after my splashback is tiled?
Do not assume you can cook immediately beside a newly tiled splashback. Follow the handover instructions for heat, steam, splashes and cleaning around fresh adhesive, grout and sealant.
Does Melbourne Tiling Group install kitchen wall tiles?
Melbourne Tiling Group provides kitchen tiling as part of its residential and commercial wall and floor tiling services across Melbourne. Discuss your wall condition, layout and installation scope before confirming the work.
What should I ask before booking splashback tiling in 2026?
Before booking splashback tiling in 2026, ask what preparation is included, which trade handles each task and when the finished area can be used. Confirm the layout and finishing details before tile fixing begins.
One last thing
The last tile is not the last step. A splashback can look finished while its joints still need protection, so put the safe-use instructions somewhere the whole household will see them.
Before the tiler leaves, ask one practical question: what can I do in this kitchen tonight, and what must wait? A clear answer is more useful than a completion date without conditions.


