
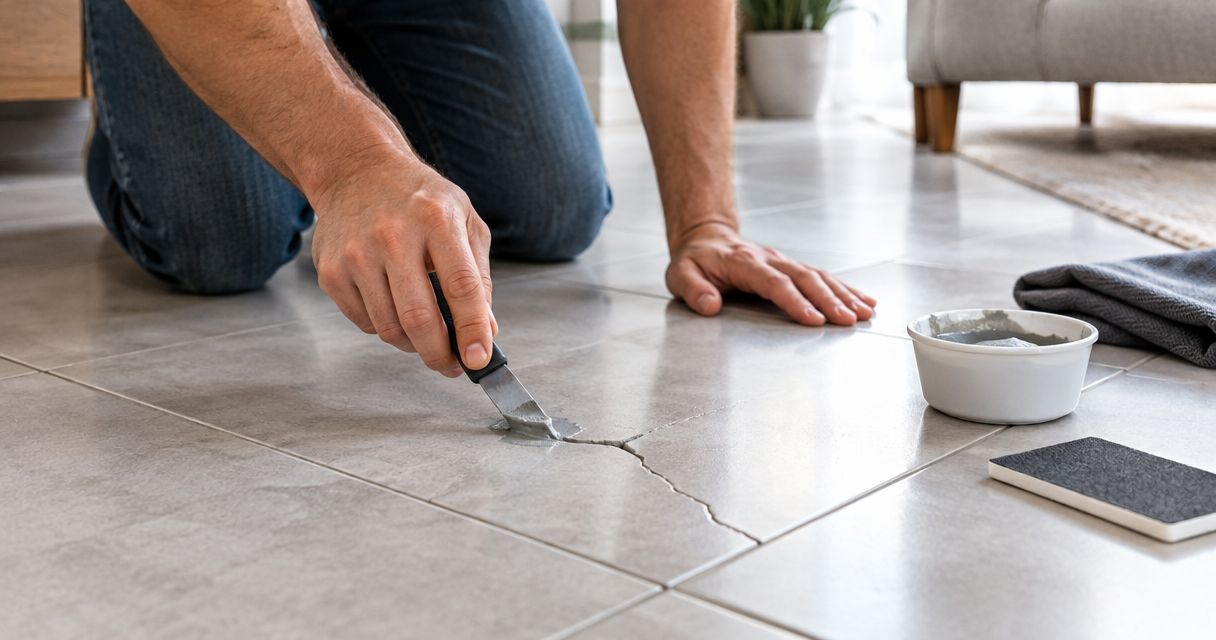
You can fix a cracked tile without replacing the whole floor by filling a small, stable surface defect or replacing only the damaged tile. Check why it cracked first: filler will not correct movement underneath, and removing a bathroom tile can damage the waterproofing below.
- How to fix a cracked tile without replacing the whole floor starts with checking movement, moisture and surrounding grout.
- A compatible tile repair compound suits small, stable cosmetic defects; the repair can remain visible.
- Single-tile replacement suits isolated damage when the surrounding floor and underlying base remain sound.
- Melbourne Tiling Group provides floor tiling services; discuss the damaged area before choosing the scope of work.
Why this matters
A cracked kitchen tile and a cracked shower tile need different decisions. In a dry room, the main issue might be a damaged surface; in a shower, the work also needs to protect the waterproofing beneath the tiles.
Keep the repair local only when the damage is local. Covering a crack without checking its cause can leave the same problem beneath a better-looking surface.
For a Melbourne homeowner planning repairs in 2026, the useful starting point is an inspection, not a whole-floor replacement quote. Melbourne Tiling Group provides wall and floor tiling services for residential and commercial properties. Ask for a scope that separates the damaged tile from any underlying repair work.
How to fix a cracked tile without replacing the whole floor
Choose the method by the tile's condition, not just the width of the visible line. A fine crack can still pass through the tile, while a small surface chip can leave the tile firmly bonded.
| Approach | Best for | Main benefit | Main limitation |
|---|---|---|---|
| Compatible tile repair compound | Small, stable cosmetic defects in a firmly bonded tile | Keeps the existing tile in place | Colour, texture and sheen can remain different |
| Single-tile replacement | An isolated broken tile with sound surrounding work | Removes the damaged tile rather than covering it | Removal risks neighbouring tiles and concealed layers |
| Assessment before repair | Repeated cracks, movement or moisture symptoms | Establishes what needs fixing underneath | The final repair scope depends on what the assessment finds |
A successful local repair needs a stable base. If the tile rocks, the crack continues across neighbouring tiles, or grout repeatedly breaks away, stop treating it as a surface-only job.
Check the damage before choosing a repair
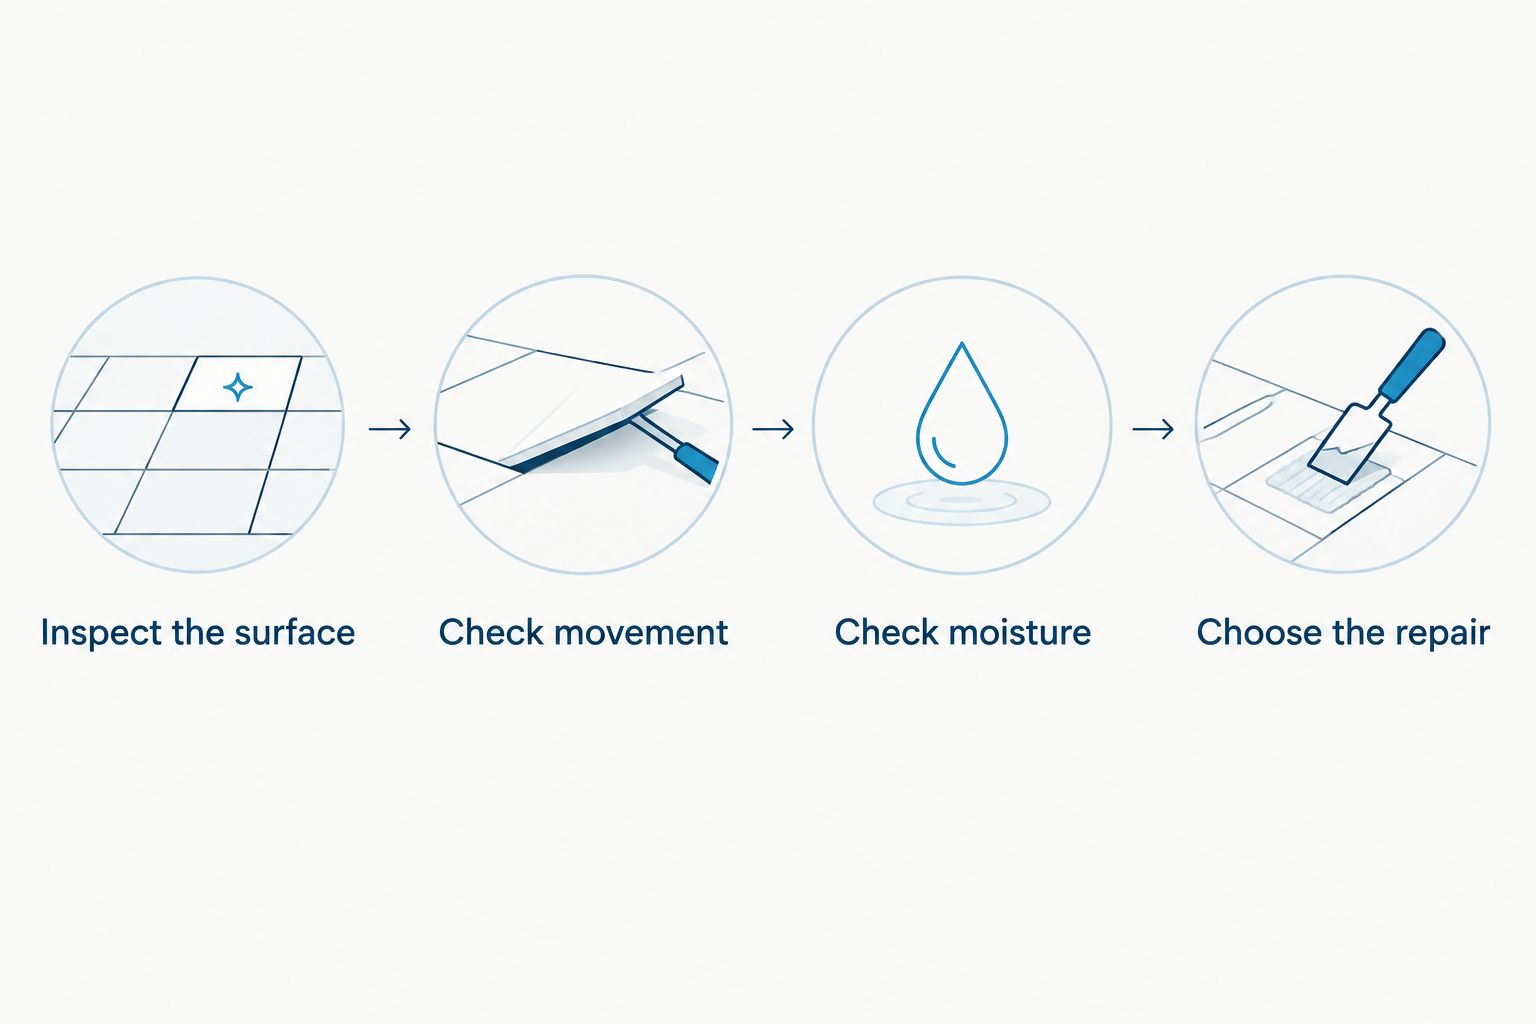
- Inspect the surface. Clean away ordinary dirt so you can see whether the mark is a scratch, chip, glaze defect or crack. Avoid aggressive abrasion that changes the finish.
- Check movement. Look for rocking, lifted edges and loose grout. Do not force a loose tile back down or keep walking over sharp fragments.
- Check moisture. Look for damp adjoining surfaces, staining and signs of leakage below the room. These symptoms need investigation rather than a cosmetic patch.
- Choose the repair. Match the method to the tile material, the damage and the condition underneath. Confirm product suitability before opening or mixing anything.
A hollow sound when tapped is a clue, not a diagnosis. It does not, on its own, prove why a tile cracked or whether the whole floor needs replacing.
Surface filling: best for small cosmetic defects
A compatible tile repair compound can fill a small chip or stable surface defect without lifting the tile. It does not restore a moving floor or repair a failed tile bond.
Before buying a repair product in 2026, check its current technical instructions. Confirm that it suits your tile material, floor use and exposure to water; a product intended for decorative wall repairs is not automatically suitable underfoot.
Prepare and fill the defect
- Remove loose dirt and clean the area using a method suitable for the tile.
- Let the area dry as the repair product requires.
- Protect the surrounding finish, testing any masking material somewhere unobtrusive first.
- Mix and apply the compound exactly as directed. Keep the repair level with the existing surface.
- Remove excess using the approved method before it hardens.
- Keep traffic and water off the repair until the stated curing conditions are met.
Do not use ordinary grout as a substitute for a tile repair compound. Grout belongs in the joints; spreading it across a cracked tile does not fix the cause.
Expect a cosmetic compromise. A filled area can catch the light differently, especially on polished, textured or patterned tiles. Test colour matching discreetly, and avoid sanding or polishing a factory finish unless the repair system specifically allows it.
Single-tile replacement: best for an isolated broken tile
Replacing the damaged tile leaves the rest of the floor in place. This is the more direct approach when the tile is broken through, has missing pieces or cannot accept a suitable surface repair.
First, check for spare tiles from the original installation. Match the actual dimensions, thickness, edge shape and finish—not just the colour printed on a carton. Tiles sold under a similar description can still look different beside the existing floor.
What the replacement process involves
- Protect the work area. Keep people away from sharp fragments and protect nearby fittings. Identify underfloor heating and concealed services before disturbing the floor.
- Separate the joints. Remove surrounding grout carefully so the damaged tile is not locked to its neighbours during removal.
- Remove the tile. Work without levering against adjacent tile edges. In wet areas, the waterproofing beneath needs particular protection.
- Inspect the base. Check the exposed adhesive, screed or substrate before installing another tile. Correct an identified defect rather than simply covering it.
- Install the replacement. Use compatible materials and match the surrounding height, joint width and layout.
- Finish and cure. Grout and seal the relevant joints according to their function, then follow the installation products' instructions before use.
This sequence is not permission to cut or grind an unknown floor. Tile and mortar work can generate hazardous silica dust. Suspected asbestos-containing materials, concealed heating and waterproofing risks need appropriate assessment and controls.
For your 2026 repair plan, arrange access around the actual adhesive and grout instructions. The guide to walking on new floor tiles explains why a surface that looks finished is not necessarily ready for traffic.
Why the right cracked-tile repair varies
The visible damage is only part of the decision. These factors determine whether a local repair is sensible:
- Tile material: ceramic, porcelain and natural stone need compatible repair and cleaning methods. A method suited to one finish can mark another.
- Depth of damage: a surface chip differs from a fracture through the tile body. Missing pieces also change what can be repaired neatly.
- Bond and base: loose tiles, damaged screed and substrate movement need attention beneath the finish.
- Water exposure: bathroom and laundry work must account for waterproofing. Tiles and grout are not substitutes for that concealed layer.
- Matching material: spare tiles make an isolated replacement easier to match. Differences in size, thickness or finish can affect the result.
- Joint condition: cracking near walls, doorways or changes in surface can point to movement-related issues. Filling every joint rigidly is not a general solution.
There is no single filler that solves all of these conditions. Choose the repair around the cause and location, not the promise on a packet.
Can I repair a cracked bathroom tile without damaging waterproofing?
A surface repair avoids tile removal, but it does not establish that the waterproofing is sound. If the bathroom tile is loose, leaking or needs lifting, have the concealed layers assessed before work starts.
A membrane can sit close beneath the tile adhesive. Removing adhesive or breaking out a tile can damage it, and a local membrane repair depends on the existing system and suitable preparation.
For a bathroom repair in 2026, ask who will assess any exposed waterproofing and how the repair method will be confirmed. A fresh tile and tidy grout do not prove the underlying work is watertight.
Can I use silicone to fix a cracked floor tile?
Silicone is not a replacement for a sound tile or stable base. It is used in suitable movement and junction joints, not as a general repair for a broken tile surface.
Smearing sealant across a crack also leaves a different finish and does not stop movement below. Identify whether the defect belongs in the tile, the grout joint or a movement joint before choosing a material.
Do I need to replace the whole floor if several tiles crack?
Several cracked tiles need a broader assessment, not an automatic whole-floor replacement. Their pattern matters: cracks following a line or returning after repair call for investigation beneath the surface.
A tiler can assess the affected area, but suspected structural movement needs an appropriately qualified building professional. Establish the cause before committing to another round of tile replacement.
When to get a tiler involved
Get professional help when the tile moves, the damage keeps returning, or removal could affect waterproofing or underfloor heating. Also stop if you cannot identify the floor materials safely.
Melbourne Tiling Group is best suited to homeowners and construction companies seeking residential or commercial wall and floor tiling services in Melbourne. A service enquiry is more useful when you supply clear photos and describe the room, crack pattern and any moisture symptoms.
For a home in Melbourne's south-east, include the suburb and access details. Ask whether the proposed work covers inspection, tile removal, base preparation, installation and disposal. Do not assume those tasks are included simply because the quote mentions replacing a tile.
The trade-off with professional replacement is disruption: access, removal and curing still need planning. Keep the scope clear so you can compare like-for-like work rather than the shortest description.
Discuss your damaged floor
Describe the room, cracked tiles and any signs of movement or moisture.
FAQ
Can I fix a hairline tile crack myself?
You can fill a small, stable cosmetic defect with a compatible tile repair product. A crack through the tile, loose edges or recurring damage needs assessment before filling.
Will a tile repair be invisible?
A tile repair is not guaranteed to be invisible. Colour, texture and sheen can differ, particularly on polished or patterned surfaces.
Can I replace just one cracked floor tile?
You can replace an isolated cracked floor tile when the surrounding work and base remain sound. Matching material and careful removal are essential, especially near waterproofing or heating.
Does cracked grout mean the tile needs replacing?
Cracked grout alone does not establish that the tile needs replacing. Check whether the tile is loose and whether movement or a joint detail is causing the grout to fail.
Can I keep using a shower with a cracked tile?
Do not keep using a shower that shows leakage, loose tiles or sharp broken surfaces. A visible crack alone does not establish the waterproofing condition, so arrange assessment rather than relying on surface sealant.
How long before I can walk on a repaired tile?
Follow the repair compound, adhesive and grout instructions before walking on the tile. Surface dryness is not proof that the materials have cured for floor traffic.
What should I send a tiler for a repair enquiry in 2026?
Send close-up and wider photos, your suburb, the room type and details of movement or moisture. Mention spare tiles, underfloor heating and any previous repairs.
One last thing
Before anyone removes the damaged tile, photograph the whole floor and check your spare tiles against it in daylight. A replacement that matches the colour but sits at a different height is not a finished repair.
Fix the cause before fixing the appearance. That is the difference between a local repair and repeatedly patching the same spot.


