
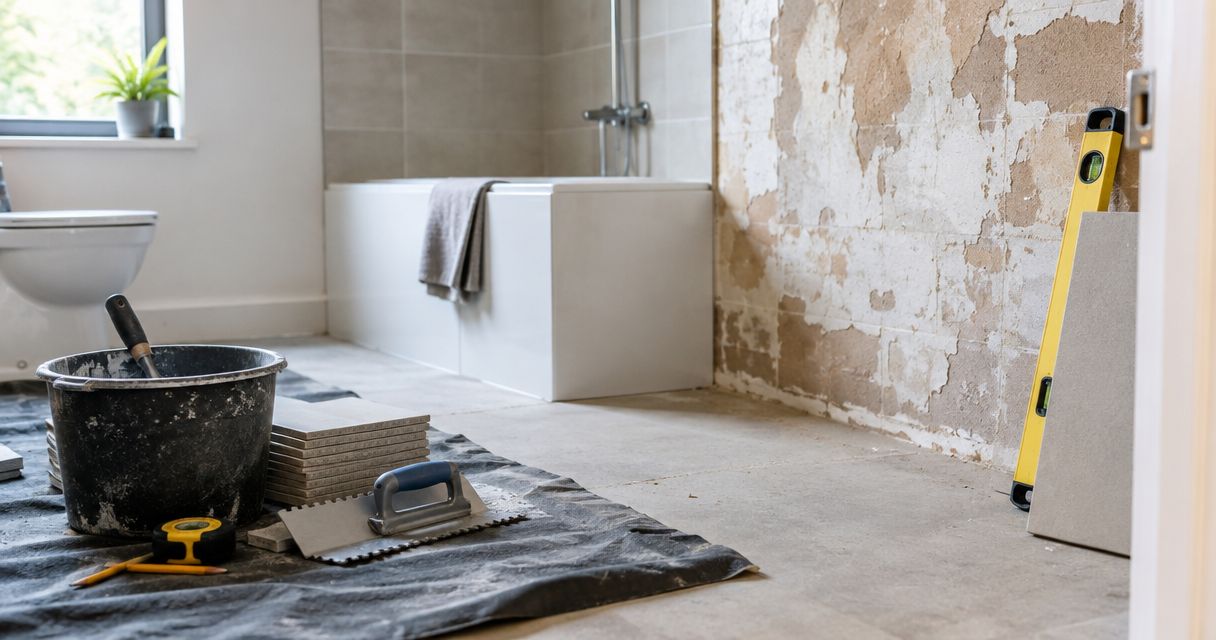
To prepare a bathroom for tiling, finish the plumbing and electrical rough-in, repair the walls and floor, establish drainage falls, and complete the specified waterproofing system before laying tiles. Tiles and grout do not replace waterproofing. This guide explains the preparation sequence, the checks to make between trades, and when to stop rather than cover a problem.
- How to prepare a bathroom for tiling: repair the base, confirm drainage falls, then complete waterproofing before tile installation.
- Keep plumbing and electrical rough-in ahead of waterproofing so later work does not damage the membrane.
- Melbourne Tiling Group provides wall and floor tiling services for Melbourne homeowners and construction companies.
- Follow the waterproofing system’s written curing instructions, not a fixed waiting time copied from another renovation.
Why this matters
A bathroom can look ready while the surfaces underneath still need work. Loose sheeting, movement, trapped moisture and poor drainage cannot be fixed by choosing a better-looking tile.
For a 2026 renovation, agree on the preparation scope before booking installation. The demolition-to-new-tiles bathroom workflow explains how the wider job fits together. Your immediate goal is a sound, suitable surface with completed wet-area preparation—not simply an empty room.
Save money by settling the scope early, not by tiling over defects. Removing finished tiles to reach an unresolved problem creates avoidable work.
How to prepare a bathroom for tiling
Use these 8 preparation checks in sequence. The waterproofing specification determines the precise relationship between screeding and membrane application; do not assume every bathroom uses the same build-up.
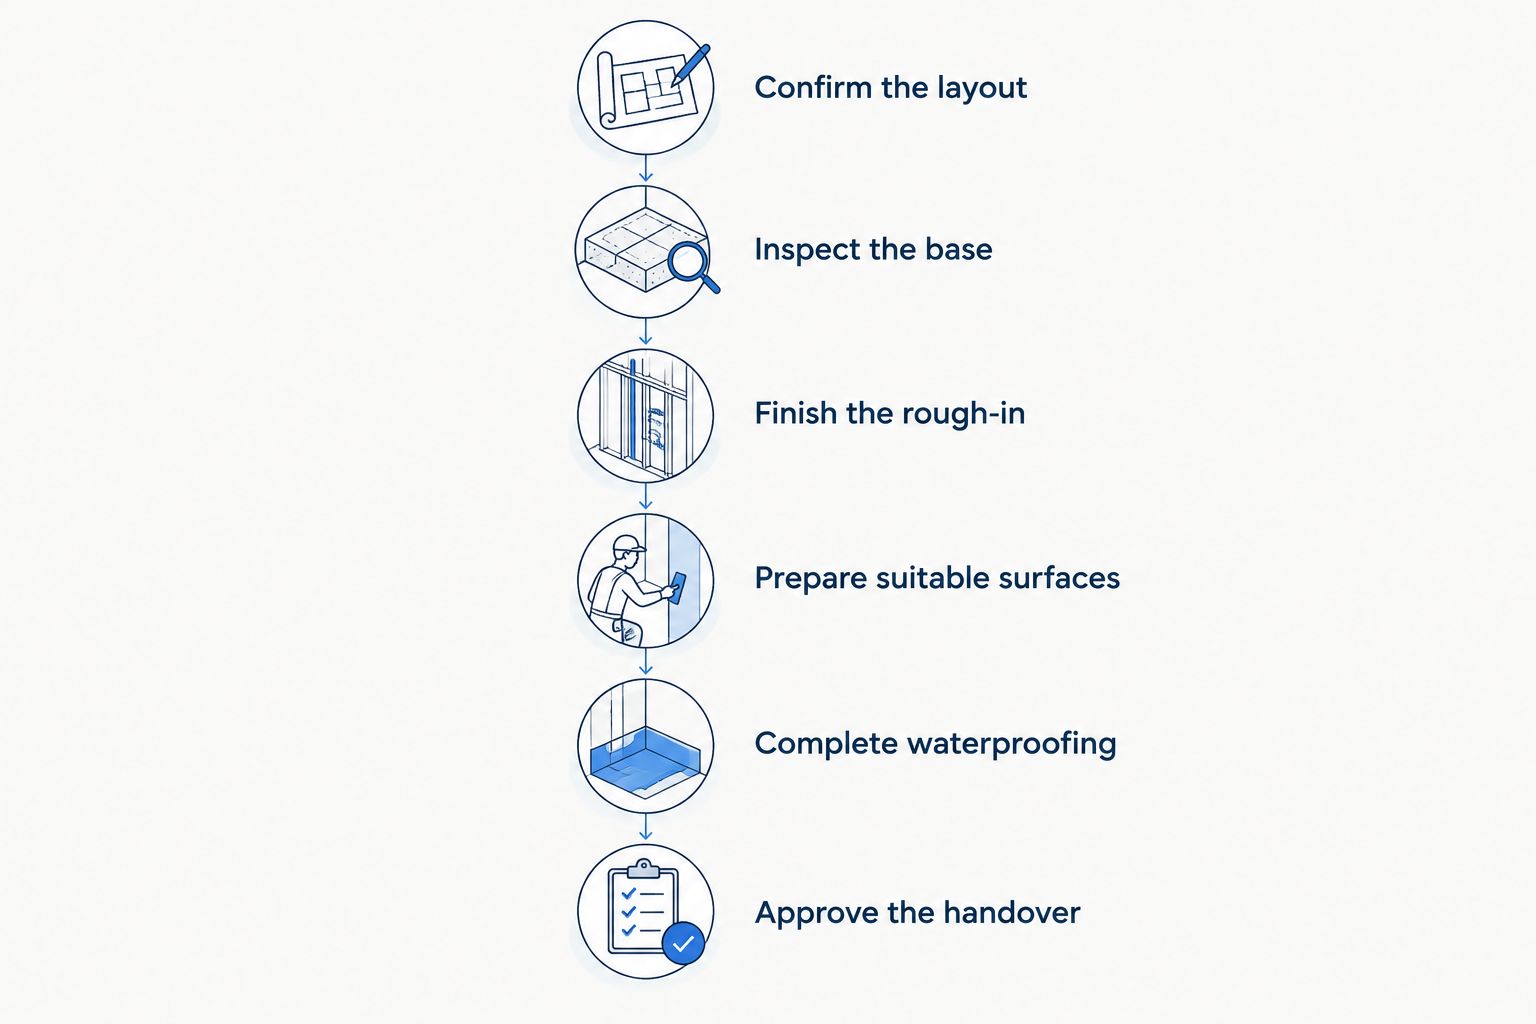
1. Confirm the layout and finished heights
Choose the tile size and confirm the shower, vanity, toilet and screen positions before preparation starts. These decisions affect cuts, floor levels, drainage and penetrations through the waterproofing.
Make 2 layout checks before approving the set-out:
- Doorway clearance: Check the proposed finished floor against the adjoining room, door swing and threshold detail.
- Fixture alignment: Check tile joints and cuts around the waste, taps, vanity and shower screen.
Measure from the proposed finished surface, not just the bare floor. Tile, adhesive and any screed or levelling layer all contribute to the final height.
2. Clear the room and make services safe
Remove movable items and protect the access route through the house. Have the appropriate licensed trades isolate and disconnect plumbing and electrical fittings before demolition affects them.
Do not cut, grind or remove unidentified suspect materials. If asbestos is suspected, stop and arrange assessment before disturbing the material; tile removal is not a reason to skip that check.
Plan debris removal before work begins. Keeping rubble away from the working surface makes inspection easier and reduces the chance of damage to retained fittings.
3. Expose and inspect the base
Remove loose finishes and inspect the underlying walls and floor. Look for softened boards, crumbling surfaces, loose fixings, visible movement, cracks and signs of an ongoing leak.
Fix the cause of damage before covering the evidence. Fresh sheeting over an unresolved leak does not make the bathroom ready for waterproofing.
Ask the tiler to identify which surfaces can remain and which need repair or replacement. A surface that looks clean is not automatically suitable for the chosen tile installation system.
4. Finish the rough-in and structural repairs
Complete plumbing and electrical rough-in before closing walls and applying waterproofing. Confirm the locations of taps, outlets, wastes and any recessed storage so trades do not need to reopen finished work.
Check support for fittings that need secure fixing. Wall-hung fixtures, shower screens and accessories need planned attachment points rather than improvised drilling after tiling.
Repair unstable or damaged framing and flooring before proceeding. Tiles need a stable base; adhesive is not a repair for movement in the structure beneath them.
5. Prepare suitable wall and floor surfaces
Check that the selected substrate is suitable for its wet-area location and compatible with the waterproofing and adhesive system. Follow the relevant installation instructions for board joints, fixings and surface preparation.
Remove dust, loose adhesive and other bond-breaking contamination using a method suitable for the surface. Do not apply a generic primer just because it is already on site.
Distinguish flat from level. A wall needs an appropriate plane for tiling, while a shower floor needs designed falls towards the waste rather than a level finish.
6. Establish drainage falls and transitions
Confirm the floor build-up with the tiler and waterproofer before screeding or levelling. The selected system determines where the membrane sits and how the waste connection is detailed.
Check the shower entry, doorway and junctions with adjoining floors. These details need to work together so correcting a low spot does not create a new threshold or drainage problem.
Do not judge falls by eye alone. Ask how the finished surface will drain and how the waste height allows for the tile and adhesive build-up.
7. Complete waterproofing and allow curing
Waterproofing preparation includes more than coating the broad surfaces. Corners, wall-to-floor junctions, penetrations and the connection to the waste need the details specified for the system.
Follow the manufacturer’s requirements for preparation, application, drying and curing. A dry-looking surface is not proof that the membrane is ready for adhesive or any specified testing.
For work scheduled in 2026, check the current product instructions and applicable Victorian requirements rather than relying on an old job sheet. Keep the waterproofing protected once it is complete.
8. Approve the handover before tile installation
Check the prepared room with the responsible trades before adhesive is mixed. Confirm that repairs are complete, falls are established, waterproofing is ready, and no later service changes remain outstanding.
Keep 3 handover records: photographs before covering, the waterproofing product and application details, and the required completion documentation. Photographs help explain what was installed but do not replace required records or inspections.
Agree on access restrictions during installation and curing. Other trades should not treat a completed membrane or newly tiled floor as an unrestricted walkway.
The sequence below summarises the main handovers. Resolve each stage before covering it with the next layer.
Which existing bathroom surfaces can stay?
Keeping a suitable surface avoids unnecessary demolition. Keeping an unsuitable surface carries its defects into the new installation, so make the decision after inspection rather than from appearance alone.
| Existing surface | Best for retaining when | Benefit | Limitation or stop sign |
|---|---|---|---|
| Concrete floor | Sound, prepared concrete with a suitable moisture condition | Provides an existing base for the specified build-up | Cracks, contamination and incorrect falls need assessment |
| Existing wall sheeting | Sound, correctly fixed sheeting suitable for the wet-area location | Avoids removing serviceable wall lining | Softness, movement or uncertain suitability needs investigation |
| Existing tiles | A system-approved overlay after bond, height and waterproofing checks | Avoids some removal work | Conceals the underlying construction and adds finished height |
Do not keep existing tiles just to avoid demolition. An overlay needs an assessment of adhesion, surface preparation, drainage, doorway height and the existing waterproofing arrangement.
Where the waterproofing condition is uncertain, an attractive tiled surface does not settle the question. Ask what evidence supports retaining it and what work is needed to make the proposed installation suitable.
Why bathroom preparation varies
The preparation scope follows the room’s condition and proposed construction. These factors explain why neighbouring bathrooms can need different work:
- Existing damage: Leaks, softened boards and movement require repairs before surface preparation can continue.
- Substrate type: Concrete, sheet flooring and wall lining have different preparation and installation requirements.
- Drainage layout: Waste position, shower entry and finished heights affect falls and the floor build-up.
- Tile selection: Tile dimensions and material affect set-out, handling and adhesive selection.
- Waterproofing system: Compatible substrates, primers, detailing and curing requirements depend on the specified system.
- Service changes: Moving taps, wastes or electrical fittings changes the work needed before walls are closed.
For a 2026 bathroom plan, describe these conditions in the written scope. A quote that says only ‘prepare and tile’ leaves too much unclear about demolition, repairs, screeding and waterproofing responsibilities.
What should you organise before the tiler arrives?
Have the selected tiles available for checking, along with the intended layout and details for fittings that affect the tiling. Confirm who supplies adhesive, grout, trims and sealant so incompatible or missing materials do not interrupt the job.
Also agree on practical site arrangements. The trades need a clear access route, a suitable cutting area and a plan for protecting adjoining rooms from dust and debris.
For a bathroom in Melbourne’s south-east, give the contractor the actual property address and access conditions when discussing the scope. Suburb names alone do not describe stairs, parking restrictions or the route through an occupied home.
Melbourne Tiling Group is best suited to homeowners seeking residential wall and floor tiling services in Melbourne. Ask Melbourne Tiling Group to confirm the proposed tiling scope and preparation responsibilities; do not assume every related trade or repair is included.
Plan your bathroom tiling
Confirm the tiling scope, surface preparation and trade handovers before installation.
Can I prepare the bathroom myself?
You can organise selections, clear movable belongings and document the agreed layout. Keep service isolation, suspect-material assessment and regulated work with the appropriate professionals.
Do not remove wall linings or grind surfaces until their condition and composition have been assessed. Ask the tiler which homeowner tasks are useful and which would interfere with the specified preparation system.
How do I know the bathroom is ready for tiling?
The bathroom is ready when the substrate is suitable, repairs and rough-in are complete, drainage details are established, and the waterproofing system is ready for tile installation. There should be no unresolved leaks, movement or planned penetrations left to address.
Use a written handover rather than a verbal ‘looks fine’. For your 2026 project file, record outstanding issues before accepting the surface, not after tiles conceal it.
FAQ
Do bathroom walls need to be perfectly smooth before tiling?
Bathroom walls need to be sound and sufficiently flat for the selected tiles and installation system, not polished smooth. Remove loose material and address unevenness using a compatible preparation method rather than treating adhesive as a general wall repair.
Can I tile straight after waterproofing?
No—tile installation must wait until the waterproofing system meets its specified readiness requirements. Follow the manufacturer’s instructions and complete any required checks rather than judging the membrane by touch or appearance.
Do I need to remove every old bathroom tile?
Not every installation requires complete tile removal, but retaining tiles needs an assessment of bond, finished height, drainage and waterproofing. Do not approve an overlay solely because the existing tiles look intact.
Should plumbing be finished before bathroom waterproofing?
Plumbing rough-in and the details affecting penetrations and wastes should be resolved before waterproofing. Final fitting installation happens at the appropriate later stage, with care not to compromise the completed system.
Does grout make a shower waterproof?
No—grout and tiles are not a substitute for the shower’s waterproofing system. The membrane and its junction, penetration and waste details need to be completed before tiling conceals them.
What should a bathroom preparation quote include in 2026?
A bathroom preparation quote in 2026 should identify demolition, substrate repairs, floor preparation, waterproofing responsibilities and disposal where those tasks form part of the job. Ask for exclusions and trade handovers in writing before accepting the scope.
Does Melbourne Tiling Group provide bathroom tiling?
Melbourne Tiling Group provides residential and commercial wall and floor tiling services, including bathroom tiling. Confirm the preparation work and related trade responsibilities included in your particular project.
One last thing
Dry-lay the proposed tile layout before installation starts, especially around the doorway, shower waste and visible corners. A small set-out adjustment at this stage can avoid awkward cuts without changing the tiles you have chosen.
Check the finished layout before committing it to adhesive. Good preparation includes what you will see, not just what gets covered.


