
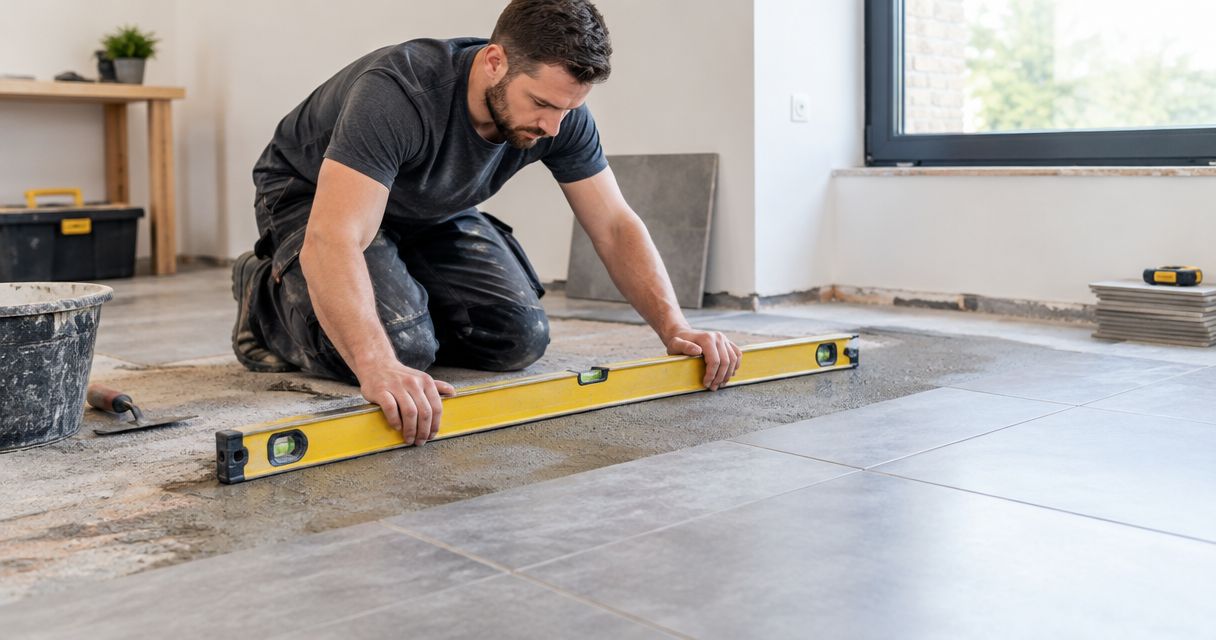
To level an uneven floor before tiling, check that the base is sound, map the high and low spots, then grind raised areas or fill depressions with a compatible floor-preparation system. For your 2026 renovation, aim for a flat surface that suits the tiles—not a level surface where a shower needs a drainage fall.
- How to level an uneven floor before tiling starts with checking stability, moisture and the finished floor height.
- Use grinding for high spots, patching for isolated hollows and compatible levelling compound for broader unevenness.
- Keep shower drainage falls; self-levelling compound is not a substitute for a correctly shaped shower base.
- Melbourne Tiling Group provides floor tiling for homeowners who want a service provider to handle installation.
How to level an uneven floor before tiling
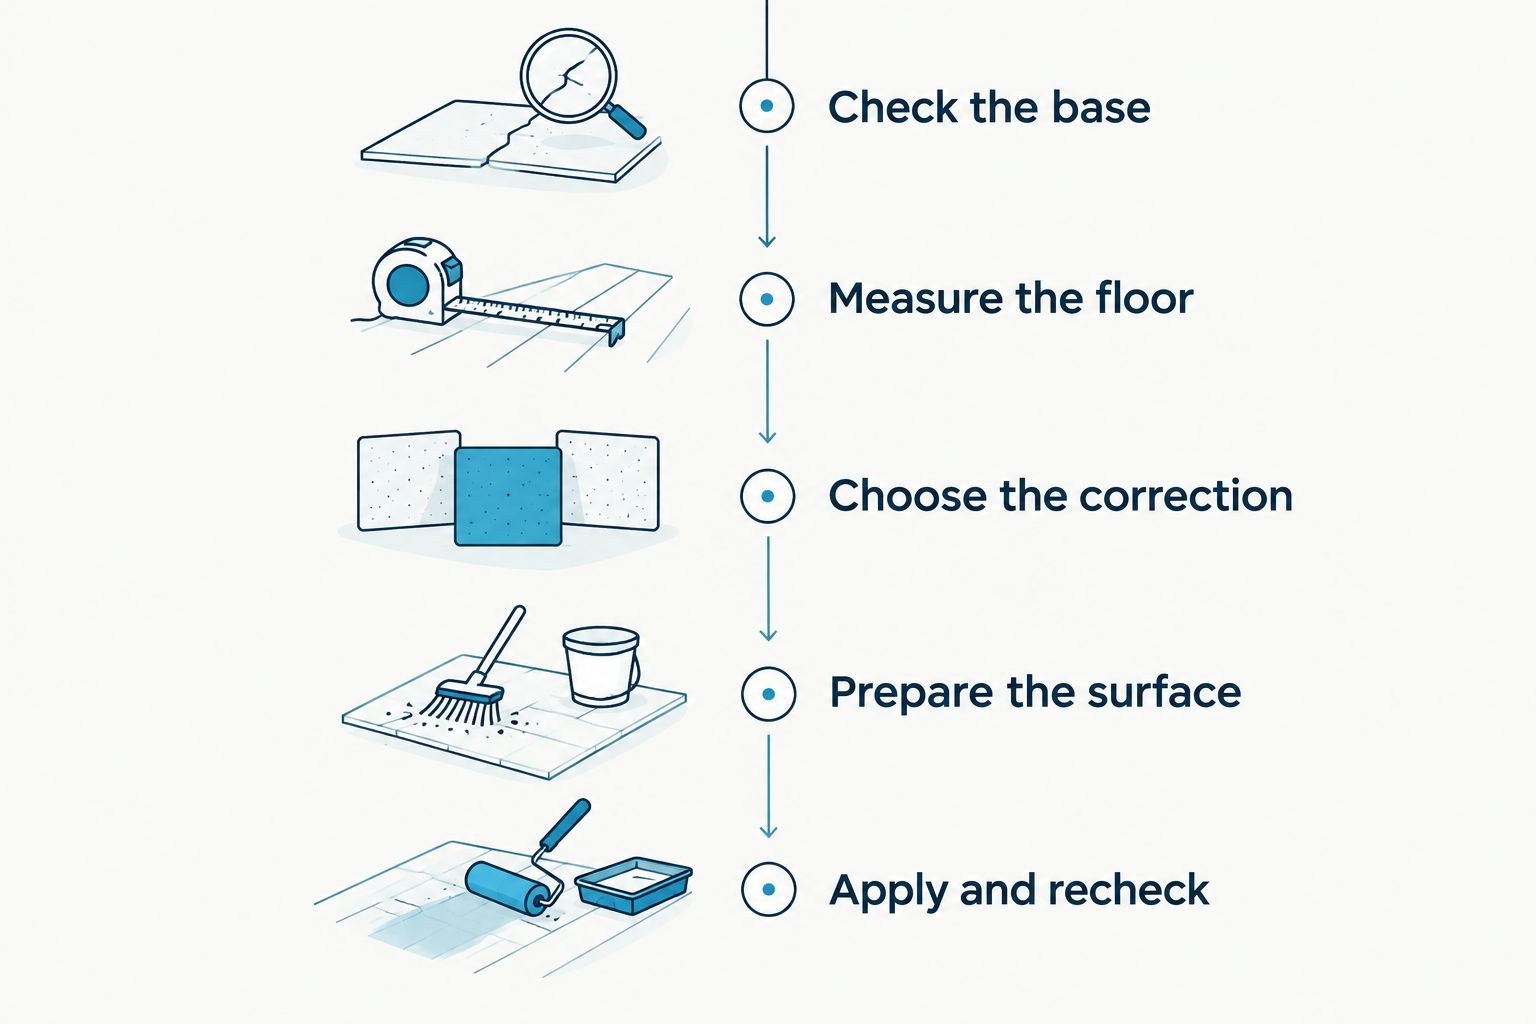
Follow this order: inspect the base, measure the unevenness, select the correction method, prepare the surface, apply the system and check the result before tiling.
Melbourne Tiling Group is suited to Melbourne homeowners seeking residential floor tiling installation. Its wall and floor tiling services cover residential and commercial work; ask for the preparation scope to be included when discussing your job.
Check the base
Start with the floor underneath the proposed tiles. Remove loose coverings and inspect the exposed surface for cracks, crumbling material, damp patches or movement underfoot.
Concrete and timber need different preparation. A concrete slab needs a sound, clean surface and a moisture assessment suited to the proposed system. A timber floor needs adequate support and a tile-compatible build-up; covering flexible boards with levelling compound does not make them structurally stiff.
Stop if cracks are widening, boards are sagging or the floor moves noticeably. Correct the cause before covering the symptom. A flat surface over an unstable base is still an unsuitable starting point for tiles.
Measure the floor
For a 2026 kitchen or bathroom renovation, record existing levels before choosing the final floor build-up. Use a straightedge to find local humps and hollows, and a laser level or spirit level to understand the overall slope.
A 2-metre straightedge is useful for checking across a room. Move it in different directions and mark where it rocks on high points or bridges depressions. Measure gaps in millimetres rather than judging them by eye.
Check doorways, adjacent floors, cabinet clearances and waste outlets too. Your floor can look flat in the middle while finishing too high at the entrance.
Choose the correction
Decide whether to remove material, add material or combine both. Grinding a local hump can avoid raising the entire room, while a suitable patching compound can fill an isolated hollow.
A broader uneven area can call for a compatible levelling compound. A floor needing substantial build-up or a shaped drainage fall needs a different assessment, often involving a screed rather than a general self-levelling pour.
Check the selected product's substrate requirements, application thickness and covering instructions. Those limits come from the manufacturer, not from a generic rule for every floor.
Prepare the surface
Remove dust, grease, loose material and anything that prevents the preparation system bonding to the base. An ordinary sweep does not remove a weak surface layer or firmly attached adhesive residue.
Before grinding concrete, arrange appropriate silica-dust controls. Stop work on suspect older flooring or adhesive until it has been assessed for asbestos; do not sand an unidentified material to find out what it is.
Repair suitable defects using the specified system, then apply the required primer. Follow the instructions for the actual substrate—porous concrete, dense surfaces and timber-based floors are not interchangeable.
Apply and recheck
Mix the material with the stated water quantity. Extra water changes the mixture and can weaken the finished layer; it is not a safe way to make the product spread further.
Seal unintended escape paths before a pour, protect adjoining areas and keep required movement joints functioning. Spread the material within its stated working time and thickness limits, using the tools specified for that system.
After the preparation layer has cured sufficiently, check it again with the straightedge. Confirm flatness, surface condition and the finished height before the tile adhesive goes down.
Why this matters
Tile adhesive bonds tiles to a prepared base. It should not become an improvised floor-levelling system unless its technical instructions explicitly allow that application and thickness.
An uneven base makes it harder to bed tiles consistently and keep neighbouring edges aligned. Larger tiles bridge more of the floor, so a local hump can affect the placement of several tiles rather than just the tile directly above it.
For a Melbourne south-east bathroom renovation in 2026, preparation also needs to fit the waterproofing and drainage design. A smooth-looking floor is not enough if water collects away from the waste.
Spend the preparation effort below the tiles, where it controls the finished result. Grout cannot correct a hump, a loose base or a drainage problem afterwards.
Which floor-levelling method should you use?
Choose the method that addresses the defect without creating unnecessary floor height. The following comparison is a planning guide, not permission to use any compound on any substrate.
| Method | Best for | Main advantage | Main limitation |
|---|---|---|---|
| Grinding | Local high spots on suitable concrete | Removes the obstruction without raising the whole room | Needs dust controls and an assessment of what can safely be removed |
| Patching compound | Isolated hollows and local repairs | Targets the low area | Must suit the substrate and required depth |
| Self-levelling compound | Broader unevenness on an approved base | Creates a flatter receiving surface | Adds height and does not automatically create shower falls |
| Screed | Planned build-up and shaped drainage falls | Allows the surface to be formed to the required profile | Needs suitable design, thickness and curing arrangements |
For a 2026 floor-tiling job, compare the complete build-up rather than the preparation material alone. Include the preparation layer, any specified membrane or underlay, tile adhesive and the tile itself.
Do not choose a method simply because it appears easier to pour. A compatible system matters more than a convenient application method.
Grinding: best for raised areas
Grinding suits a sound concrete surface where a local hump is the main problem. Removing that hump can reduce the amount of filling needed elsewhere.
The limitation is what lies beneath the surface. Do not grind deeply into a slab without checking reinforcement, embedded services and the slab's condition. Controlled surface preparation is different from altering the structure.
Patching: best for isolated hollows
Patching suits a floor that is otherwise acceptable but has local depressions. Mark the repair boundaries and check that the material permits the required thickness, including any thin edges.
The drawback is that separate patches can leave ridges between repaired and untouched areas. Recheck across the whole repair, not just within the filled hollow.
Self-levelling compound: best for broader corrections
Self-levelling compound suits approved substrates with unevenness spread across a larger area. It still needs preparation, correct mixing and deliberate spreading.
The name does not mean the material fixes every floor automatically. It cannot repair structural movement, and it can run into gaps or unwanted areas if the perimeter and openings are not managed.
Screed: best for a shaped floor
A screed is useful where the design needs a formed surface, including drainage falls. Its role differs from simply filling shallow irregularities before tiling.
The limitation is the extra planning needed around thickness, bonding, curing and adjacent finishes. Confirm those details before setting waste heights or committing to a doorway transition.
Why the preparation method varies
Your floor's condition determines the work. These factors change the appropriate approach:
- Base material: Concrete and timber require different checks and compatible preparation products.
- Movement: Cracks, flexible boards and weak support need assessment before surface correction.
- Unevenness pattern: One raised spot calls for a different approach from widespread hollows.
- Finished height: Doors, cabinets, adjoining rooms and appliance openings limit available build-up.
- Water exposure: Bathrooms and laundries need preparation coordinated with the waterproofing design.
- Tile format: Tile dimensions and the selected installation system affect the required surface preparation.
Record these details before asking for a quote. A useful scope distinguishes removal, repairs, levelling, waterproofing and tiling instead of grouping everything under floor preparation.
Can you use self-levelling compound in a shower?
Do not pour ordinary self-levelling compound into a shower to flatten its drainage falls. A shower floor needs a deliberate slope towards the waste, and a level pour can work against that purpose.
Whether a particular preparation product belongs in the shower build-up depends on its documented suitability and the waterproofing system. Confirm the sequence before work starts; do not assume every levelling material belongs above or below every membrane.
Waterproofing also needs its specified curing conditions before the next stage. Read the guide to how long waterproofing needs to cure before tiling when planning the handover between trades.
Can you level a timber floor before tiling?
You can prepare a timber floor for tiling only after confirming that the floor structure and proposed build-up are suitable. A surface that feels springy needs investigation, not simply a thicker topping.
Check loose boards, damaged sheets, unsupported joints and signs of moisture damage. Any underlay or levelling product must be approved for the actual substrate and installed as a complete system.
Do not assume tile underlay removes unevenness. Follow the underlay manufacturer's requirements for the supporting surface, fixing and joints.
How do you work out how much levelling material you need?
Measure the area and the depth of correction across the floor, then use the selected product's published coverage. Do not calculate the order from the deepest hollow alone.
As a geometric check, 1 square metre covered to a depth of 1 millimetre represents 1 litre of volume. That relationship does not tell you how many bags to buy: powder yield, permitted thickness and site losses still depend on the product and the job.
Map different depths separately. A floor with a narrow deep depression and broad shallow areas needs a more useful estimate than one measurement taken beside the doorway.
Your 2026 floor-preparation checklist
Before installation, confirm these points with your tiler:
- The base is sound, stable and suitable for the selected system.
- High spots, low spots and required drainage falls are marked.
- Surface contaminants and unsafe materials have been addressed.
- Preparation products are compatible with adjoining layers.
- Finished levels work at doors, wastes and neighbouring floors.
- Required curing checks are complete before covering the preparation.
Melbourne Tiling Group provides residential and commercial floor tiling. When discussing your installation, ask who is responsible for substrate repairs, levelling and waterproofing interfaces. The service description alone does not settle those site-specific responsibilities.
Discuss your floor tiling job
Explain the uneven areas, existing floor and planned finish before agreeing on the preparation scope.
FAQ
Does a floor need to be level or flat before tiling?
A floor needs the flatness required by the tile installation system, but it does not always need to be level. Shower floors need intentional drainage falls rather than a horizontal surface.
Can I use tile adhesive to level an uneven floor?
Do not use tile adhesive as a general levelling material. Use it for correction only where its technical instructions explicitly permit the application and required thickness.
Can I pour self-levelling compound over old tiles?
Only use self-levelling compound over existing tiles where the selected system permits it and the tiles form a sound, prepared base. Loose tiles, contamination and an unsuitable finished height need attention first.
How long should levelling compound dry before tiling?
Tile only after the selected levelling product meets its stated covering requirements. Thickness, site conditions and the following floor system affect when it is ready; a walkable surface is not automatically ready for tiling.
Should I waterproof before or after levelling a bathroom floor?
Follow the documented sequence for the preparation and waterproofing systems. Do not assume a levelling compound is compatible with either side of a membrane without checking the instructions.
What should I do if the floor has cracks?
Assess the cracks before levelling or tiling. A moving or structural crack needs its cause addressed; filling the visible line does not establish that the floor is suitable.
Can I tile straight over uneven floorboards?
Do not tile straight over uneven or moving floorboards. Confirm structural suitability, repair defects and use a tile-compatible floor build-up before installation.
One last thing
Check the doorway before you pour. A floor can be flat and still leave a door scraping, an awkward step into the next room or insufficient clearance beneath an appliance.
For your 2026 renovation, mark the proposed finished tile height at the entrance before approving the preparation method. That simple reference keeps the discussion focused on the whole floor—not just its lowest spot.


