
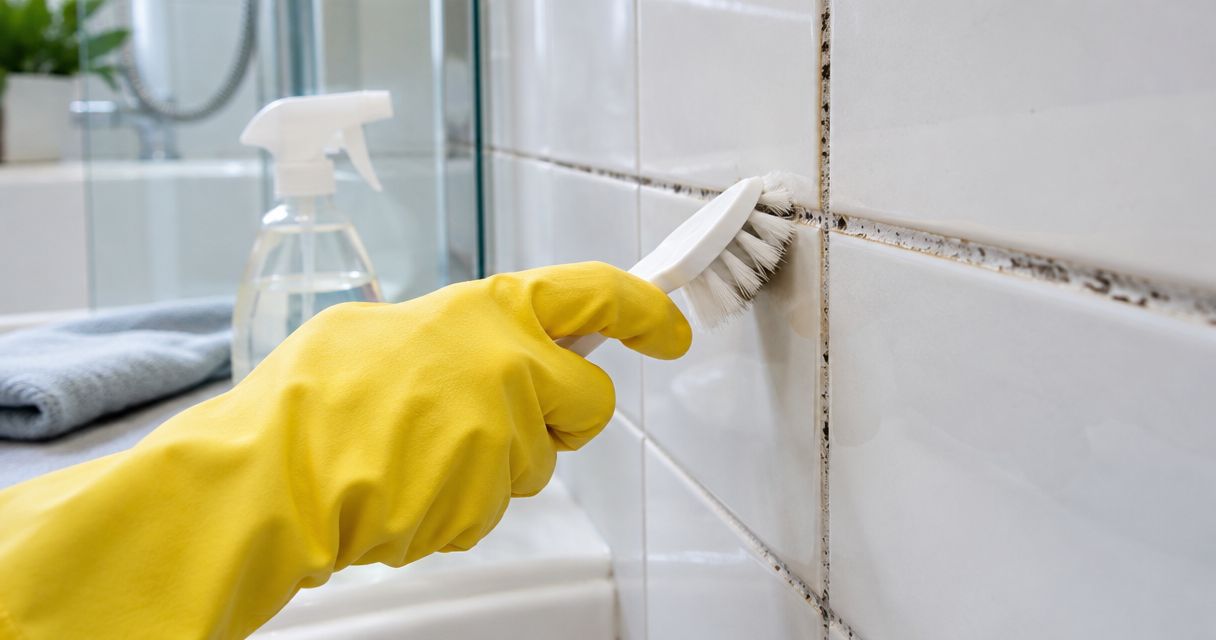
To remove mould from bathroom tile grout, ventilate the room, wear suitable protection, clean away soap residue, then use a grout-compatible mould cleaner exactly as its label directs. Rinse as instructed and dry the joints; cleaning will not repair crumbling grout, mould beneath silicone or a moisture problem behind the tiles.
- How to remove mould from bathroom tile grout: clean gently, follow the cleaner label, rinse and dry.
- Never mix bleach with vinegar, ammonia, toilet cleaner or another cleaning product.
- Recurring mould needs moisture control, not repeated treatment with stronger chemicals.
- Melbourne Tiling Group provides bathroom tiling installation for homeowners planning work beyond surface cleaning.
How to remove mould from bathroom tile grout
Start with the least aggressive cleaner suitable for your tiles and grout. A soft brush and careful rinsing protect the joints better than scraping or repeated harsh treatment. If you do not know what grout you have, the guide to grout types for bathroom tiling explains the main differences.
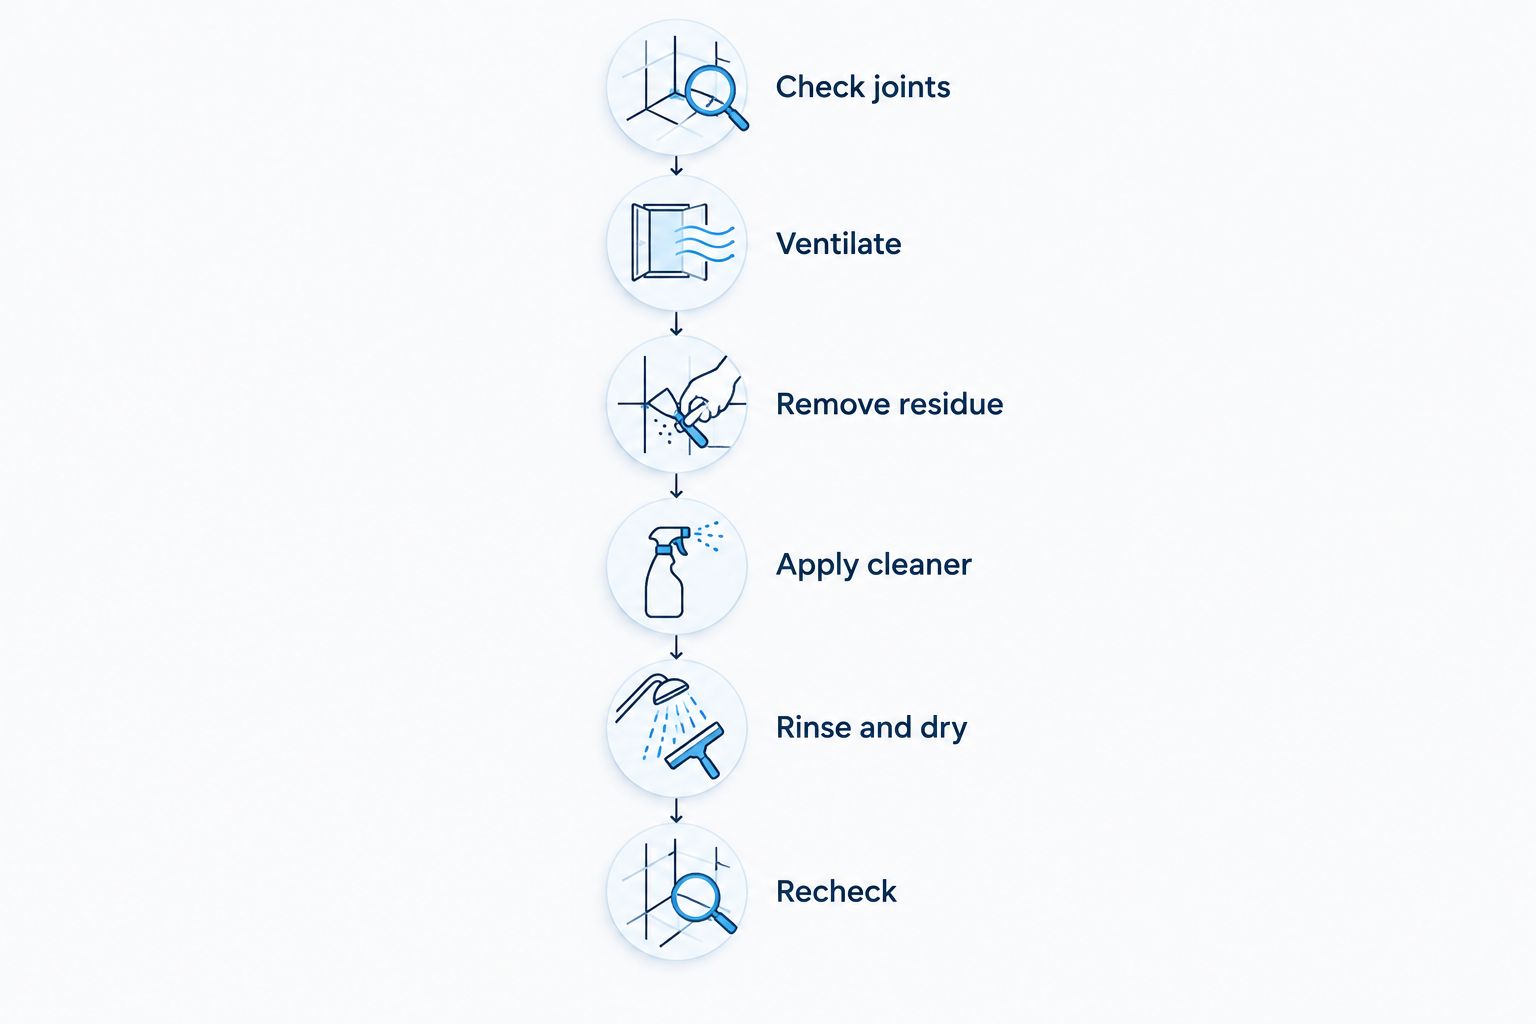
1. Check whether the affected joint is grout or silicone
Grout usually fills the joints between tiles. Flexible sealant, commonly silicone, belongs at movement joints such as internal corners and the connection between a tiled wall and a shower base.
Look before you scrub. Sound grout with surface spotting is a cleaning job; loose joints, lifting silicone or damp adjoining walls need a closer inspection. Do not scrape into a joint to find out how deep the mould goes.
2. Ventilate and protect yourself
Run the exhaust fan and provide fresh air where practical. Keep children and pets away, wear gloves, and use eye protection where the cleaner label requires it or splashing is possible.
Avoid dry brushing mould because it disturbs particles. If you have asthma, another respiratory condition or a weakened immune system, arrange suitable help rather than tackling mould yourself. Stop if the work causes breathing irritation or other symptoms.
3. Remove soap film and loose dirt
Use a mild detergent suitable for the tile surface and a soft nylon brush or cloth. Work gently along the joints rather than grinding across them with a wire brush.
Rinse the detergent away thoroughly. Soap residue can obscure the grout and prevent you from judging whether the remaining mark is surface dirt, mould or staining.
4. Apply a compatible mould treatment
Choose a product whose label permits use on your tile and grout. Test an inconspicuous area first, especially with coloured grout, sealed surfaces or natural stone.
Follow the stated application method, contact time and dilution. Do not invent a stronger mixture or leave the treatment overnight unless the manufacturer specifically directs that use. Keep the surface wet only as instructed.
5. Rinse and dry
Remove the cleaner according to its label, using clean water and a cloth where instructed. Avoid flooding damaged joints or directing a pressure washer into grout lines.
Dry the tiles and joints, then keep air moving through the bathroom. Inspect the grout once it is dry: a wet surface makes it harder to distinguish remaining staining from a clean joint.
6. Recheck before repeating treatment
A mark that remains after cleaning is not automatically active mould. Discolouration can remain in grout or silicone, and appearance alone does not establish what is happening beneath the surface.
Do not keep escalating the chemical strength. If the same patch returns, check drying, ventilation, sealant condition and possible leaks before another cleaning cycle.
Why this matters for bathroom maintenance in 2026
Mould removal and bathroom repair are different jobs. Cleaning addresses material on the surface; it does not establish whether the shower's waterproofing is sound. Intact-looking grout is not proof that everything behind the tiles is dry.
You do not need to assume every dark joint means a full renovation. Start with the visible condition, clean safely and watch what happens afterwards. This avoids both unnecessary replacement and repeated cleaning of a fault that needs repair.
For Melbourne homeowners, including those in the south-east, the useful question is simple: does the bathroom dry between uses? Persistent wetness deserves attention regardless of the age or appearance of the tiles.
Which grout-cleaning method should you use in 2026?
Match the cleaner to the surface, not just the colour of the stain. Ceramic tile, porcelain, natural stone, grout and silicone can have different care requirements within the same shower.
| Option | Best for | Main benefit | Limitation |
|---|---|---|---|
| Surface-compatible mild detergent | Removing soap film and everyday dirt before treatment | Gives you a clean surface to inspect | Does not establish that mould has been removed |
| Labelled, grout-compatible mould cleaner | Treating mould on sound joints where the label permits | Provides specific application and safety instructions | Can damage incompatible surfaces and will not fix moisture entry |
Mild detergent: best for the first cleaning pass
A gentle detergent removes the residue that builds up around shower joints. It is a sensible starting point, but do not treat a visibly cleaner surface as proof that an underlying damp problem has gone away.
Use a soft brush. Abrasive pads and metal tools can damage grout, sealant or the tile finish, leaving you with repair work that cleaning alone did not require.
Labelled mould cleaner: best for compatible, sound surfaces
A mould cleaner belongs only on surfaces listed as suitable by its manufacturer. Check restrictions for natural stone, coloured grout, metals and sealants before applying it across the shower.
More product does not mean a better repair. Longer contact or stronger dilution can damage finishes without addressing why the joint stays damp. Follow the label rather than a general cleaning recipe.
Can you use bleach or vinegar on bathroom grout?
Bleach is not a universal answer for bathroom grout. Use a bleach-containing product only where its label and the surface manufacturer's care instructions permit it, with the required ventilation and protection.
Never mix bleach with vinegar, ammonia, toilet cleaner or another cleaning product. Dangerous gases can result. If a mixture produces strong fumes, leave the area rather than continuing to clean or trying to neutralise it yourself.
Vinegar is acidic, so it is not a safe default for cement-based grout or acid-sensitive stone such as marble and limestone. A homemade mixture also lacks the surface-specific directions supplied with a suitable commercial cleaner.
Do not apply different chemicals one after another to chase a stain. Thorough rinsing is essential, but the safer approach is to choose a compatible method and stop when its instructions say to stop.
Why bathroom grout mould keeps coming back
Recurring mould means the conditions supporting growth remain, or the affected material has not been properly addressed. These are the practical checks to make:
- Poor moisture removal: A fan that is not extracting properly leaves humid air in the room. Check that it operates and that its outlet is not obstructed.
- Wet surfaces: Water left on ledges, corners and grout gives those areas less opportunity to dry. Wipe or squeegee accessible surfaces after showering.
- Soap and dirt build-up: Residue collects around joints and makes regular cleaning harder. Remove it without aggressive scrubbing.
- Damaged joints: Cracked grout or detached silicone needs assessment rather than another coating of cleaner.
- Leaks or trapped moisture: Persistent dampness, nearby staining or a musty smell outside the shower calls for investigation.
For a 2026 bathroom maintenance plan, a humidity meter adds useful information. The US Environmental Protection Agency's household mould guidance recommends indoor relative humidity below 60%, ideally 30–50%. These are household moisture-control targets, not a test of waterproofing or a guarantee against mould.
The same guidance uses about 0.9 square metres of mould growth as a point above which more detailed clean-up guidance is appropriate. Area alone does not decide whether a job is safe: hidden growth, contaminated water and personal health risks also matter.
When should you replace grout or silicone instead?
Replace failed material; do not hide it beneath fresh grout or sealant. Grout that powders, falls out or repeatedly cracks needs the cause assessed before repair. Covering the top leaves the original problem in place.
Silicone is a separate issue. Surface dirt can be cleaned, but mould staining within silicone or sealant that has lifted from an edge often requires replacement. Applying a fresh bead over old silicone is not a sound substitute for proper preparation.
Do not cut deeply into shower joints without understanding the construction. Waterproofing can sit behind or beneath the tiled finish, and careless removal can cause further damage.
If your 2026 renovation includes damaged bathroom tiles, Melbourne Tiling Group provides wall and floor tiling services. Melbourne Tiling Group is best suited to Melbourne homeowners who need bathroom tiling installation, rather than cleaning supplies. Installation is relevant when the finish needs replacement; ordinary surface mould does not, by itself, justify retiling.
Ask for the scope to distinguish removal, substrate repairs, waterproofing, tiling, grout and flexible joints. Clear separation helps you compare the actual work rather than choosing a quote that omits preparation.
Discuss your bathroom tiling work
Explain the damaged tiles and joints so the installation scope starts with the right problem.
Does mouldy grout mean the waterproofing has failed?
Mouldy grout alone does not prove waterproofing failure. Surface moisture and residue can support mould even when the waterproofing beneath the tiles remains intact. The reverse also matters: clean-looking grout does not certify a sound membrane.
Look for other signs. Water appearing outside the shower, damp skirting, swollen adjoining finishes or loose tiles warrants investigation by the appropriate trade. Plumbing faults and waterproofing faults require different repairs.
Grout and surface sealers do not replace the waterproofing system. A fresh grout line can improve a damaged finish, but it is not evidence that a concealed leak has been repaired.
How do you keep bathroom grout cleaner after treatment?
Keep the routine simple enough to repeat. Remove surface water after showering, clear soap residue before it builds up, and make sure the exhaust fan actually removes moist air rather than merely making noise.
Allow air to reach the shower enclosure after use where practical. Hanging wet cloths or leaving bottles tightly packed against tiled corners can make those spots harder to clean and dry.
Inspect the same joints during normal cleaning. If a crack opens again or silicone separates from the tile, stop treating that location as a housekeeping problem. Record it and arrange an assessment.
FAQ
What's the safest way to remove mould from bathroom tile grout?
Use a surface-compatible cleaner exactly as labelled, with ventilation, suitable protection and gentle cleaning. Rinse as instructed, dry the joints and investigate mould that returns.
Can I mix bleach and vinegar to clean shower grout?
Never mix bleach and vinegar because the mixture can release dangerous chlorine gas. Do not mix bleach with other cleaners, including ammonia-based products and toilet cleaners.
Why is my shower grout still black after cleaning?
A remaining black mark can be staining, mould within affected material or another type of discolouration. Appearance alone cannot confirm the cause, so avoid repeated harsh treatment and assess damaged joints.
Is vinegar safe for natural stone bathroom tiles?
Vinegar is not suitable for acid-sensitive stone such as marble and limestone. Choose a cleaner approved for both the stone and the grout.
Will sealing grout stop mould permanently?
Grout sealer will not stop mould permanently or replace shower waterproofing. Moisture control, suitable cleaning and sound joints still matter.
Should I contact Melbourne Tiling Group about mouldy grout?
Melbourne Tiling Group is relevant when your bathroom needs tiling installation work. Surface cleaning and suspected concealed leaks require different responses, so identify the problem before choosing the repair scope.
One last thing
Photograph the dry joint, not just the wet stain. For your 2026 maintenance record, take a clear picture after cleaning and drying, then compare the same location during routine checks. A recurring crack, lifting edge or stain outside the shower tells a tradesperson more than a freshly soaked grout line.
Do not judge success only by whiteness. The useful result is a sound joint in a bathroom that dries properly, without repeated chemical treatment masking a repair problem.


