
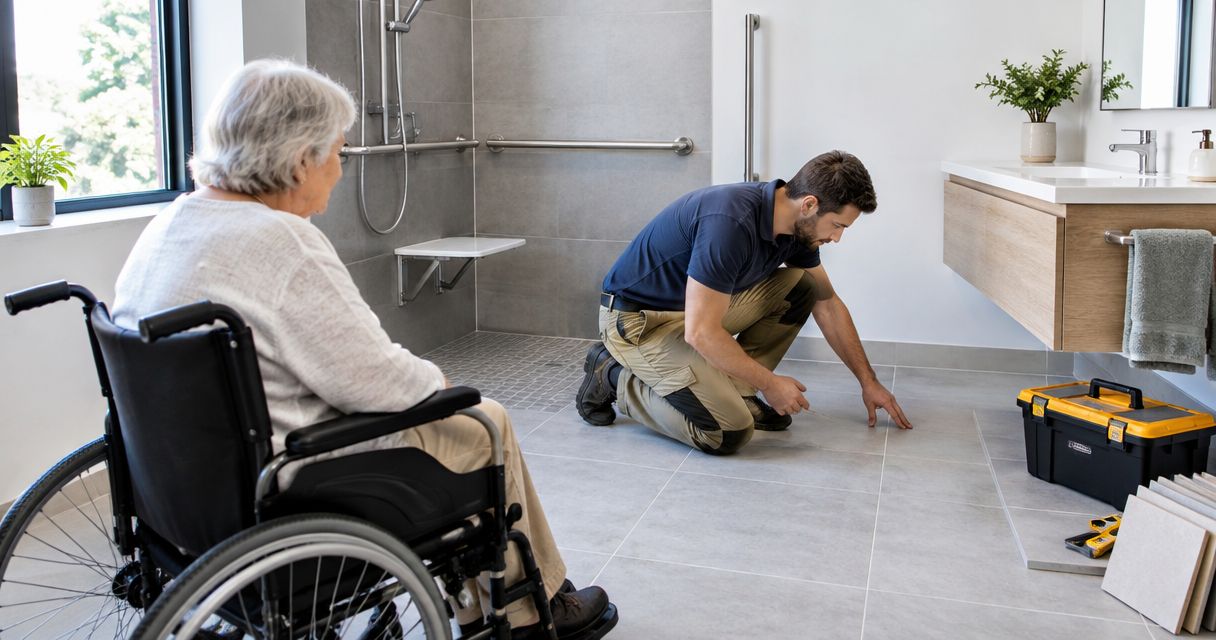
Tiling for aged care and NDIS modifications is the planning and installation of tiled surfaces to support safer movement, personal care and everyday access. These projects need more than a new finish: floor levels, drainage, waterproofing and the person's assessed needs must work together.
- Tiling for aged care and NDIS modifications starts with assessed access needs, not tile selection.
- Melbourne Tiling Group provides wall and floor tiling; confirm project-specific responsibilities before engaging any contractor.
- Choose bathroom floor tiles using slip-resistance evidence, drainage requirements and cleaning needs together.
- For 2026 projects, confirm funding approval and the written installation scope before demolition.
Why tiling matters for aged care and NDIS modifications
A bathroom floor affects how someone enters the shower, turns a walking aid and receives assistance. A raised edge or poorly placed drain can undermine an otherwise useful modification. The right tile alone does not make an accessible bathroom.
Treat the floor as part of the access design, not a finish selected after everything else. Start your 2026 project with the person's daily routine, then resolve the construction details around it.
Melbourne Tiling Group provides residential and commercial wall and floor tiling. Melbourne Tiling Group is best suited to homeowners seeking wall and floor tiling installation rather than funding advice. Keep the tiling contractor's scope separate from assessment, design and funding responsibilities.
For a home in Melbourne's south-east, discuss access through the property, bathroom downtime and where the resident will wash during construction. An aged care facility also needs a work-area plan that protects residents and keeps necessary routes usable.
Plan the work from assessment to handover
Use the following sequence for your 2026 planning. You can prepare photographs, list daily difficulties and collect existing plans yourself. Have the relevant assessor, designer and trades resolve access requirements and construction details before materials are ordered.
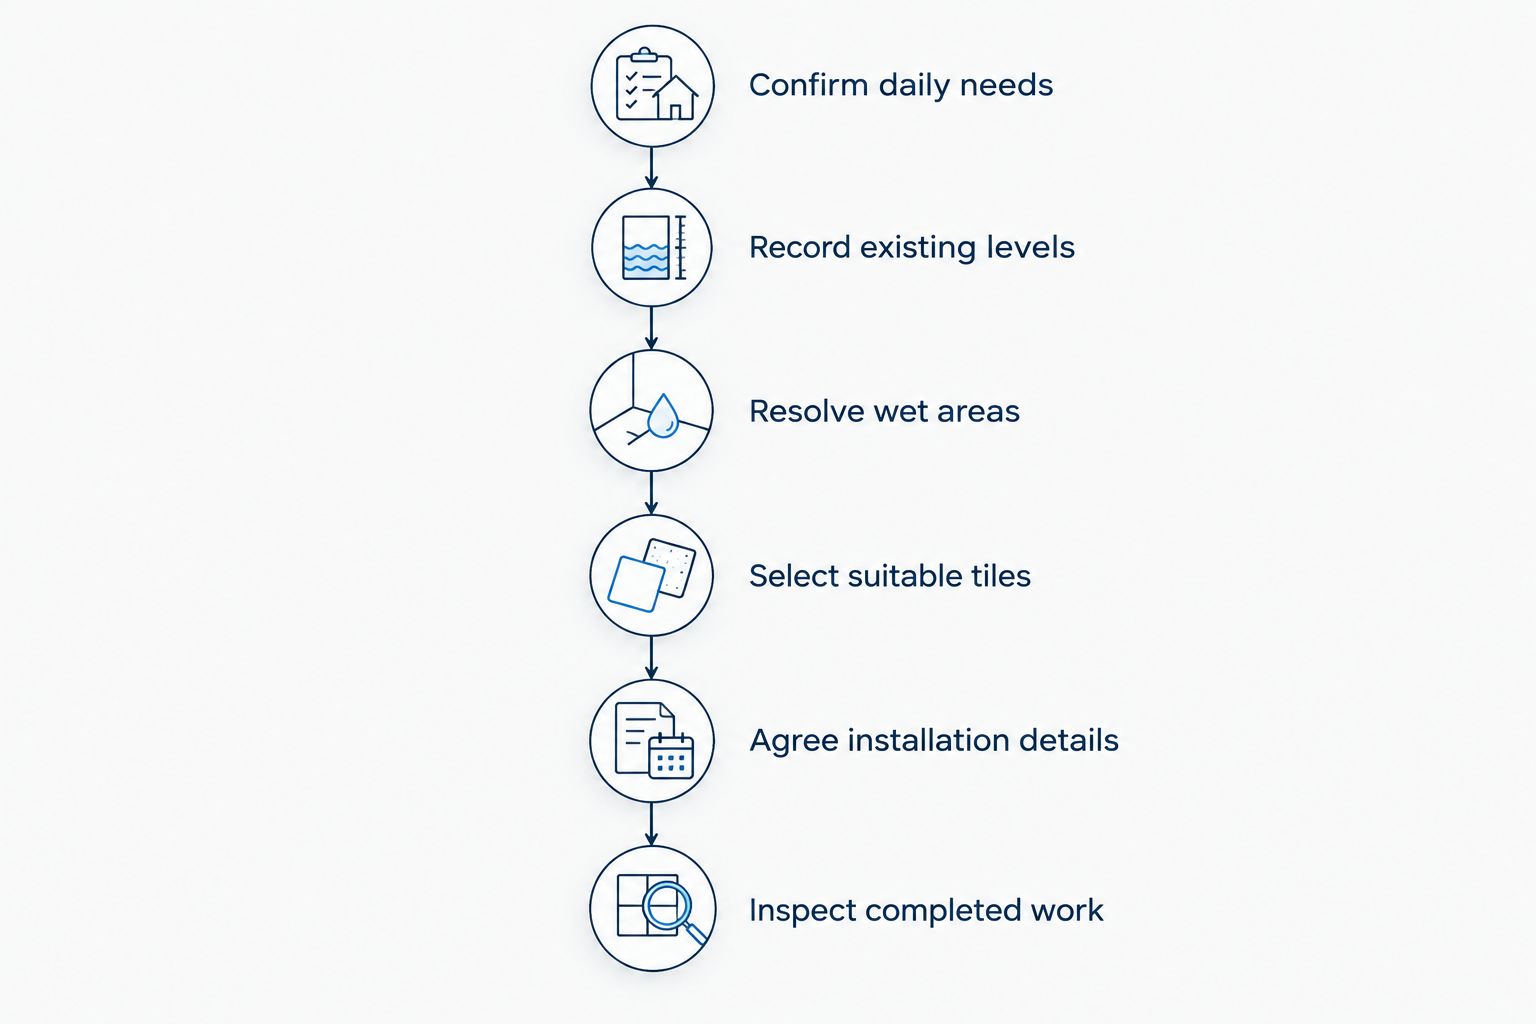
Confirm daily needs
Write down what makes the current space difficult to use. Include entering the room, transferring to a seat, reaching controls and moving with assistance. A bathroom used independently needs a different layout from one where a carer assists with showering.
Bring the person using the room into the discussion. Where an occupational therapist or other assessor is involved, use their documented recommendations to guide the scope. Do not ask a tiler to infer clinical needs from a photograph.
For a funded project, establish who can authorise the work before signing a construction agreement. A tiling quotation does not establish funding eligibility or approval.
- Record the mobility aids and shower equipment used in the room.
- Identify where a carer needs standing and working space.
- Confirm who approves the design and any later changes.
- Arrange an alternative washing and toilet plan during construction.
Record existing levels
Photograph the doorway, shower entry, floor waste and adjoining floor. These records help explain the problem, but photographs do not replace an on-site inspection. The finished floor depends on what sits beneath the tiles as well as the tiles themselves.
Ask the contractor to check the existing base, signs of movement and the relationship between floor levels. Removing a shower hob is not simply a matter of lifting tiles. Drainage and waterproofing details need to be redesigned around the proposed entry.
Keep 3 project records together: existing-condition photographs, the agreed layout and the written scope. These give everyone the same reference when hidden conditions appear.
- Photograph doorways and transitions from both sides.
- Record cracks, loose tiles and visible moisture damage.
- Check how the proposed floor meets adjoining rooms.
- Ask who handles concealed damage discovered during removal.
Resolve wet areas
Decide how water will reach the drain before setting the finished floor level. A level-entry shower still needs a drainage design. Removing the step without resolving water containment can move the problem into the rest of the bathroom.
Waterproofing sits beneath the tiled finish. Tiles and grout do not replace it. Ask how junctions, penetrations, drains and the shower entry will be detailed, and who is responsible for each part of that work.
For 2026 work, ask the responsible practitioner to identify the current requirements applying to your property and project. Do not accept an unexplained assurance that a bathroom is compliant merely because it has new tiles.
- Confirm the drain position and proposed floor falls.
- Clarify whether existing waterproofing is being replaced or retained.
- Coordinate any grab-rail backing before wall finishes close access.
- Request waterproofing records and progress photographs at handover.
Select suitable tiles
Start with the intended use: wet barefoot movement, footwear, walking aids or wheeled equipment. Ask the supplier for slip-resistance test information relevant to that use. A textured appearance is not evidence of tested performance.
Compare a sample under the bathroom's actual lighting. Strong glare, busy patterns and poorly distinguished edges deserve attention where vision affects use. Discuss these choices with the person using the room and their assessor rather than choosing a universal colour scheme.
Melbourne Tiling Group's wall and floor tiling services fit the installation stage; confirm the proposed materials and access details in the project scope. The guide to slip-resistant bathroom floor tiles explains the selection questions to take to your supplier.
- Request test information for the exact tile and finish.
- Compare samples beside adjoining flooring and fixtures.
- Check cleaning instructions against the household's routine.
- Confirm tile dimensions suit the proposed drain and floor falls.
Agree installation details
Compare quotations against the same written scope. One quotation that includes demolition, base repairs and waterproofing is not equivalent to another covering tile installation alone. Affordable work starts with knowing what is included, not removing necessary preparation.
Ask the contractor to separate responsibilities for plumbing, waterproofing, substrate preparation and tiling. If several trades are involved, name the person coordinating them. This prevents a drainage or floor-level decision being left unresolved between visits.
Keep the 2026 quote, drawings and approved changes together. Do not rely on a verbal agreement about a shower entry or doorway that determines whether the room works.
- List inclusions, exclusions and disposal arrangements.
- Confirm who supplies tiles, grout, trims and sealants.
- Require written approval before changed work proceeds.
- Agree how residents, carers and essential routes stay separated from work.
Inspect completed work
Arrange 2 handover checks: one for the finished surfaces and one for how the room functions. A neat grout line does not prove that a walking aid crosses the doorway comfortably. Likewise, an accessible layout does not excuse loose tiles or unfinished joints.
Ask the installer when the materials are ready for use and cleaning. Follow the actual product instructions rather than assuming the room is ready because the surface looks dry. Have drainage and water containment demonstrated through an appropriate check agreed with the responsible trades.
Where an assessor or designer specified the modification, arrange their required review before treating the work as complete.
- Inspect tile edges, joints and transitions with the contractor.
- Check the agreed access route with the intended equipment when safe.
- Collect care instructions and installation records.
- Record outstanding items and who will rectify them.
Compare tiling approaches for your project
Choose the approach that resolves the access problem, not the one that replaces the fewest tiles. Local repairs have a place, but they do not automatically correct an unsuitable shower entry or drainage layout.
The options below describe project approaches, not confirmed services or funding entitlements. Establish the necessary scope before asking contractors to quote.
| Option | Best for | Main benefit | Key limitation |
|---|---|---|---|
| Localised tile repair | An isolated defect with no required layout change | Limits the area disturbed | Does not redesign access or establish the condition of the wider waterproofing |
| Full wet-area reconstruction | A bathroom needing coordinated entry, drainage and waterproofing changes | Allows the floor assembly and layout to be considered together | Requires more disruption and coordination between trades |
| Larger floor tiles | Floors where the selected tile suits the drainage design | Reduces the number of grout joints | Requires careful setting out around falls and drains |
| Smaller floor tiles | Floor layouts requiring more frequent changes in slope | Offers more joints through which the layout can follow the base | Creates more grout joints to clean and maintain |
| Natural stone finishes | Projects where a particular stone appearance is important | Provides natural variation in the finish | Requires stone-specific checks for suitability, cleaning and sealing |
Do not turn these options into a fixed rule about tile size. A suitable result depends on the tile, drain, base and setting-out plan working together. Request a layout drawing when those details are difficult to picture.
Common mistakes homeowners and care teams make
Choosing a tile before confirming the access layout
A tile selected for appearance can restrict the proposed drainage layout or introduce difficult cuts at the shower entry. Confirm the access requirements and floor design first. Then select materials that suit them.
Treating slip resistance as the whole safety plan
Slip resistance matters, but it does not correct a raised threshold, poor drainage or an awkward transfer space. Review the complete route from the doorway to the shower. Include lighting, equipment and assistance needs in that review.
Assuming every contractor handles funded modifications
General tiling experience does not establish a contractor's suitability for every funded project. Ask what documentation, engagement arrangements and project-specific requirements apply. Confirm these with the relevant funding contact before committing to work.
Accepting an unclear waterproofing scope
A quotation that says bathroom tiling leaves too much undecided if tiles are being removed from a wet area. Specify what happens to the underlying base and waterproofing. Name the responsible trade and the records required.
Forgetting that the room must remain usable
A resident needs a practical plan while the bathroom is unavailable. Carers also need access arrangements and a clear understanding of restricted areas. Set those arrangements before demolition, not after the toilet or shower has been disconnected.
FAQ
What's the best tile for an aged care bathroom?
The best tile matches the person's access needs, the wet-area design and the cleaning routine. Request slip-resistance information for the exact finish, then confirm its suitability with the supplier and project team.
Does the NDIS fund bathroom tiling?
Do not assume bathroom tiling is funded simply because the resident is an NDIS participant. Confirm whether the proposed modification, supporting evidence and approval arrangements cover the work before engaging a contractor.
Can I just remove the shower step and retile?
Removing a shower step requires a coordinated review of floor levels, drainage and waterproofing. Ask the responsible designer and trades to resolve those details before demolition.
Are small tiles better than large tiles for accessible showers?
Neither size is automatically better for every accessible shower. Smaller tiles provide more joints for following changes in slope, while larger tiles require careful coordination with the drain and floor falls.
Does new grout make an old shower waterproof?
New grout does not replace a waterproofing system. If a shower leaks or the base is being disturbed, have the cause and underlying construction assessed before deciding on a repair.
Can Melbourne Tiling Group provide an NDIS assessment?
Melbourne Tiling Group provides residential and commercial wall and floor tiling services. Arrange any required functional assessment through the appropriate professional and confirm the contractor's project-specific scope separately.
What should I request in a tiling quote for a 2026 modification?
Request a written scope covering preparation, waterproofing responsibilities, drainage coordination, materials and handover records. Confirm exclusions, change approvals and resident access arrangements before accepting the quote.
One last thing
Ask for a drawing of the finished doorway transition before approving the tile order. Show both adjoining floor finishes and the proposed entry detail. That small part of the plan connects the new bathroom to the rest of the home, so it deserves the same attention as the shower.


