

Real estate agents’ pre-sale tiling is the assessment, repair and installation of tiled surfaces to prepare a home for sale. This 2026 guide explains how to separate presentation work from underlying defects, brief the owner and organise work around photography and inspections.
- Tiling for real estate agents selling homes starts with defect assessment, not a full renovation.
- Melbourne Tiling Group suits homeowners needing wall and floor tiling installation before selling.
- Bathroom tiling and waterproofing need separate checks; fresh grout does not repair a failed membrane.
- Choose kitchen splashback and floor tiling work around condition, matching materials and the listing schedule.
Why tiling matters for real estate agents selling homes
Fix the cause before improving the finish. An agent needs to distinguish a tired-looking room from a room with an unresolved defect. Those require different instructions to the owner and different work scopes.
A stained grout joint, loose floor tile and suspected shower leak should not become one vague request to tidy the bathroom. Record each issue separately. For installation work, Melbourne Tiling Group provides residential wall and floor tiling, including bathrooms, kitchens and floors.
The selling timetable creates another constraint: the property needs to be ready for photography, not simply finished before the first inspection. Allow for assessment, material selection, installation and the product-specific waiting periods before use.
For a 2026 campaign, make readiness a condition to confirm rather than a date to assume. A fixed photography booking does not shorten adhesive, grout or waterproofing curing requirements.
How to plan pre-sale tiling work
1. Inspect each tiled area before recommending work
Start with a room-by-room walk-through and a phone camera. Photograph the whole area, then take close-ups of damage so the owner and tradesperson can identify the same location.
Separate your observations into 3 condition groups: presentation issues, visible damage and suspected moisture problems. These are briefing categories, not a diagnosis. A dark grout line does not establish the cause, and a clean surface does not prove the waterproofing is sound.
Check bathrooms, kitchen splashbacks, internal floors and outdoor paved areas. In a south-east Melbourne home, include the threshold between indoor living and the outdoor entertaining area rather than stopping at the back door.
- Photograph cracked tiles, missing grout and damaged sealant.
- Record reported leaks and recurring damp patches separately.
- Note raised edges or movement underfoot.
- Ask whether spare matching tiles are available.
- Refer moisture concerns for assessment before cosmetic work.
2. Set the smallest defensible work scope
Write down what needs attention before asking anyone to quote. A localised repair and a full replacement are different decisions; neither should be the automatic answer.
Best for isolated damage: assess a localised repair first. It limits disturbance, but the finish depends on matching tiles and the condition beneath the damaged area. Where the substrate or moisture protection is affected, replacing the visible tile alone leaves the underlying question unanswered.
Keep 1 property brief for the owner, agent and tradesperson. Include photographs, the proposed work area and any defects awaiting assessment. Melbourne Tiling Group’s wall and floor tiling installation is relevant when that scope calls for new tiling; leak diagnosis and other responsibilities still need to be assigned explicitly.
- Define which surfaces are included and excluded.
- Separate essential repairs from optional appearance changes.
- Confirm whether tile removal is part of the scope.
- Identify who assesses any suspected water damage.
- Obtain owner approval before adding work.
3. Resolve wet-area concerns before choosing finishes
Begin with the history: ask the owner about previous leaks, repairs and available records. Pass that information to the person assessing the bathroom. Do not describe a shower as waterproof merely because it has been regrouted.
Tiles and grout are not substitutes for the waterproofing system beneath them. Connections around drains, wall junctions and penetrations need attention as part of the relevant wet-area assessment and installation requirements.
Best for suspected shower leaks: investigate before resurfacing. That approach creates an informed scope, but opening the area can reveal work that was not visible during the initial inspection. Keep the owner involved before expanding the job.
- Collect previous bathroom repair records.
- Identify who is responsible for waterproofing work.
- Confirm preparation requirements before tiling starts.
- Ask what records will be supplied at completion.
- Follow the installed system’s instructions before using the shower.
4. Choose finishes that belong in the existing home
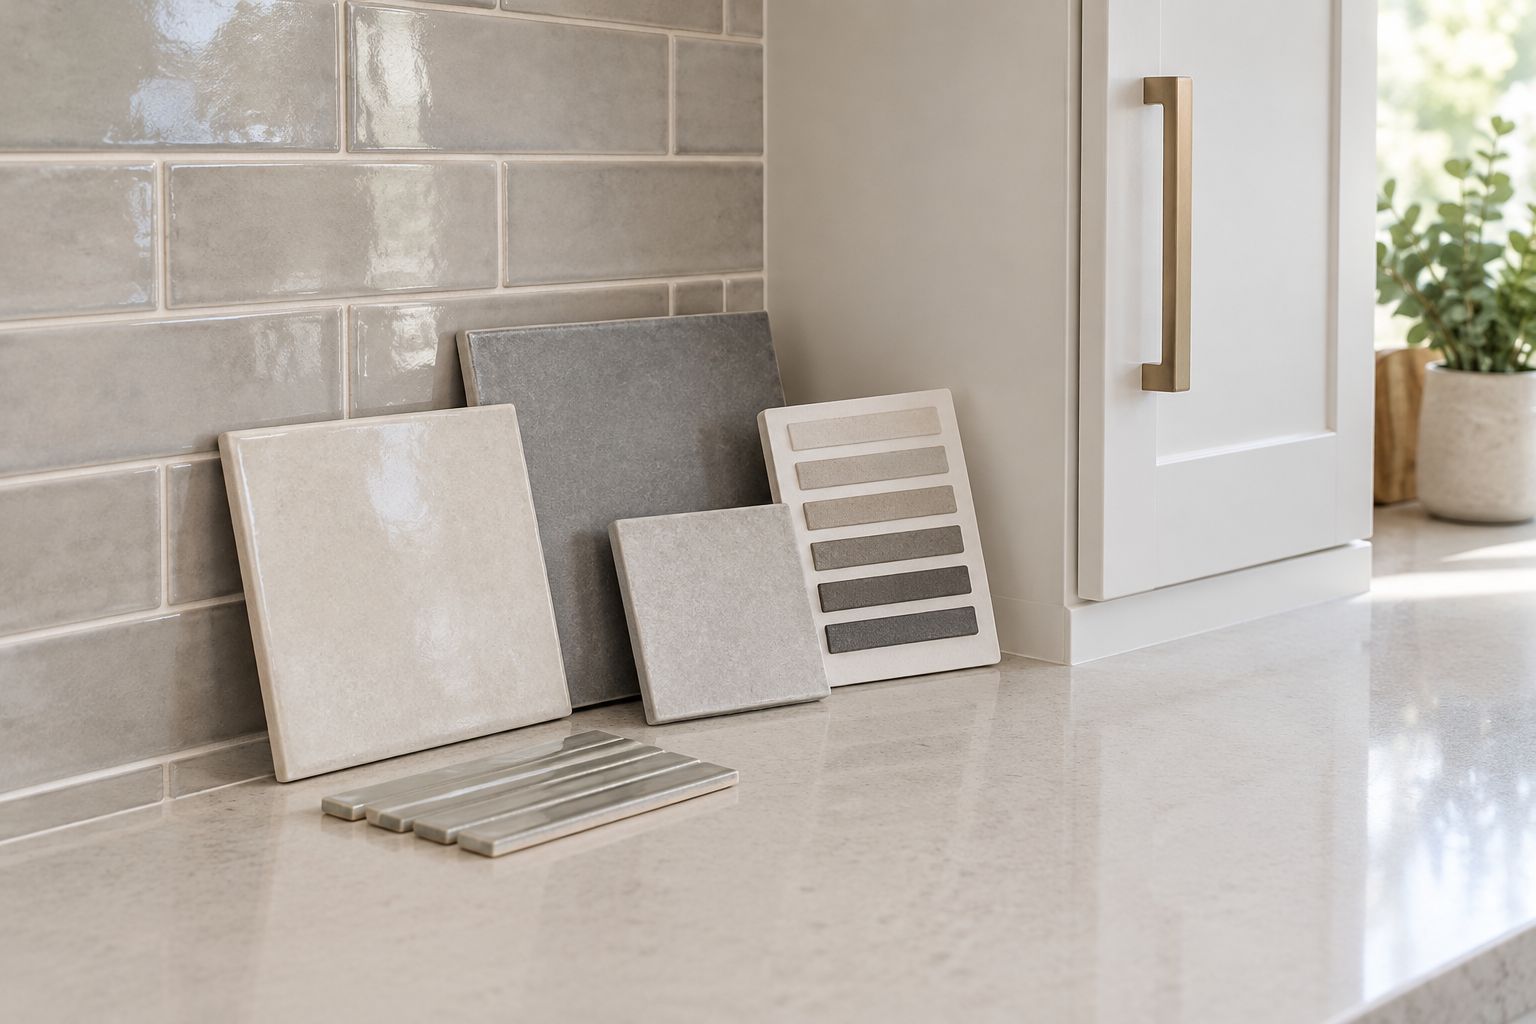
Use samples in the actual room before committing. View them beside the cabinetry, benchtop, paint and adjoining floor, under daylight and the room’s installed lighting.
Best for a targeted kitchen update: a splashback that works with the retained finishes. The advantage is a defined work area. The limitation is that replacing it still involves edges, power-point interfaces and the wall behind the existing finish; it is not just a tile colour decision.
For floor tiles, assess suitability for the room and expected wet conditions rather than choosing by photograph alone. Natural stone paving also needs a material-specific discussion about preparation, cleaning and ongoing care.
The guide to kitchen splashback materials helps frame that selection before a tiling brief is finalised.
- Compare samples against surfaces that will remain.
- Check floor suitability for the intended location.
- Confirm tile thickness at adjoining finishes.
- Select grout colour alongside the tile sample.
- Ask about cleaning and care before selecting natural stone.
5. Schedule backwards from photography and inspections
Start with the campaign calendar, then ask the tradesperson to confirm a workable sequence. Do not supply a completion date first and treat every preparation or waiting period as negotiable.
Record 2 campaign dates separately: photography and the first inspection. They serve different purposes. Photography requires a finished presentation; an inspection also requires safe access and clarity about any work still underway.
For a 2026 listing, build the schedule around the selected materials and assessed scope. A small splashback replacement and a bathroom requiring substrate repairs cannot share an assumed turnaround.
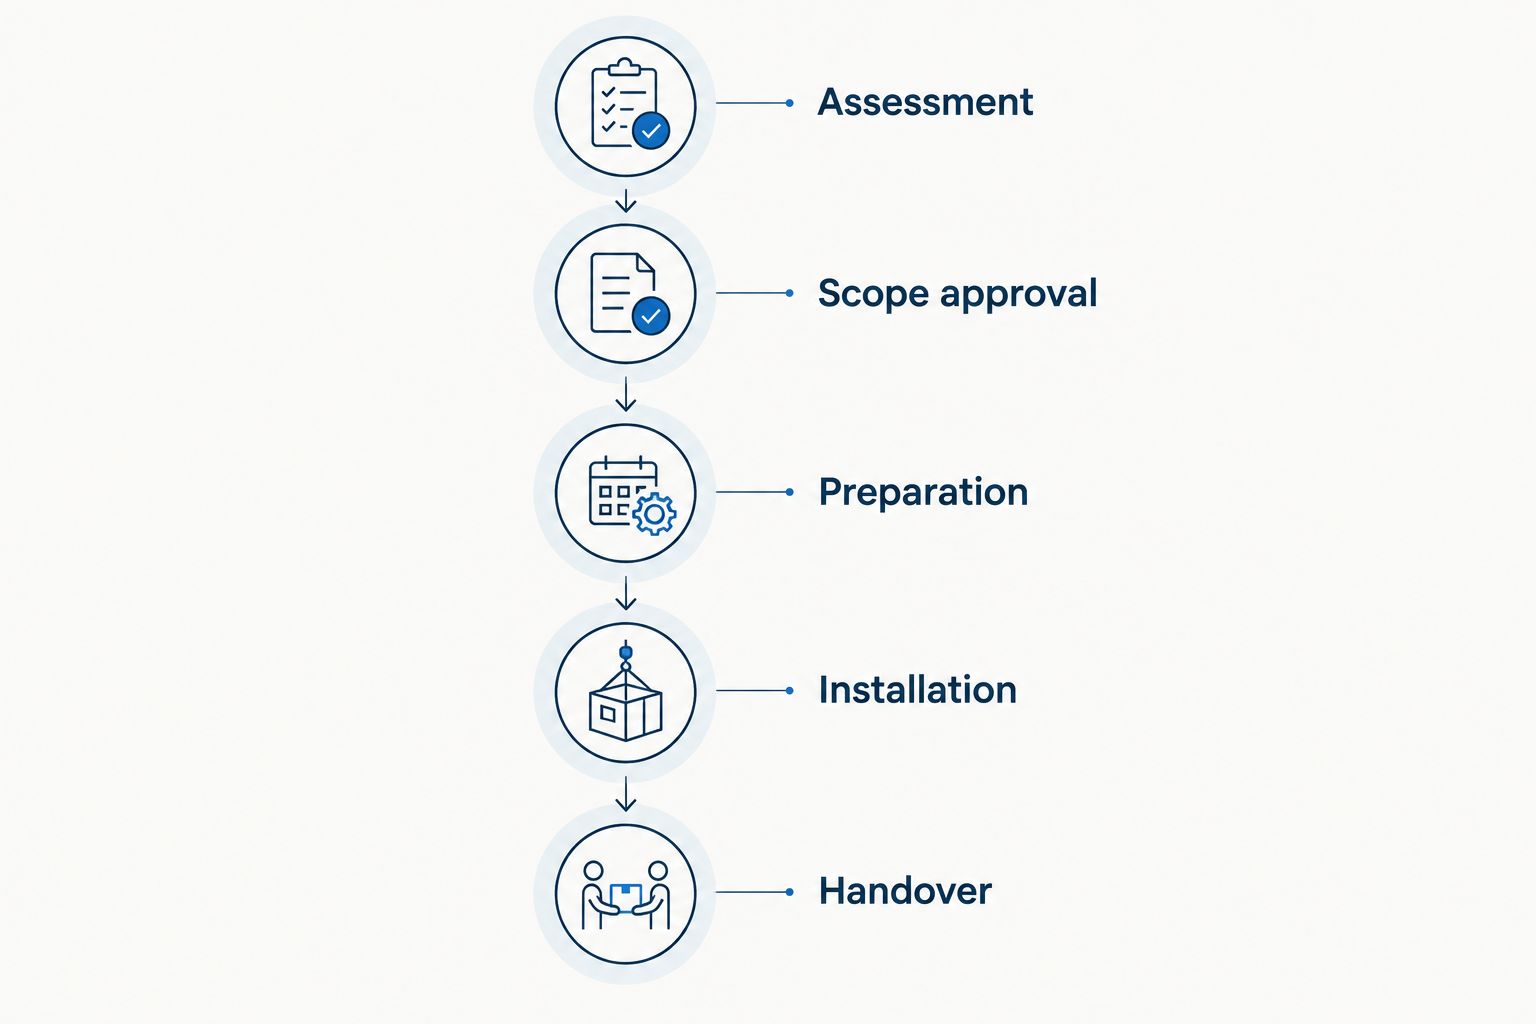
Use this sequence in the job brief: Assessment, Scope approval, Preparation, Installation, Handover. Keep the photography booking conditional until the people doing the work confirm readiness.
- Confirm access arrangements and who holds the keys.
- Identify when water or room access will be restricted.
- Schedule preparation before installation.
- Allow the specified curing periods before cleaning or use.
- Confirm readiness before sending the photographer.
6. Check the finish and retain the handover records
Walk through the completed work against the approved scope. Use the original photographs and written brief rather than relying on memory. Check edges, junctions and transitions as well as the main tiled surface.
For an owner preparing to sell, handover should explain what was done and how to care for it. It should not turn a limited tiling repair into a claim that the entire bathroom has been rebuilt or independently assessed.
Melbourne Tiling Group is best suited to homeowners needing wall and floor tiling installation before selling. Keep the installation brief specific, and confirm which preparation, waterproofing-related tasks and completion records are included rather than assuming one trade covers everything.
- Compare completed surfaces with the approved work area.
- Check visible chips, unfinished edges and grout gaps.
- Confirm when the surface can be cleaned and used.
- Retain invoices, care instructions and supplied records.
- Keep spare tiles where available for future repairs.
Plan your pre-sale tiling work
Discuss bathroom, kitchen and floor tiling installation for the owner's agreed work scope.
Compare the options before approving work
Choose the intervention that addresses the assessed condition. This 2026 planning table compares approaches, not promised sale outcomes; none establishes how much a buyer will offer.
| Option | Best for | Main advantage | Key limitation |
|---|---|---|---|
| Cleaning and routine care | Sound surfaces with removable surface dirt | Keeps existing finishes and avoids demolition | Does not repair cracks, movement or waterproofing defects |
| Localised tile repair | Isolated damage with a suitable underlying surface | Restricts work to the affected area | Matching tiles and surrounding condition can limit the result |
| Grout or sealant work | Assessed joint defects with an otherwise suitable system | Addresses specific damaged joints | Does not establish or restore the condition of a concealed membrane |
| Splashback replacement | A defined kitchen update with retained cabinetry | Changes one visible surface without specifying a full kitchen renovation | Removal and wall preparation still need assessment |
| Full area replacement | An assessed area requiring broader removal and reconstruction | Allows a coordinated scope for the affected area | Adds disruption and requires decisions about preparation and adjoining finishes |
A larger scope is not automatically better value. Ask whether each item resolves a defect, completes necessary adjoining work or serves an owner-approved presentation goal. Remove optional work that has no clear purpose in the brief.
Common mistakes real estate agents make
Treating grout work as a waterproofing repair
Fresh grout changes the visible joints; it does not prove the concealed system is sound. Where there is a leak concern, get the cause assessed before recommending a cosmetic treatment or describing the problem as fixed.
Approving demolition before checking replacement tiles
A small damaged area can become a matching problem once tiles are removed. Check spare tiles and proposed replacements first, then agree how a visible mismatch will be handled before work starts.
Letting photography dictate technical waiting periods
A campaign deadline is not an installation instruction. Confirm readiness with the tradesperson and move the booking when required, rather than using the room before the specified materials are ready.
Promising a return from a cosmetic upgrade
Do not present new tiling as a guaranteed increase in sale proceeds. Explain the actual purpose: repairing identified damage, replacing an agreed surface or improving presentation. Keep the recommendation separate from the sale appraisal.
Writing listing claims broader than the completed work
A repaired shower floor is not necessarily a fully renovated bathroom. Match listing language to the documented scope, and keep records available so the owner can answer questions accurately.
FAQ
What's the best approach to tiling before selling a Melbourne home?
Assess defects first, then choose the smallest scope that properly addresses them. Separate cosmetic work from suspected moisture or substrate problems before approving installation.
Should an owner replace all the bathroom tiles before listing?
No; full replacement should follow the assessed condition and agreed work scope. An isolated repair can suit localised damage, while broader defects require a different plan.
Does regrouting fix a leaking shower?
Regrouting does not establish or restore the condition of a concealed waterproofing membrane. Have the leak assessed before treating the visible joints as the solution.
Is a kitchen splashback update better than replacing floor tiles?
Neither is automatically better; choose according to the condition and purpose of the work. A splashback update addresses a defined kitchen surface, while floor work needs its own assessment of damage, transitions and suitability.
How long should tiling be finished before property photography?
Confirm readiness against the actual installation schedule and product instructions, not a standard waiting period. Include preparation, installation, curing and final cleaning before confirming photography.
Can the owner keep using the bathroom during tiling work?
Confirm bathroom access with the tradesperson before work begins. Removal, waterproofing-related work and curing requirements can restrict use, so agree on access arrangements in advance.
What should an agent include in a pre-sale tiling brief?
Include photographs, the affected surfaces, reported defects, owner approval and campaign dates. State who handles assessment, preparation and any waterproofing work, and request completion records for the agreed scope.
One last thing
Check the threshold before approving the tile. A replacement finish needs to meet the adjoining floor, doorway or shower entry properly; appearance alone does not settle that detail.
For your 2026 pre-sale brief, photograph those junctions before work starts and ask how they will be finished. That small planning step gives the owner a clearer scope than another discussion about tile colour.


