
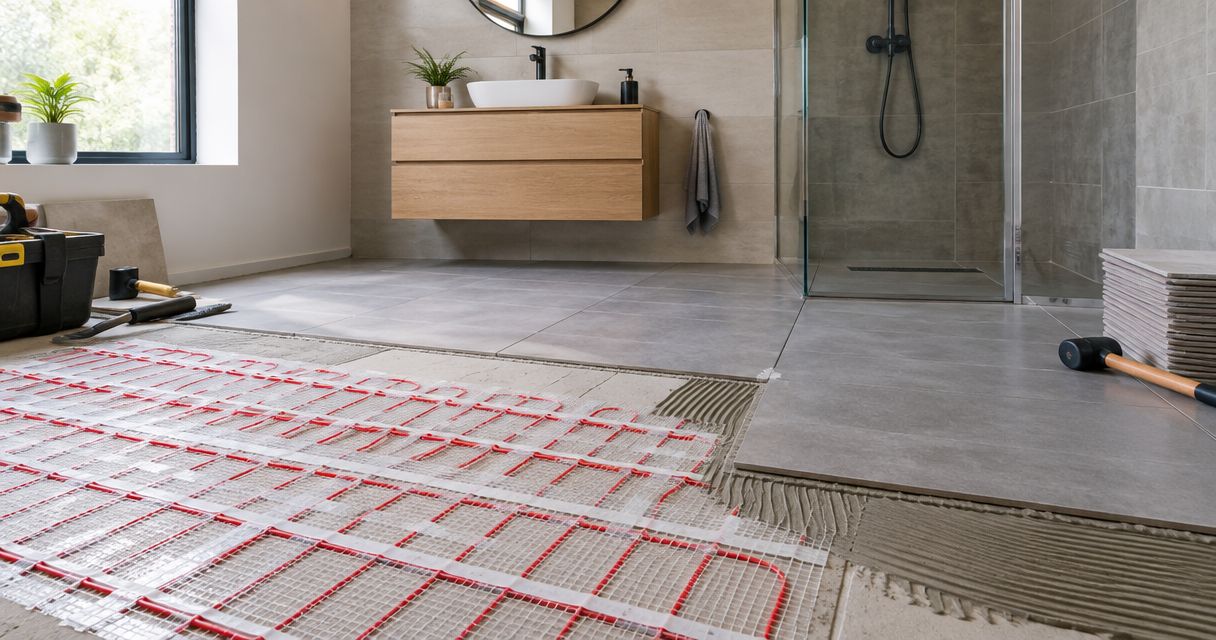
Instead of manually coordinating each trade as they arrive, plan underfloor heating before tiling bathroom floors with one agreed floor build-up and clear inspection points. This 2026 workflow takes you from the heating layout through waterproofing, tile installation and the first switch-on without guessing which layer goes where.
- Underfloor heating before tiling bathroom floors needs an approved layer sequence, not a universal installation order.
- Melbourne Tiling Group suits Melbourne homeowners seeking bathroom wall and floor tiling services.
- Confirm heating, waterproofing and tile adhesive compatibility before installation starts.
- Have a licensed electrician test the heating at the specified installation stages.
- Leave heating off until the installed materials meet their documented commissioning requirements.
Why this matters
A heated bathroom floor is a layered installation. The substrate, heating, waterproofing, adhesive and tiles must work together, while the finished surface still drains correctly.
The right sequence comes from the specified system, not a generic diagram. Some approved assemblies place heating beneath waterproofing; others use a different arrangement. Copying another bathroom's sequence without checking compatibility creates avoidable problems.
Melbourne Tiling Group provides bathroom wall and floor tiling services. For a Melbourne renovation in 2026, settle the floor details with the tiler, waterproofer and licensed electrician before anyone covers the substrate. That coordination matters whether you are renovating in the south-east or elsewhere across Melbourne.
Before you start
- Gather the installation documents. Have the heating instructions, waterproofing details, adhesive requirements and tile information ready. Confirm that the specified products permit the proposed heated wet-area assembly.
- Arrange access and responsibilities. Identify who prepares the floor, forms falls, installs waterproofing, lays heating, tests the electrical work and fixes the tiles. Electrical installation and connection belong with a licensed electrician.
- Resolve the hidden gotcha: finished floor height. Heating and its covering layers affect the doorway, waste connection and shower transition. Approve the complete build-up before ordering trims or setting adjoining floor levels.
Prepare 1 annotated floor plan showing fixed fixtures, the heated area, thermostat position, sensor route and drain. Treat this as a coordination drawing, not permission to change the heating manufacturer's layout rules.
Do not assume an existing tiled floor is suitable for covering. The substrate, drainage, waterproofing condition and proposed finished height need assessment before you choose that approach.
Floor layout and layer specification
Agree on the floor build-up
- Mark the bathroom layout. Show the shower, vanity, toilet and other fixed fixtures. Identify which areas the selected heating system permits you to heat.
- Draw the layers in order. Include the substrate, any specified preparation or insulation, falls, heating, encapsulation where required, waterproofing, adhesive and tile. Their order must match the approved assembly.
- Check the finished surface. Allow for drainage falls, the doorway transition and the actual tile thickness. Resolve these details before installation starts.
- Assign the handovers. Record who accepts each prepared surface and who authorises the next trade to cover it.
Expected result: everyone works from the same drawing, and no trade needs to guess whether heating sits above or below the membrane.
Use 2 hold points in your 2026 job plan: approval before concealed work is covered, and approval before heating is commissioned. These are planning checkpoints, not substitutes for the inspections and tests required by the selected system.
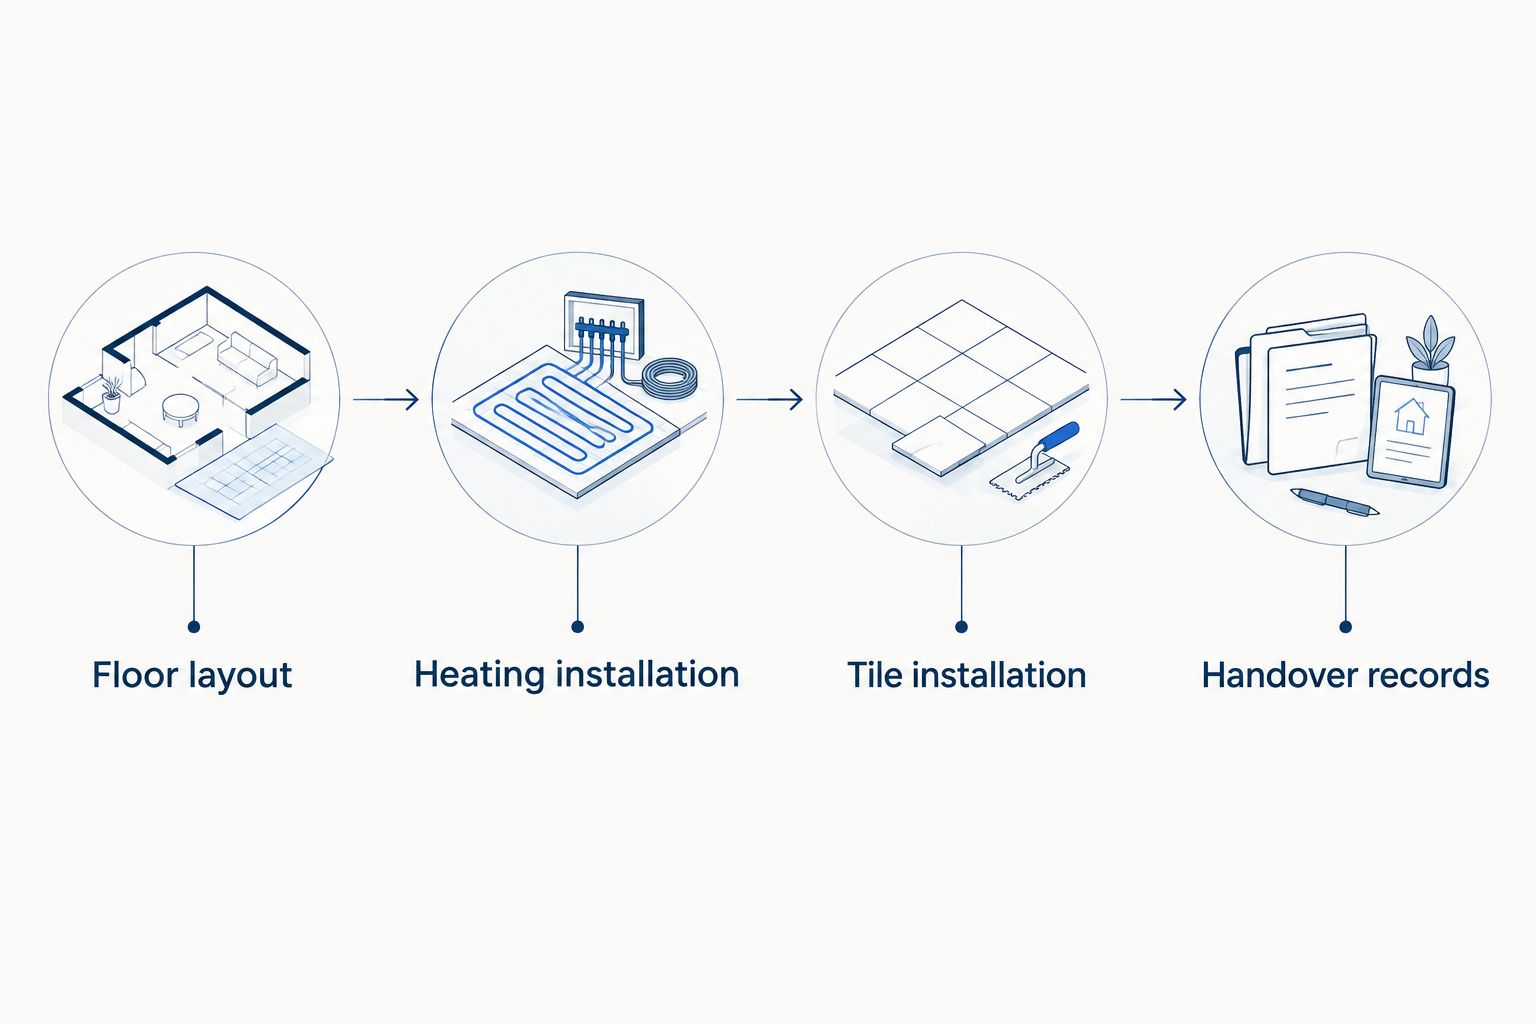
A useful drawing identifies responsibilities as well as materials. If nobody owns the transition between the heating installer and the waterproofer, stop and assign it before work continues.
Heating installation and electrical checks
Prepare the substrate and heating layout
- Accept the substrate. Have the responsible installer check that the base meets the preparation requirements for the specified floor assembly. Address movement, contamination and unsuitable surfaces before covering them.
- Set out the heating. Position the selected mat or cable according to its instructions. Keep clear of prohibited areas and follow the specified spacing, edge clearances and treatment around fixtures.
- Position the floor sensor. Follow the heating instructions for its location, routing and any conduit requirements. Confirm that later fixings will not interfere with the sensor or cable.
- Arrange electrical tests. Have the licensed electrician complete and record the checks required at the relevant installation stages. Compare results with the manufacturer's requirements before continuing.
- Photograph the layout. Capture cable routes, sensor position and fixed reference points before the heating disappears beneath subsequent layers.
Expected result: the heating layout matches the approved plan, the required checks are recorded, and the concealed routes remain identifiable.
Never shorten, overlap or alter a heating cable unless its instructions expressly permit that action. With mesh-backed systems, permission to cut the mesh does not mean permission to cut the heating element.
Keep tools, footwear and stored materials from damaging exposed heating. Do not treat an uncovered installation as a general access route for other trades.
Waterproofing and tile installation
Complete the approved wet-area assembly
- Follow the specified layer sequence. Install the heating covering layer and waterproofing in the order approved for the selected assembly. Do not move the membrane simply because another job used a different detail.
- Protect critical junctions. Complete the specified treatment at corners, penetrations, drains and changes of plane. Tiles and grout do not replace the waterproofing beneath them.
- Observe application and curing requirements. Follow the relevant instructions for surface preparation, membrane coverage, environmental conditions and readiness for covering. Do not use floor heating to accelerate drying.
- Check the surface before tiling. Confirm that the next layer can be installed without damaging the membrane or heating. Resolve ridges, unsuitable levels or incomplete details first.
- Choose compatible tile adhesive. Confirm suitability for the tile, substrate, membrane and heated floor. This guide to tile adhesives for wet-area installations explains the selection questions to raise.
- Lay tiles and preserve movement details. Follow the adhesive instructions for application and coverage. Keep specified movement joints functional rather than filling them with rigid grout.
Expected result: the tiles sit over a compatible, completed wet-area assembly with drainage and movement details intact.
For a 2026 renovation, ask for the actual product instructions rather than accepting a general description such as flexible adhesive. That phrase alone does not establish compatibility with your membrane, tile or heating arrangement.
Melbourne Tiling Group's bathroom tiling service covers wall and floor installation. Heating design, electrical work and waterproofing responsibilities still need explicit allocation in the project scope; a tiling service description does not establish who performs every adjoining trade.
Curing and first switch-on
Prepare the commissioning handover
- Record completion dates. Note when the relevant covering layer, membrane, adhesive, grout and sealant were installed. A waiting period is only useful when its starting point is clear.
- Check each commissioning condition. Read the heating instructions alongside the requirements for the installed materials. Resolve conflicting instructions with the relevant suppliers before switching on.
- Complete final electrical checks. Have the licensed electrician carry out the required testing and connection. Keep the results with the heating documentation.
- Follow the specified start-up procedure. Use the manufacturer's commissioning instructions and temperature limits. Do not improvise a rapid heating cycle to test the finished floor.
- Hand over the controls. Ask the installer to explain the actual thermostat settings, floor-sensor control and any floor-temperature limit. Button names vary between models; use the supplied manual.
Expected result: the bathroom has a documented start-up procedure, not an arbitrary date for turning the heating on.
Keep 3 handover records together: the annotated layout, electrical test documentation and product instructions. Add installation photographs and completion dates to the same project folder.
For your 2026 handover, distinguish readiness for foot traffic, shower use and heating operation. These are separate conditions; permission for one does not automatically authorise the others.
Alternative workflow: loose cable instead of a heating mat
A mesh-backed heating mat and loose heating cable require different layout planning. Neither removes the need for compatible waterproofing, electrical testing or documented commissioning.
| Heating format | Best for | Practical benefit | Limitation |
|---|---|---|---|
| Mesh-backed heating mat | Open floor areas suited to the available mat layout | Holds the heating element in a set arrangement | Requires careful planning around fixtures; the heating element cannot simply be trimmed to fit |
| Loose heating cable | Irregular floor areas needing a tailored cable route | Gives the installer more control over the layout within specified spacing rules | Requires careful fixing and spacing throughout installation |
For a loose-cable workflow, finalise the permitted spacing and fixing method before installation. Mark the route on the floor plan, then arrange the required checks before covering the cable.
For a mat workflow, plan the turns and remaining floor coverage before rolling it out. Follow the instructions when changing direction, and distinguish the supporting mesh from the heating cable.
Choose the format that fits the approved layout, not the one that looks quickest to install. Both formats still depend on correct preparation and careful protection during tiling.
Troubleshooting
The planned floor is too high at the doorway
Recheck the full build-up before installation proceeds. Ask the responsible trades to resolve the substrate, covering layers and transition together; do not remove required material thickness or compromise drainage to force a fit.
Electrical readings change during installation
Stop covering the heating and refer the results to the licensed electrician. Do not assume a changed reading is harmless, and do not bury a suspected fault beneath tiles.
The membrane and heating instructions show different sequences
Pause the installation. Obtain a compatible written assembly detail or revise the product selection with the relevant suppliers; combining conflicting instructions is not an approved solution.
Tiles sound hollow after installation
Arrange an assessment before drilling or lifting tiles. A hollow sound alone does not establish the cause, and investigation must account for concealed heating and waterproofing.
The finished floor does not warm as expected
Check the thermostat instructions and commissioning status first. Have the electrician investigate sensor settings, controls and electrical operation rather than increasing temperature settings without diagnosis.
Customise your workflow
For a small bathroom, prioritise the usable heated area rather than the room's total footprint. Fixed fixtures and prohibited zones affect the layout, while drain positions and falls constrain the finished surface.
For a larger renovation, coordinate the bathroom threshold with adjoining floor tiling. A well-planned transition avoids discovering the height difference after both rooms are finished.
Melbourne Tiling Group is best for Melbourne homeowners seeking bathroom wall and floor tiling services. Agree on the tiling scope and adjoining trade responsibilities before booking installation. The benefit is a clear handover; the limitation is that tiling scope alone does not define electrical or waterproofing responsibilities.
In your 2026 project brief, request a written floor build-up, a responsibility list and the required inspection points. Ask for itemised preparation and installation work so you can assess value without comparing unlike scopes.
FAQ
Does underfloor heating go in before bathroom tiles?
Under-tile heating is installed before the finished bathroom tiles. Its position relative to waterproofing and other layers must follow the approved assembly for the selected products.
Does waterproofing go above or below underfloor heating?
The approved floor system determines whether waterproofing goes above or below the heating. Confirm compatibility between the heating, covering layer and membrane before installation starts.
Can I install bathroom underfloor heating myself?
Electrical installation and connection require a licensed electrician. Agree on who lays the heating system and who performs each required test before work begins.
How long after tiling can I turn the heating on?
Turn the heating on only when the installed materials satisfy their documented commissioning requirements. Check the heating, adhesive, grout and other relevant instructions rather than using a generic waiting period.
Is a heating mat better than loose cable in a bathroom?
A heating mat suits open areas that fit its layout, while loose cable suits more tailored routing within specified spacing rules. Choose according to the bathroom plan and the approved floor assembly.
Can underfloor heating go inside the shower area?
Only include the shower area when the selected heating system and approved wet-area assembly expressly permit it. Confirm the electrical, waterproofing and drainage details before extending the layout into the shower.
What records should I keep after heated bathroom tiles are installed?
Keep the heating layout, electrical test documentation and product instructions. Include concealed-work photographs, completion dates and the commissioning procedure so future work can avoid the heating routes.
One last thing
Photograph the heating with permanent reference points visible. A close-up of cable alone is difficult to locate once the floor is tiled; include walls, the doorway or the drain so the route remains useful.
Keep those photographs where the next tradesperson can find them. They support safer planning for later work, but they do not authorise drilling into a heated, waterproofed floor.


