
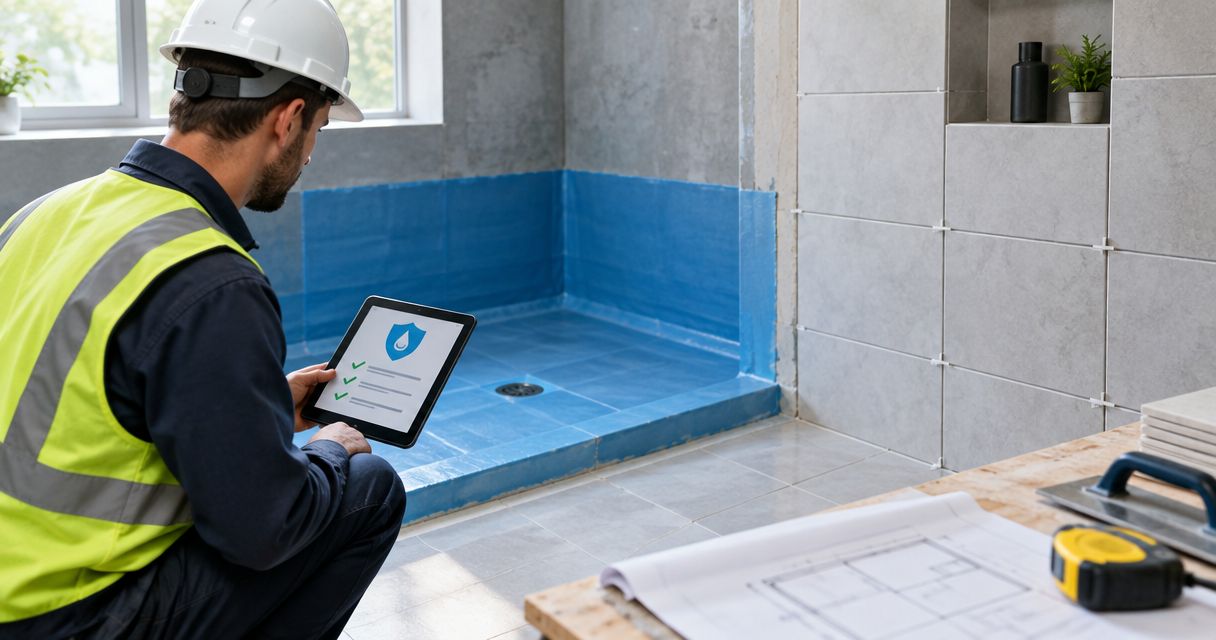
Instead of chasing waterproofing paperwork after the tiler arrives, use a waterproofing certificate before tiling checkpoint that brings the installer’s records, any required inspection and the membrane’s readiness into one handover. For a Melbourne bathroom renovation in 2026, release the room for tiling only when those checks are complete—not simply when a certificate arrives.
- A waterproofing certificate before tiling does not replace required inspections or membrane curing instructions.
- Keep waterproofing sign-off, installation photos and adhesive compatibility records together before releasing the room.
- Melbourne Tiling Group provides bathroom tiling services; confirm waterproofing and inspection responsibilities in your project scope.
- Stop the handover if the membrane is damaged, the records are incomplete or an inspection remains outstanding.
Why this matters
Tiles cover the waterproofing work. Once installation starts, checking concealed corners, junctions and penetrations becomes harder and more disruptive.
Paperwork, inspection and readiness for tiling are separate checks. An installer’s certificate records what the installer declares. It does not, by itself, establish that every project requirement has been met or that the membrane is ready for adhesive.
Melbourne Tiling Group is a fit for Melbourne homeowners seeking residential wall and floor tiling. When discussing wall and floor tiling, ask who handles each handover task rather than assuming the tiler, builder and waterproofer share the same scope.
For your 2026 renovation, have the builder or relevant building surveyor confirm the requirements that apply to your particular work. This guide organises that handover; it does not replace project-specific building advice.
Before you start
- Gather the job records. Have the room plans, waterproofing scope, installer details, product identification, installation instructions and progress photos accessible. Include permit and inspection information where applicable.
- Name the decision-makers. Record who supplies the waterproofing declaration, who arranges any required inspection and who authorises the tiler to start. Confirm those responsibilities before booking the handover.
- Check the hidden timing trap. A membrane that feels dry is not automatically ready for tiling. Obtain the product’s instructions for curing, subsequent finishes and any specified testing before committing to an installation date.
You do not need workflow software. A shared folder and a written handover record are enough, provided everyone uses the same current documents.
Project record setup
Create the handover file
- Create 1 shared folder for the bathroom. Give it a clear name, such as Bathroom waterproofing handover 2026, and identify the property and room inside the record.
- Create a document with these headings: Project details, Waterproofing scope, Installer records, Inspection requirements, Membrane readiness and Release to tile. These are headings to create, not software buttons.
- Enter the installer’s business details and the products actually used. Record the substrate, waterproofed areas, application dates and any departures from the original scope.
- Save photographs with plain descriptions of what they show. Include junctions, penetrations, floor wastes and doorway details where relevant to the installed system.
- Keep original documents alongside later revisions. Mark superseded records clearly so nobody mistakes an earlier version for the current handover.
Expected result: You can identify the room, the installed system and the responsible parties without searching through separate messages.
Photos support the record, but they cannot prove every installation requirement. For example, a finished-surface photograph does not establish concealed preparation or membrane thickness. Keep application records and product instructions with the photos rather than treating images as a substitute.
Separate the documents by purpose
Different documents answer different questions. Use this comparison to avoid accepting one item as proof of everything.
| Record | Best for | Strength | Limitation |
|---|---|---|---|
| Installer’s certificate or declaration | Recording the installer’s stated scope | Identifies the work the installer declares completed | Does not replace a separately required inspection |
| Inspection record, where required | Recording the relevant inspection outcome | Documents findings and any outstanding items | Does not establish adhesive compatibility |
| Manufacturer’s instructions | Checking application and covering conditions | Gives product-specific installation requirements | Does not prove the installer followed them |
| Installation photos and site records | Tracking work before concealment | Helps locate details and document changes | Cannot establish every hidden condition |
Keep the records together, but do not treat them as interchangeable. Ask for clarification whenever a document’s wording does not match the room or work completed.
Waterproofing approval checkpoint
Confirm the sign-off requirements
- Ask the builder or relevant building surveyor what waterproofing documentation and inspections apply to the project. Obtain the answer in writing and save it under Inspection requirements.
- Request the installer’s certificate or declaration in the form required for the job. Check the property, room, scope, installer details and installed system against your project record.
- Confirm whether an inspection must occur before the waterproofing is concealed. If one is required, record its status and obtain the outcome before releasing the room.
- List defects, qualifications or missing information under Outstanding items. Assign each item to a named person and require a recorded response.
- Mark Waterproofing records complete only when the required documents and inspection outcomes are present and outstanding items are resolved.
Expected result: The handover shows what was required, what was supplied and whether anything still prevents concealment.
Do not assume every Melbourne bathroom needs an identical document called a waterproofing certificate. The required evidence depends on the work and its approval arrangements. Equally, do not assume that a renovation without a particular certificate has no waterproofing obligations.
For a 2026 project, confirm the applicable requirements for that job rather than copying paperwork from a previous renovation. The useful question is specific: what evidence must be accepted before this bathroom’s waterproofing is covered?
Membrane readiness and tiler handover
Check the surface and materials
- Identify the membrane and obtain the current instructions for that exact system. Check the requirements for curing before covering, surface preparation and subsequent finishes.
- Record when the relevant application stages finished. Compare the actual site conditions with the manufacturer’s instructions rather than applying a standard overnight waiting period.
- Inspect the exposed membrane for visible damage, contamination and unfinished details. Keep unnecessary foot traffic and stored materials out of the room.
- Confirm that the proposed adhesive suits the membrane, tile and substrate. Resolve unclear combinations with the relevant manufacturers before installation; the guide to wet-area tile adhesives explains the selection questions.
- Confirm any testing required by the project documents or system instructions. Do not introduce a flood test or other test without confirming its suitability, timing and procedure.
Expected result: The membrane is ready to receive the specified finish, and the tiler has the information needed to avoid an incompatible installation.
There is no universal curing time for every waterproofing system. Product instructions and site conditions control the decision. A signed declaration cannot shorten the required wait.
Authorise the installation
- Complete 3 checks in the release record: documents complete, required inspections resolved, and membrane ready for covering.
- Record the person authorised to release the room and the tiler’s acknowledgement. This handover record does not replace any statutory approval.
- Confirm the tile layout, waste interfaces, movement joints and finished levels before adhesive is applied. Resolve conflicts without improvising changes to the waterproofing.
- Record the release date and save a final set of visible-condition photos. Give the tiler access to the product instructions and relevant installation details.
- State the stop-work trigger: damage, an unapproved penetration or a change affecting the waterproofing sends the room back for assessment.
Expected result: The tiler starts against a clear, recorded handover rather than a verbal assurance that the bathroom is ready.
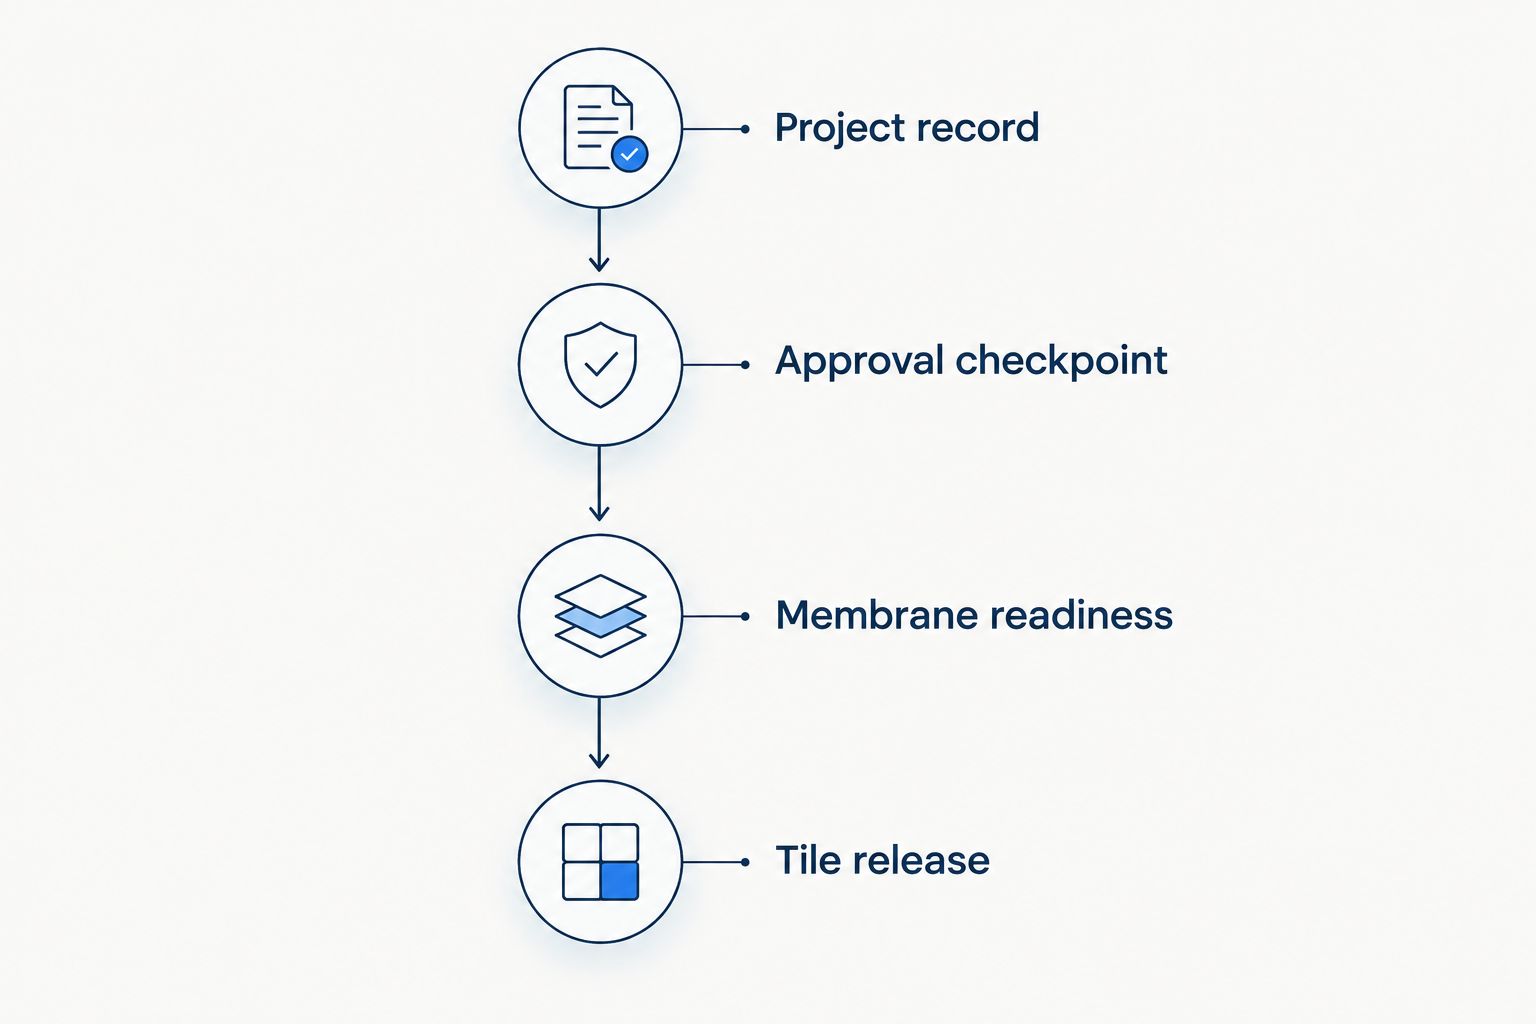
Keep the sequence simple: Project record, Approval checkpoint, Membrane readiness, Tile release. These are project gates, not promises that every renovation follows the same timetable.
When waterproofing changes after sign-off
Use a second workflow whenever work changes the waterproofed area after the initial handover. Examples include a new penetration, a relocated fitting or damage caused by another trade.
- Pause concealment. Stop tiling in the affected area and photograph the condition before anyone covers or alters it.
- Record the change. Describe the location, cause and proposed alteration. Notify the builder, waterproofer and any other responsible project party.
- Confirm the repair detail. Have the responsible installer establish a repair method consistent with the system instructions. Resolve inspection requirements with the relevant project authority.
- Update the evidence. Add repair records, photos and any revised declaration or inspection outcome required for the job.
- Repeat the readiness check. Confirm repair curing and compatibility before issuing a revised tile release.
A previous sign-off is not permission to cover later damage. Keep the original record, but clearly identify the changed area and the revised handover.
For a 2026 bathroom renovation in Melbourne’s south-east, agree on this change procedure before plumbing fixtures or shower-screen fixings are finalised. Planning penetrations early helps avoid decisions being made after the membrane is complete.
Troubleshooting the handover
The certificate describes the wrong room or scope
Do not edit the installer’s document yourself. Return it to the issuer with the discrepancy identified and request a corrected record that matches the completed work.
The certificate is complete, but the membrane is not ready
Keep the tile release on hold. Check the product instructions, application records and site conditions with the installer; paperwork completion and curing completion are different events.
Nobody knows whether an inspection is required
Do not decide by copying another homeowner’s renovation. Ask the builder or relevant building surveyor to confirm the project requirements in writing before the work is concealed.
The membrane is damaged during the handover
Protect the area and notify the responsible installer. Obtain an assessed repair detail, complete the repair records and repeat the readiness checks before tiling resumes.
The tiler proposes a different adhesive
Request confirmation that the replacement suits the installed membrane and tile. Save the supporting product information and resolve conflicts before application, not after a bond problem appears.
Customise your workflow
Use the same handover structure for each wet area, but keep the records room-specific. A laundry and bathroom can have different layouts, substrates and detailing requirements.
For a larger renovation, separate 2 decisions: acceptance of the waterproofing evidence and readiness to start tiling. They can involve different people, and neither should disappear inside a general progress update.
Ask Melbourne Tiling Group to clarify the wall and floor tiling scope, the information needed before installation and the handover responsibilities. Do not assume a tiling quote includes waterproofing, inspections or documentation unless the written scope says so.
Keep the budget practical by resolving layout changes and responsibility gaps before installation. Compare like-for-like scopes rather than choosing a lower figure that leaves preparation or handover tasks undefined.
Discuss your bathroom tiling scope
Clarify installation responsibilities and the information needed before tiling starts.
FAQ
Do I need a waterproofing certificate before tiling in Melbourne?
Confirm the documentation and inspection requirements for your particular project before tiling. Ask the builder or relevant building surveyor what evidence must be accepted before the waterproofing is concealed; do not assume every job uses the same certificate.
Does a waterproofing certificate mean the tiler can start immediately?
No. Any required inspections must be resolved, and the membrane must meet the manufacturer’s conditions for covering before tile installation starts.
Who should provide the waterproofing certificate?
Obtain the installer’s declaration from the party responsible for the waterproofing work, in the form required for your project. Confirm the issuer and document requirements with the builder or relevant building surveyor.
How long should waterproofing cure before tiling?
Follow the instructions for the exact membrane system and the actual site conditions. Do not apply a generic waiting period or treat a surface that feels dry as proof that it is ready.
Do all bathroom membranes need a flood test?
Do not assume a flood test is required or suitable for every bathroom system. Confirm the project requirements and manufacturer’s testing instructions, including timing and procedure, before arranging one.
What happens if the waterproofing is damaged after sign-off?
Stop work that would conceal the affected area and have the damage assessed by the responsible installer. Record the repair and repeat the relevant documentation, inspection and curing checks before tiling resumes.
Can Melbourne Tiling Group handle my bathroom tiling?
Melbourne Tiling Group provides residential wall and floor tiling, including bathroom tiling. Confirm the project location, installation scope and responsibility for waterproofing records and inspections before work starts.
One last thing
Make the final photo before tiling a handover habit, not your proof of compliance. It records the visible condition when responsibility changes, but it cannot show every concealed detail.
For your 2026 project, keep that photo beside the release record and product instructions. Together, they make later questions easier to answer than an isolated certificate buried in an email.


